

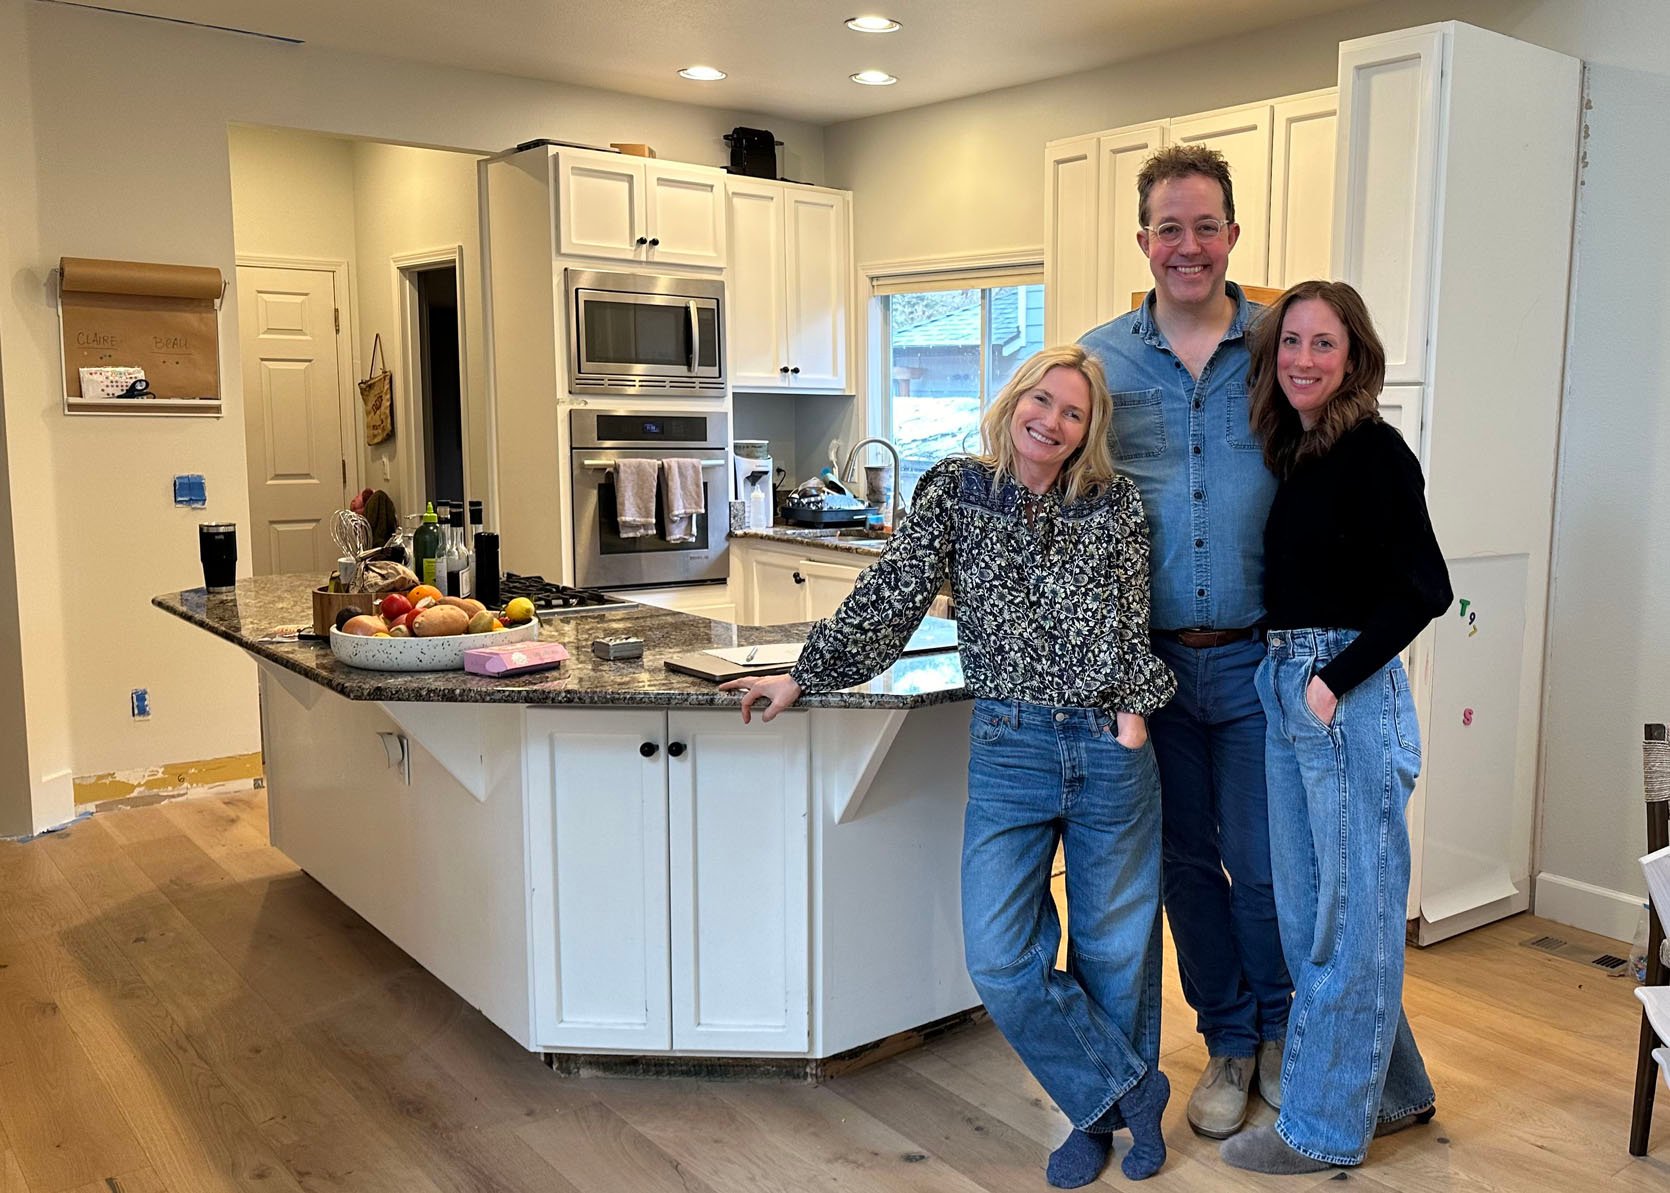


In our last update post, the final kitchen layout had been decided on, IKEA cabinets and stone countertops were purchased and demo was underway. Well, now it seems the kitchen is nearly complete! Pete had a lofty goal to finish the remodel by Chrissy’s birthday (June 22) and apart from a few finishing touches, they’ve pretty much met their deadline! WILDLY IMPRESSIVE. But hold on – this is not a reveal post just yet! There is PLENTY of fun process to catch you up on–so let’s get right to it.

A quick reminder–this was their kitchen before. They have been pretty great about documenting their remodel journey and Pete had a lot of helpful things to say about how it’s been going so far. He’s done a ton of the hands-on work himself, only hiring out where necessary, but leading this renovation with great DIY success. Here’s what he had to say:

“To be clear – all of this is very doable, if not time-consuming. I am by no means a construction expert – I am a very JV DIY type of guy (I am sure there will be plenty of head scratching by some who look at my handiwork). I think it is important with DIY to remind yourself that you are GOING to make mistakes, and almost everything can be fixed at minimal cost.”

Here’s the gist of what all they’ve finished since we last checked up on their project:
- Completed demo
- Finished drywall and bumping out the wall
- Moved and added a new window
- Built & installed IKEA cabinets
- Installed stone countertops
- Installed appliances
- Tiled the back wall

One of the first things to address after demoing the old kitchen was the wall that was shared with the powder bathroom. The original corner cabinets receded into the wall initially, which meant that post-demo, they’d need to bump that wall out to make it flush. They originally thought this would add a little square footage to the bathroom, too, but Pete says, “We couldn’t open up the bathroom because there was water piping running upstairs in that bathroom wall – so we just popped some framing to make the new wall squared off with the kitchen. Even though we technically reduced the square footage of the room, the room actually feels LARGER. It’s just great.”

Simultaneously, they tackled arguably the most crucial part of the redesign–building and installing the IKEA cabinets. They went with the AXSTAD blue kitchen cabinet fronts.
“The cabinets from IKEA are great. The product has improved a lot over the last 15 years (in my opinion), and once you get into the swing of it, it is very doable. Our approach was to build the interior (the bones, if you will) of the cabinets in the 10 days leading up to the install. So basically, we would do a few a night, and just stored them in our living room. It was annoying in that it was inconvenient to have them lined up in our living room, but it made install day way easier. We hired a great group to come in and do the demo, which took about 4 hours, and it took me the rest of that day and the following day to install the cabinets and really get them dialed in. This included building a brace for the island (the cabinets have to be supported against something).”

“Here you can see the beginning of the island taking place. The 2x4s are there to support the cabinets and give them something to latch onto. Notice the gap in the 2×4 support structure. That is for the periscoping downdraft vent. This photo is before we had to move the gas line and vent location…”
 Chrissy Coaching Design Pete Progress Update