
The nursery/guest room has finally been completed, and I am excited to share some of the tutorials for the projects that were done along the way. Today, I am sharing the DIY Faux Ceiling Beams that instantly elevated and brought character to this space.

For every room makeover, I always aim to have that one wow factor that sets it apart. Adding architectural interest goes beyond just decorating a space and truly creates a polished look.
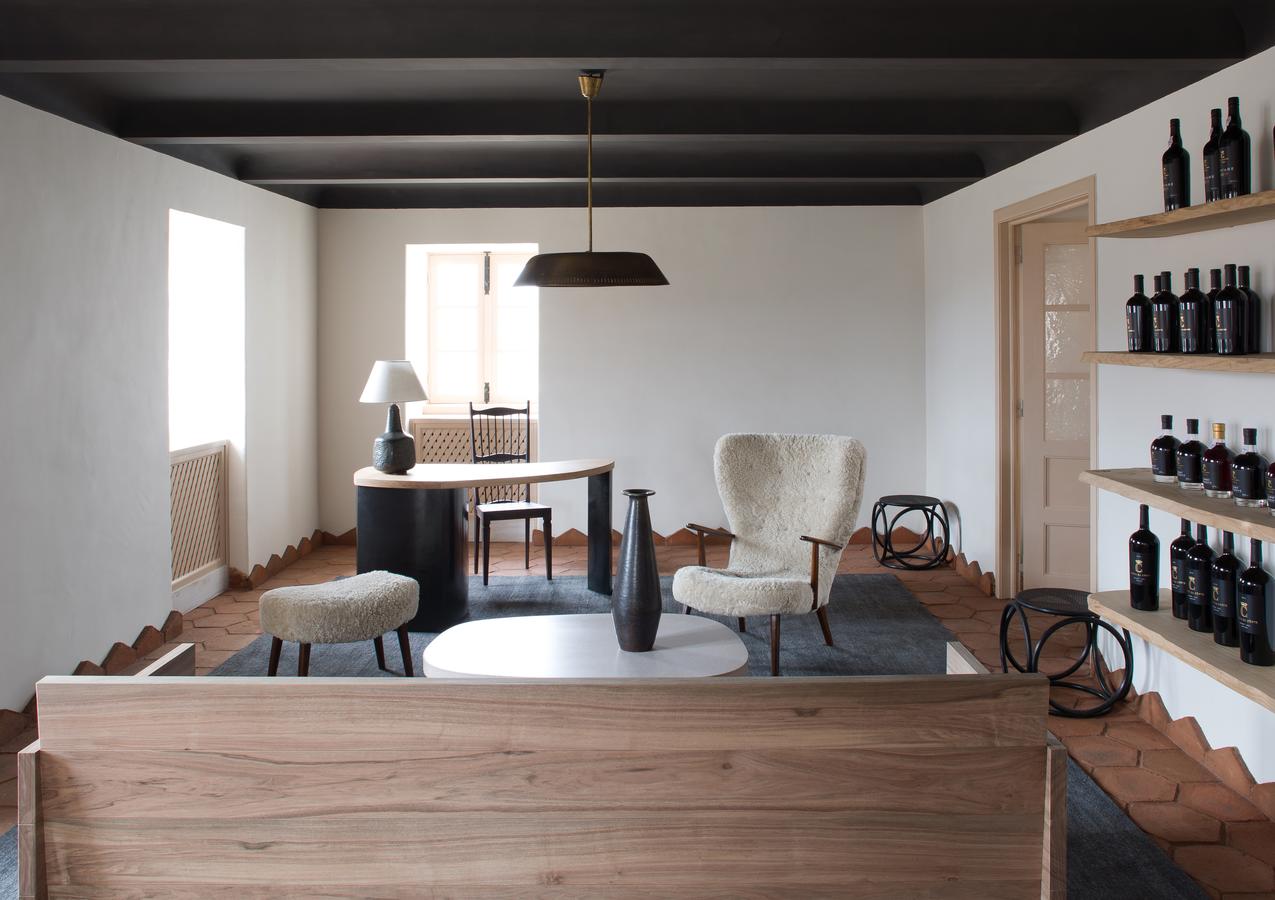
While browsing on Pinterest, I came across a photo of Casa Quinta Da Corte and was captivated by the ceiling design.
Despite having standard height ceilings at 8′, I took a risk and decided to add beams to the room. The space felt bare and plain, and it needed something to give it dimension.
SUPPLIES TO MAKE DIY FAUX BEAMS
- MDF Boards (we used these Primed MDF boards)
- Liquid Nails
- Nail Gun
- Caulk
- Paint
STEP 1
Determine the spacing of your beams on the ceiling. We opted for horizontal beams spaced about 26″ apart when entering the room. Since our studs run vertically, we knew we could screw into them through each beam.
We used a chalk line to mark where each beam would go for a visual guide.


STEP 2
If needed, cut your boards to length. Apply liquid nails along each side of the backside of one board.

STEP 3
Place another board along the edge you just glued. Use a nail gun to secure them together, and repeat on the other side with another board.

You’ll now have a 3-sided beam.

STEP 4
There are two ways to hang your beams. You can secure a board to the ceiling first and then place the 3-sided beam over it and nail it together from the sides. Alternatively, you can turn the beam upside down, secure it to the wall, and then secure another board over it to complete the beam.

Be sure to use liquid nails on the back of the beam before securing it to the ceiling!

STEP 5
Repeat the process with the rest of your beams. This is how our room looked after all 4 beams were installed.

STEP 6
Apply caulk to fill in the gaps left after assembling your beams. This will create a seamless look.

I like to apply the caulk, smooth it out with my finger, and then wipe off the excess with a baby wipe. A wet sponge or paper towel works well too.
Once painted, the caulked seams will blend in seamlessly.

STEP 7
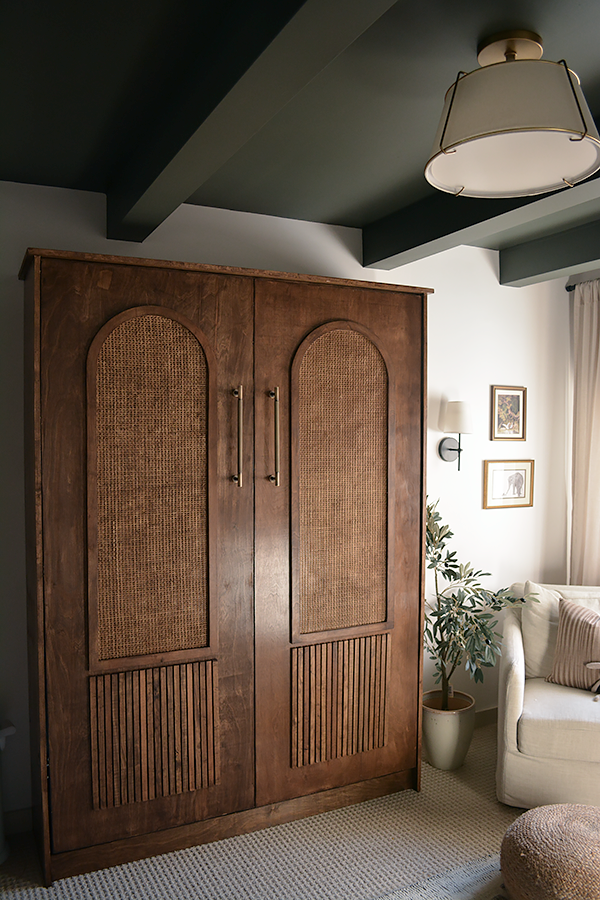
Paint your beams. I used the color Sable Evening by Valspar, which has a unique hue. While it may appear green in photographs, it reads more grayish in person.


I am thrilled with the outcome of this project. The beams have added character to the room and transformed it from plain and boring to cozy and unique. Despite having 8-foot ceilings and opting for a darker color, the room still feels spacious. By ensuring the ceiling remains the focal point in that darker tone and balancing the rest of the decor, it does not overpower the space.
I am delighted that I decided to create these DIY Faux Ceiling Beams for the nursery/guest room. They have truly enhanced the space and made it one of a kind.
Related