
When we decided to make Odelia’s nursery double as a guest room, we knew we needed a practical solution. That’s when we decided to build a Murphy Bed!
This project was the biggest one we tackled in this space. It had its ups and downs, a learning curve, and some mistakes made. But in the end, we are incredibly proud of the final result. It’s everything we imagined and more.
Today, I’ll walk you through the steps we took to create this masterpiece.
BUYING A MURPHY BED KIT
We couldn’t have done this project completely from scratch, so we enlisted the help of Custom Woodworks MO. They sell Murphy bed kits that made the process a lot easier!
They also offer custom-built Murphy Beds, so if DIY isn’t your thing, you can have them create it for you and send you the pieces to assemble!
We opted for their full-sized bed kit, which cost around $500. We wanted a bed that wasn’t too large but still provided enough space for our guests.
THE CUT LIST
The kit comes with a cut list that makes it easy to know exactly what sizes to cut your wood. It’s recommended to use furniture-grade plywood, preferably 3/4” thick. We used birch plywood for our project.

Full Size Murphy Bed Cut List
Face Panels (28 3⁄4″ x 77 5/16″) x 2
Sides (16″ x 82 1⁄4″) x 2
Headboard/Top (15″ x 58″) x 2
Back (6″ x 58″) x 1
Toe Kick (3 3⁄4″ x 58″) x 1
Optional stiffener (same measurements as toe kick)
Crown
Square/with slight overhang (16 3⁄4″ x 61″) x 1
or
Traditional/requires crown molding around 3 sides (16″ x 59 1⁄2″) x 1
After cutting all your pieces, edge band them for a cleaner look. Even if you plan to paint the wood, edge banding gives a more professional finish.

If you’re new to edge banding, it’s a great way to cover the raw edges of plywood for a polished look. The heat-activated glue on the banding is easy to apply with a hot iron.

To ensure a smooth finish, use a hand-held sander to make the edge banding flush with the plywood.
STAINING THE MURPHY BED
After sanding and edge banding the wood pieces, it was time to stain them. We used Varathane’s Dark Walnut Gel Stain for a medium-dark finish.

There’s debate about whether to condition wood before staining, but we skipped this step. One coat of stain applied with staining pads gave a nice finish.

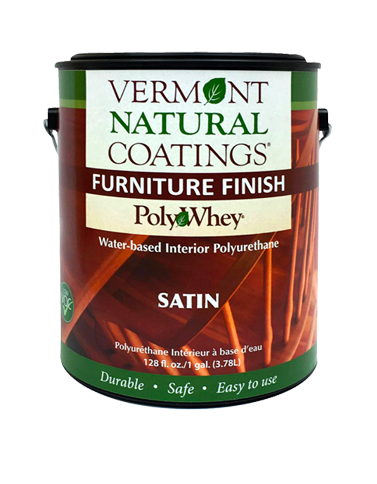
We top coated the stained wood with Vermont Natural Coatings Poly Whey Furniture Finish in Satin for a durable finish.
A 3” wide black foam brush was used for the top coat application.
THE ARCHES
We had a vision for the Murphy Bed that included cane and arches. Making these arches was a bit of a challenge, but it was worth it in the end.
After some trial and error, we used a circle guide kit with a router to create perfect arches out of plywood.

The arches were then stained and edge banded to match the rest of the wood pieces.

THE CANE
Next, we added cane to the back of the arches. To darken the cane, we used Liquid Polyshades in Mission Oak for a worn look.

Once the cane was dry, we attached it to the arches using a staple gun.

ASSEMBLING THE MURPHY BED
After finishing the arches, we assembled the Murphy Bed. The kit came with detailed instructions and helpful videos to guide us through the process.

With some assistance from the kit provider, we were able to successfully build the Murphy Bed and ensure it functioned properly.

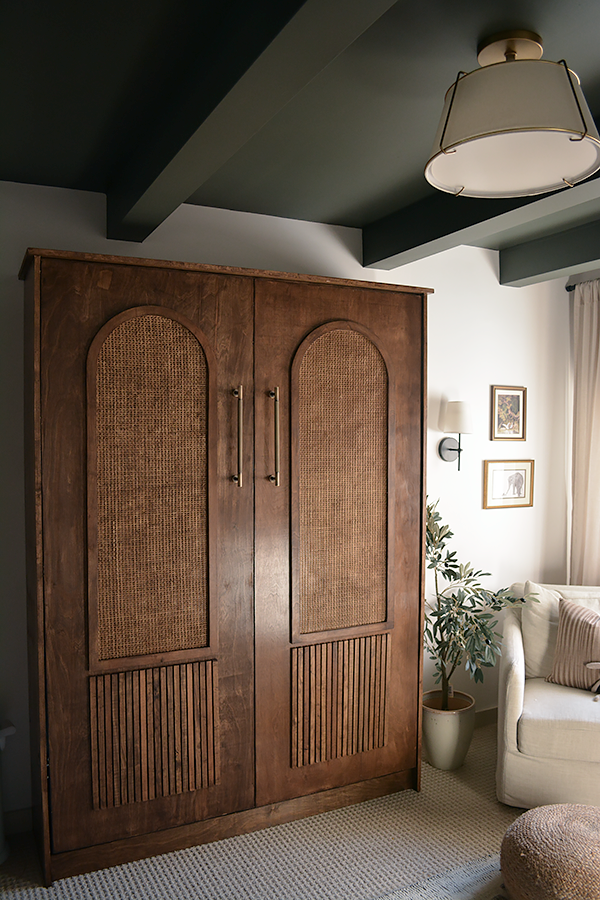
Adding the finishing touches, including the dark cane arches, wood slats, and brass handles, completed the look of the Murphy Bed.

The end result was a beautiful and functional Murphy Bed that serves as a unique centerpiece in our nursery-guest room.
Related