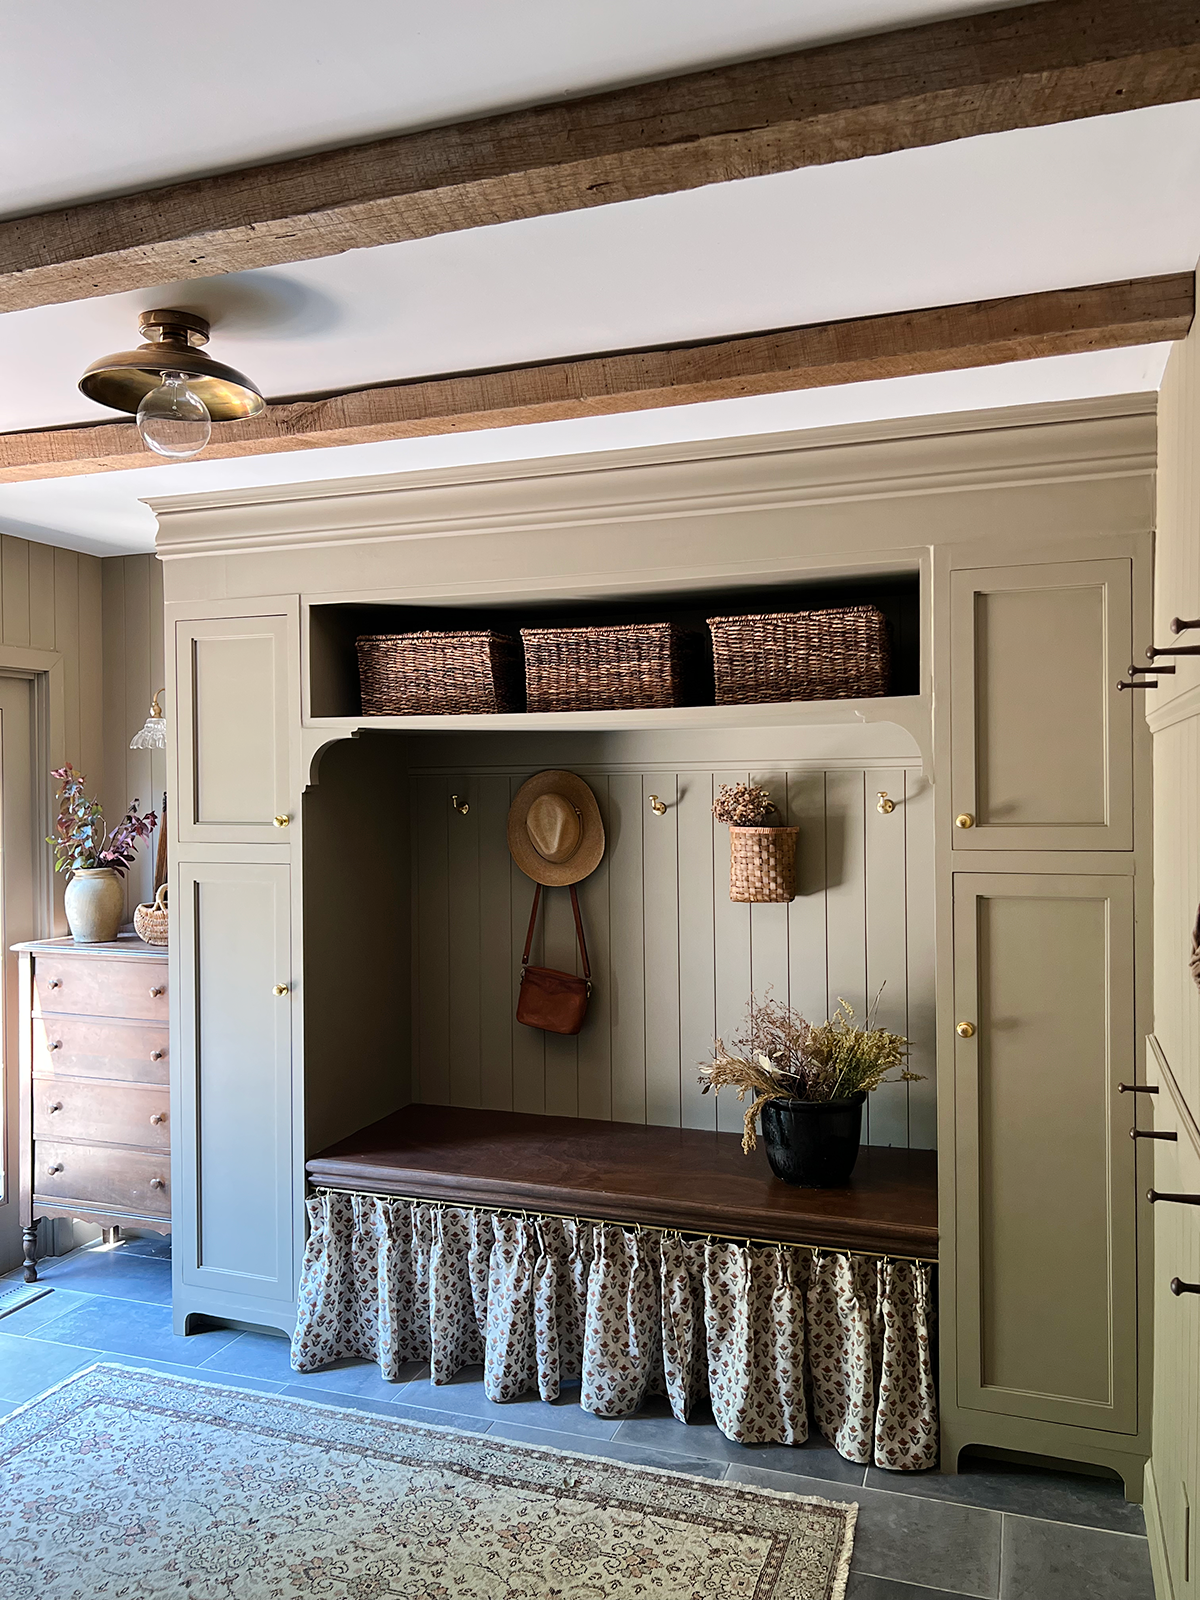
Our laundry/mud room was the first room that we ever completely gutted when we moved into our home. It was also the first room I ever completely designed from scratch. Over the years, and 2 more kids later, we realized we needed it to function a bit differently for us. So we decided to give it another update. This time using our more seasoned DIY skills and design knowledge to create a space that is full of form and function. Including DIY Built ins and hidden shoe storage.
THE BEFORES
Let’s take a walk down memory lane and look at where we first started when we moved in. It was pretty bad, but Dan’s dad was living here all by himself and really didn’t care what it looked like.

That’s why this was the first room we tackled when we moved in since he had no emotional attachment to it…unlike some other rooms in the house 😉
This was how it looked after we completed it for the One Room Challenge back in 2016.
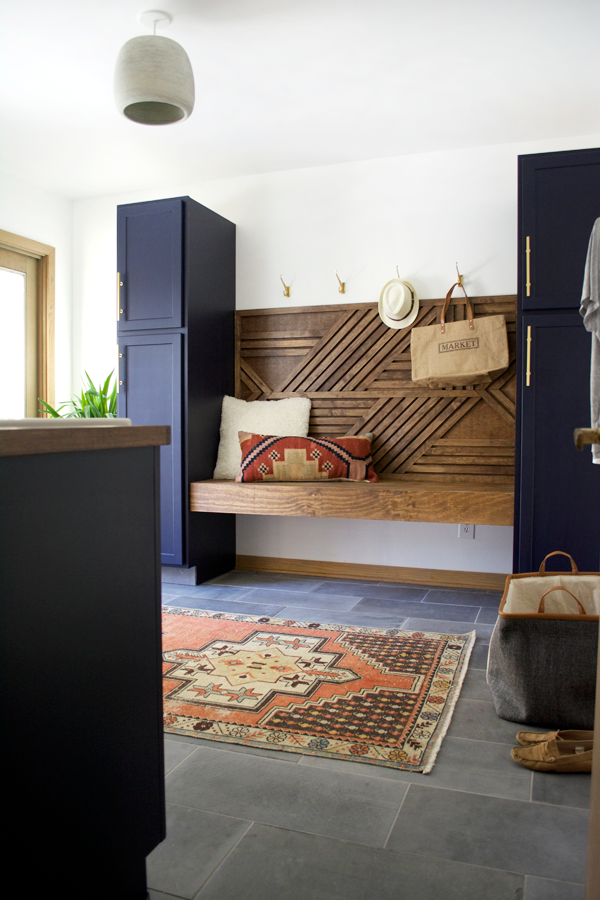
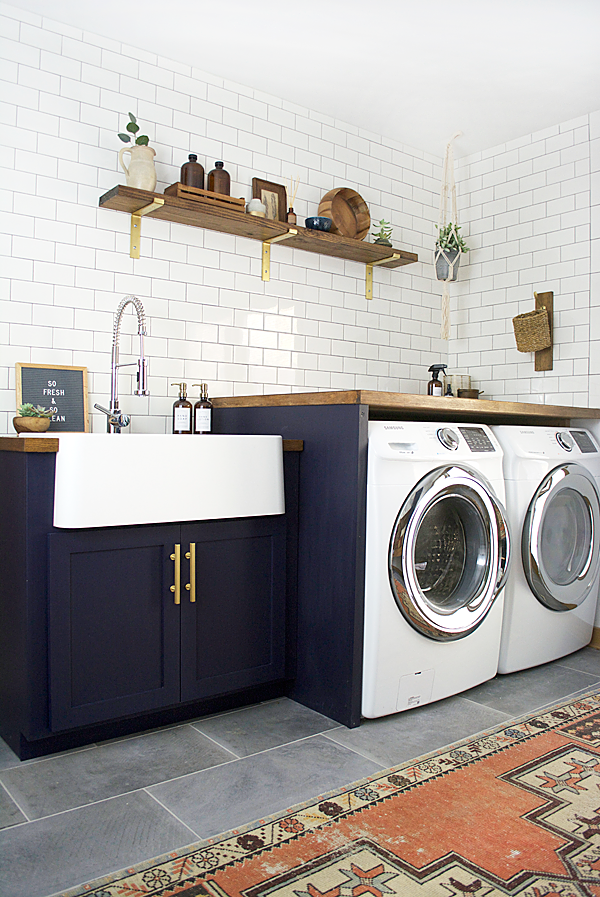
Over the years, I’ve changed the decor a bit and gave it a little refresh, but the main bones have always stayed the same.
Now that we have 3 kids, we realized this space wasn’t getting used to it’s maximum potential. Our shoe storage was completely lacking and a hot mess – I knew I wanted some hidden shoe storage. The kids couldn’t really reach the hooks to hang any of their stuff and my style has evolved and I was just ready for a change.
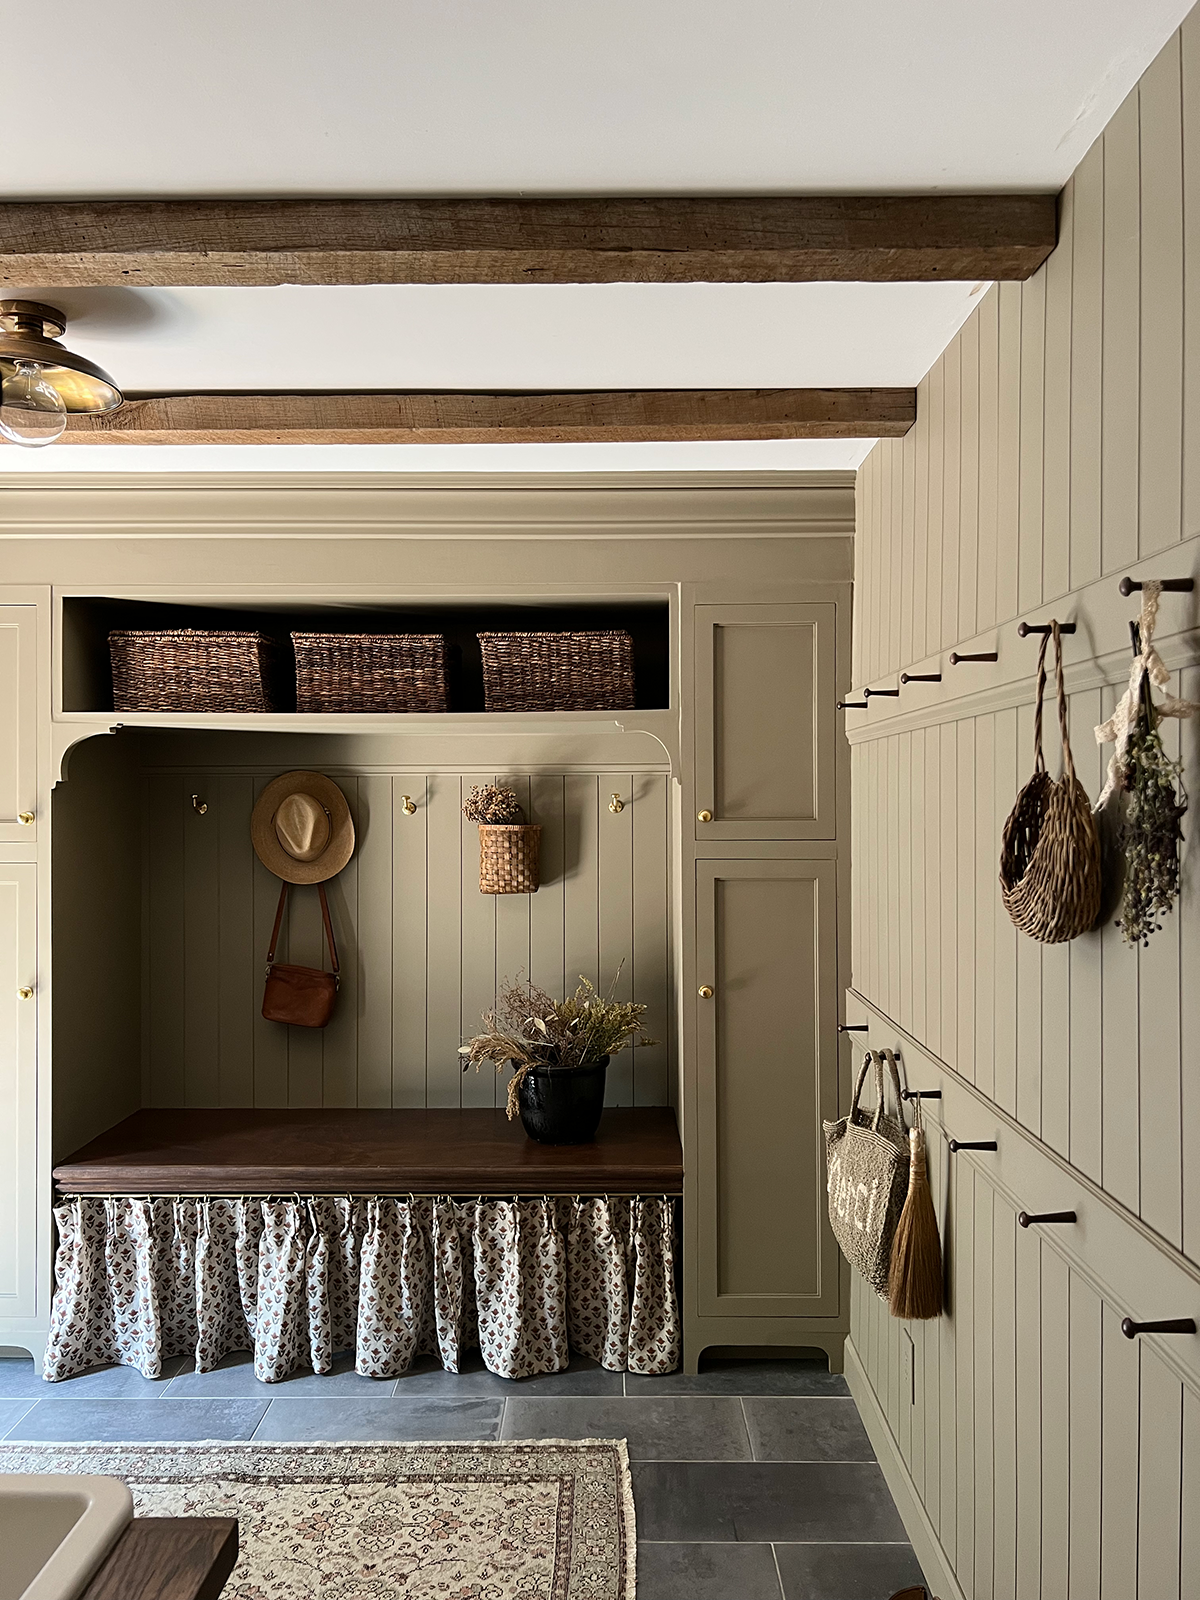
THE WALLS: SHIPLAP PANELING
One of the easiest ways to add visual interest and character to your walls is by hanging shiplap. If you buy singular boards though, it can get pricey real quick. We used these shiplap panels from Lowe’s which were much cheaper but still give you the same look. You just have to cut them to size on the table saw where needed.
THE COLOR: MOUSES BACK BY FARROW & BALL
For years I’ve thought about changing the color of the cabinets in here but never took the plunge. So when we finally decided to do this update it was go time. I sampled a few colors from Farrow & Ball and ended up choosing Mouses Back which is the most beautiful light brown, beige color. Don’t let the funny name throw you off, it’s absolutely stunning!
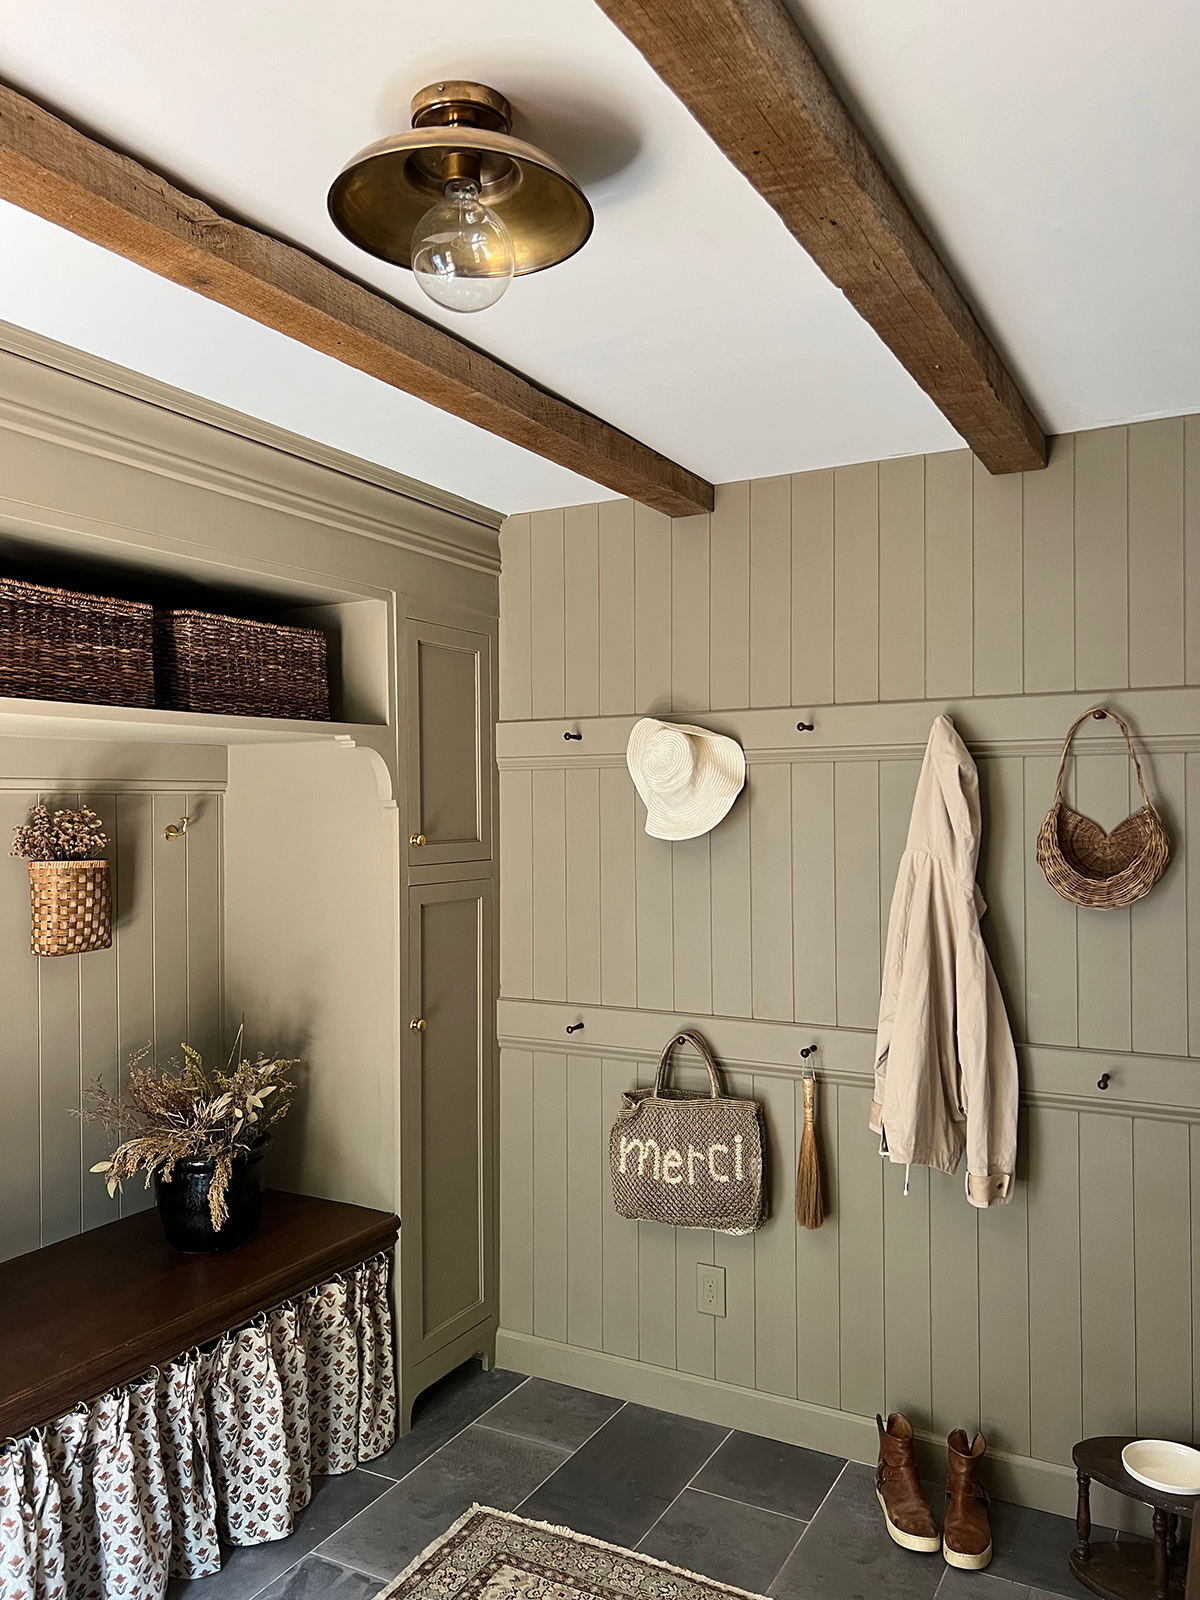
We used their new Dead Flat finish which is exactly what it sounds like: very flat. And I usually wouldn’t choose a flat finish for such a high traffic area but this paint was meant for exactly that. It’s durable, scrubbable and scratch resistant so I felt confident putting it somewhere I knew grubby little hands would be constantly touching.
It’s also multi-surface which is great because it can be painted on walls, woodwork and metal. No need to tape off – just paint it all!
THE CABINETS: DIY BUILT INS WITH A CUSTOM LOOK
New cabinetry can be awfully expensive – which we recently learned from our kitchen reno. So we knew we wanted to be a little more budget friendly in here. I wanted the look of custom built ins so instead of ripping everything out, we just built on top of what was already there. We kept the two tall cabinets which were just stock cabinets from Lowe’s and added trim and moulding above them as well as a shelf in between to tie it all together.
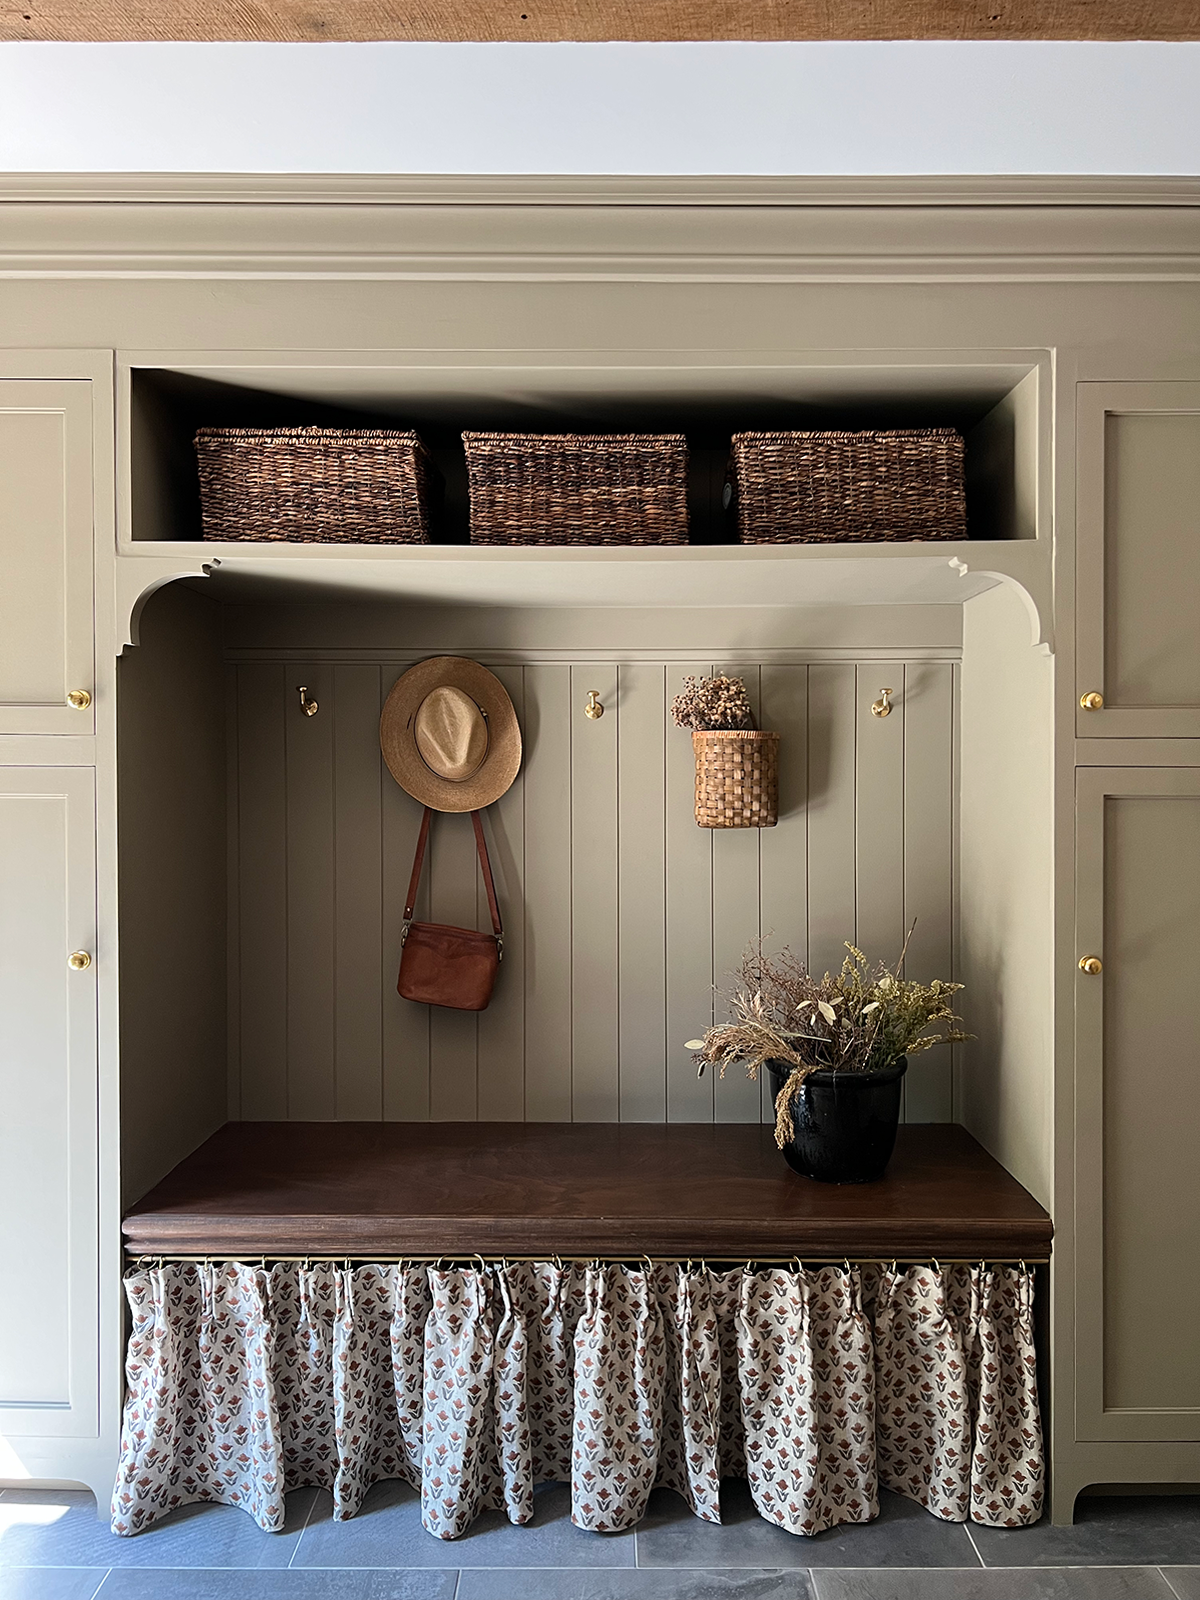
It completely transformed this side of the room and made it so much more functional with that additional storage above. And the crown moulding took it all up a notch. Making our own DIY built ins saved us a ton of money.
Another update we did was to change out the cabinet doors. They were originally overlay doors which means they rest on top of the face frame. I wanted to change them to be inset for a more European look.
We ordered them from Fast Cabinet Doors and yes they live up to their name. They arrived super fast and were really great quality. You can get them in a number of finishes but we just got them in paint grade since I was going to be painting.
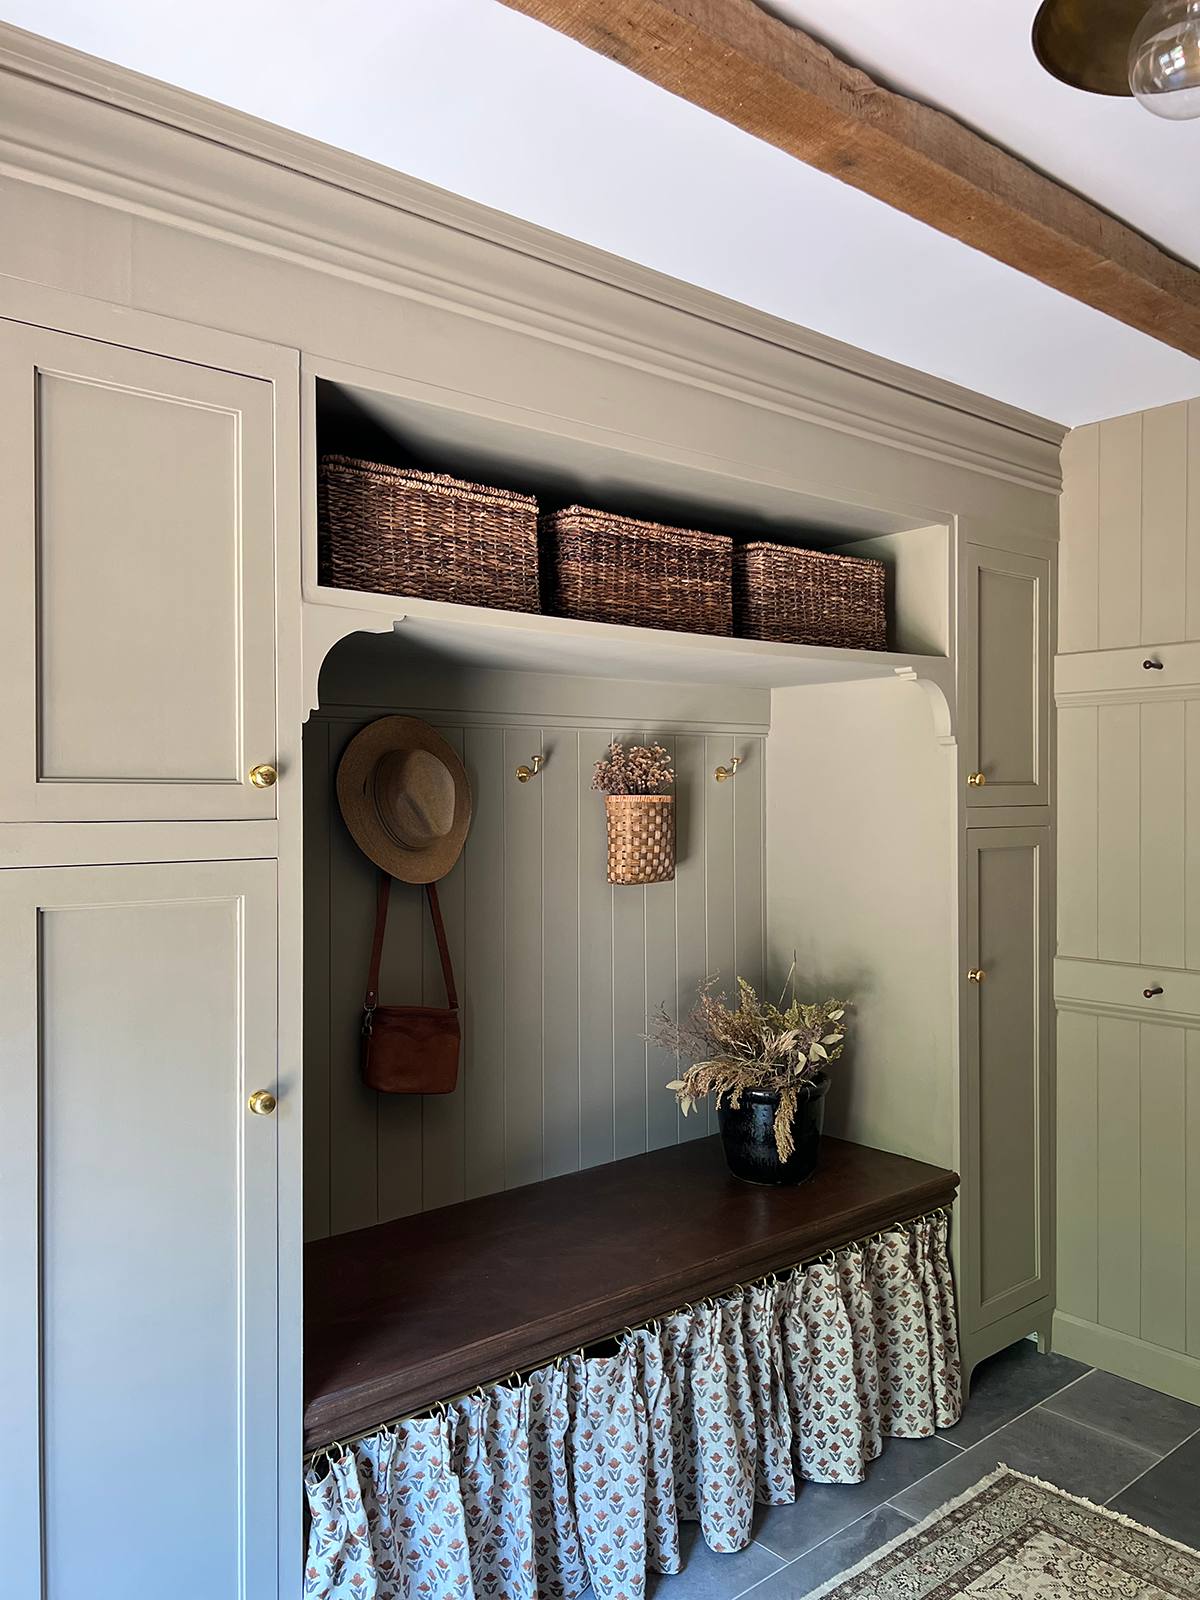
I went with the Campbell Cabinet Door which has just a little more detail than your standard shaker door and I adore how they look.
Installation ended up being a little harder than we thought, only because we measured the openings for our doors before we built everything up around the cabinets. After doing so, the weight of the new wood shifted things slightly and the new doors didn’t fit perfectly.
All we needed to do was shave the sides of some of the doors as well as some parts of the inside edge of the cabinet and we eventually got them to sit inset and they looked so good! If you’re ever in this situation, a hand planer works wonders!

