
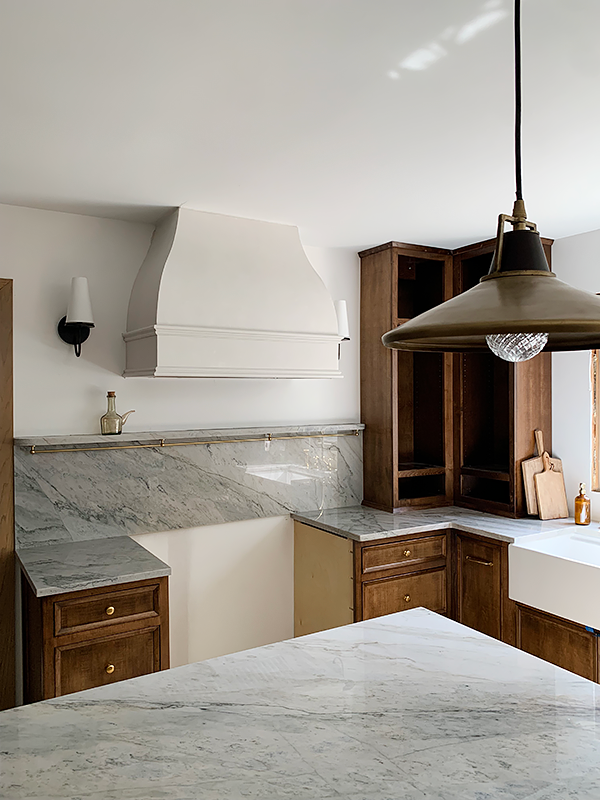
Our kitchen hood has been successfully installed and the Roman Clay finish is complete, giving it a stunning appearance. I am absolutely thrilled with how it turned out. While the back wall behind the hood is still bare, I am taking my time to carefully consider my options before making a decision. I want to ensure that the final look complements the overall aesthetic of the kitchen.
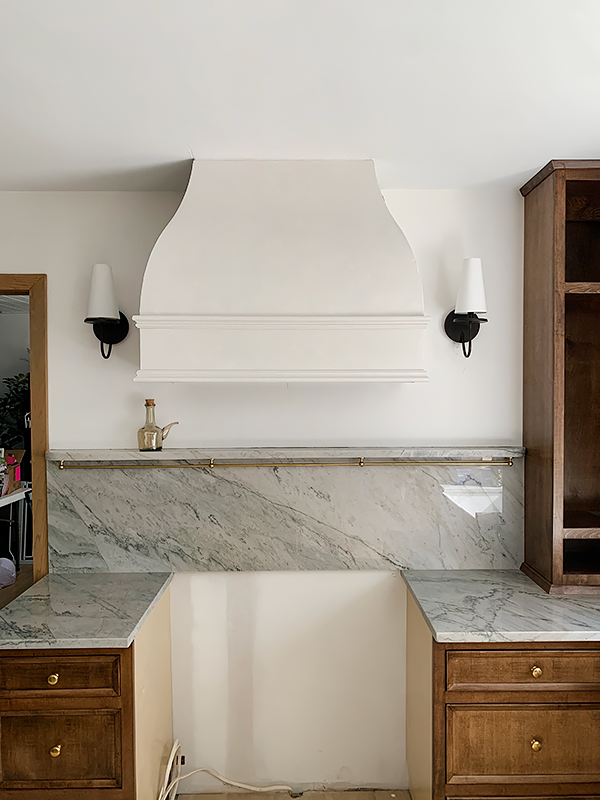
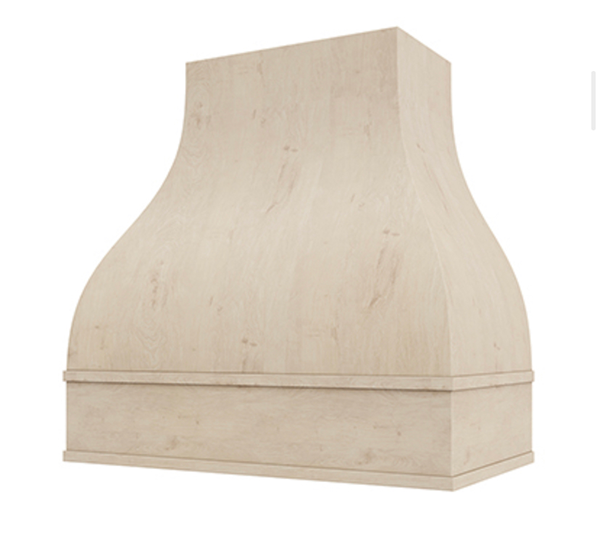
Regarding the hood, we sourced it from Hoodsly and the customization options they offered were truly impressive. From curved to straight designs, molding, and different finishing options, we had the freedom to create a hood that perfectly suited our vision. The installation process was relatively straightforward, thanks to the excellent craftsmanship of Hoodsly. Opting for a raw finish allowed me to apply the Roman Clay finish that I had envisioned.
THE DUCT WORK
Prior to delving into the Roman Clay details, I wanted to provide an overview of the duct work. The duct had to be directed through the wall behind the hood and into the dining room before venting outside. To conceal the duct, we boxed it in and also covered a can light that was no longer needed. Additionally, we relocated the air return to the underside of the beam for a cleaner look. The outer vent piece will be painted to seamlessly blend with the exterior of the house.
THE ROMAN CLAY
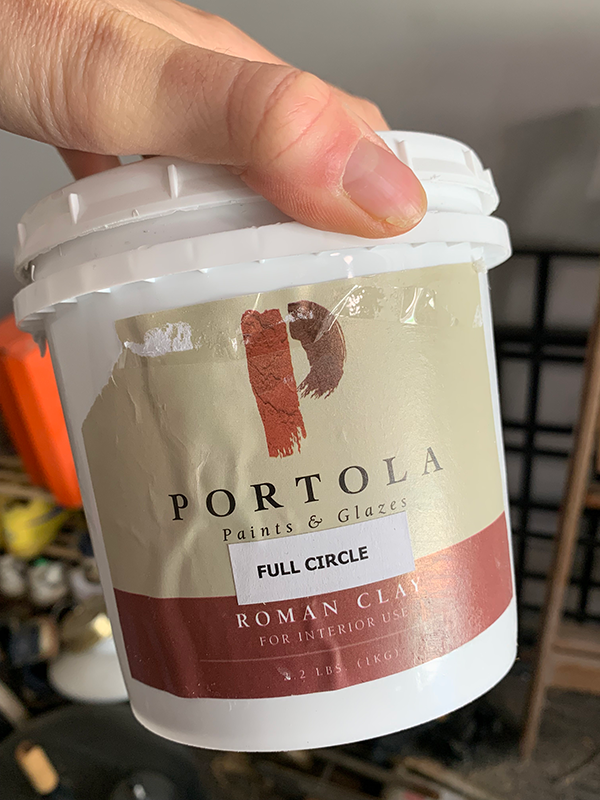
The first step in applying the Roman Clay finish is to prep the hood by priming it with Kilz primer. Caulking around the ceiling for a seamless finish is essential, and I used Backer Rod to fill any gaps effectively. The Roman Clay, in the color Full Circle from Portola Paints, was then applied to the primed surface. This natural, marbled finish provides a unique and organic touch to the hood. A top coat is recommended for durability and easy maintenance.
To apply the Roman Clay, plastic putty knives were used to achieve a smooth and even finish. The application process allows for creativity and does not require a specific technique. After applying the first coat, sanding and additional coats may be necessary to achieve the desired look.
THE TOP COAT
Once the Roman Clay is dry, a top coat is applied using the same method as the Roman Clay. This final layer ensures a smooth and polished finish. While the Roman Clay finish may not be intended for use above a stove, applying a top coat and regular maintenance can help maintain its appearance.
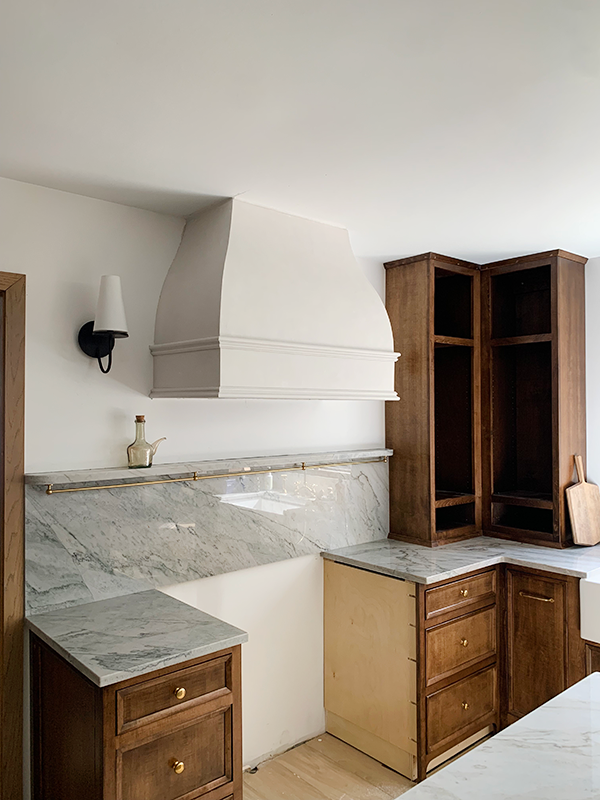
Overall, I am extremely pleased with the outcome of the Roman Clay finish on the hood. It perfectly aligns with our vision for the kitchen and adds a unique touch to the space. As we continue to enhance our kitchen, I am considering extending the Roman Clay finish to the wall as well. Stay tuned for more updates!
I am excited to see how the Roman Clay finish transforms the overall look of the kitchen and ties in with the hood. The versatility and beauty of Roman Clay make it a perfect choice for adding character and charm to any space.
Related