

Revamping Our Garage Floors: A DIY Project
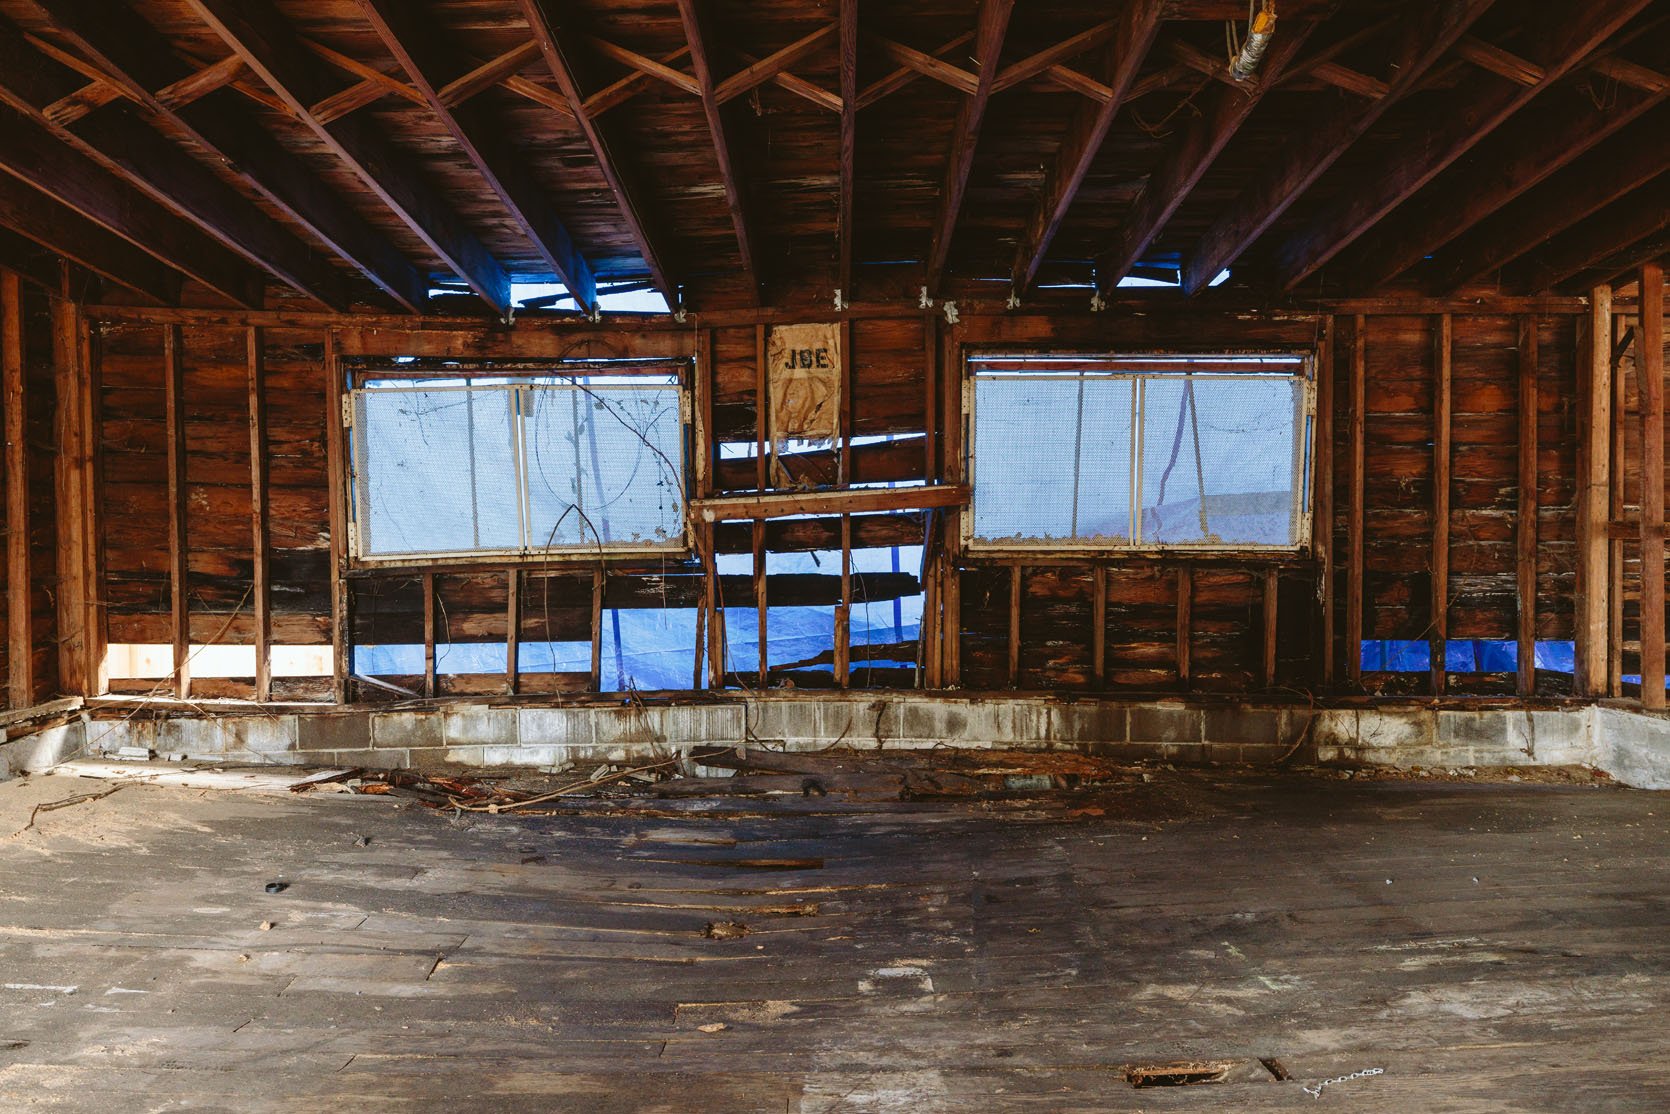
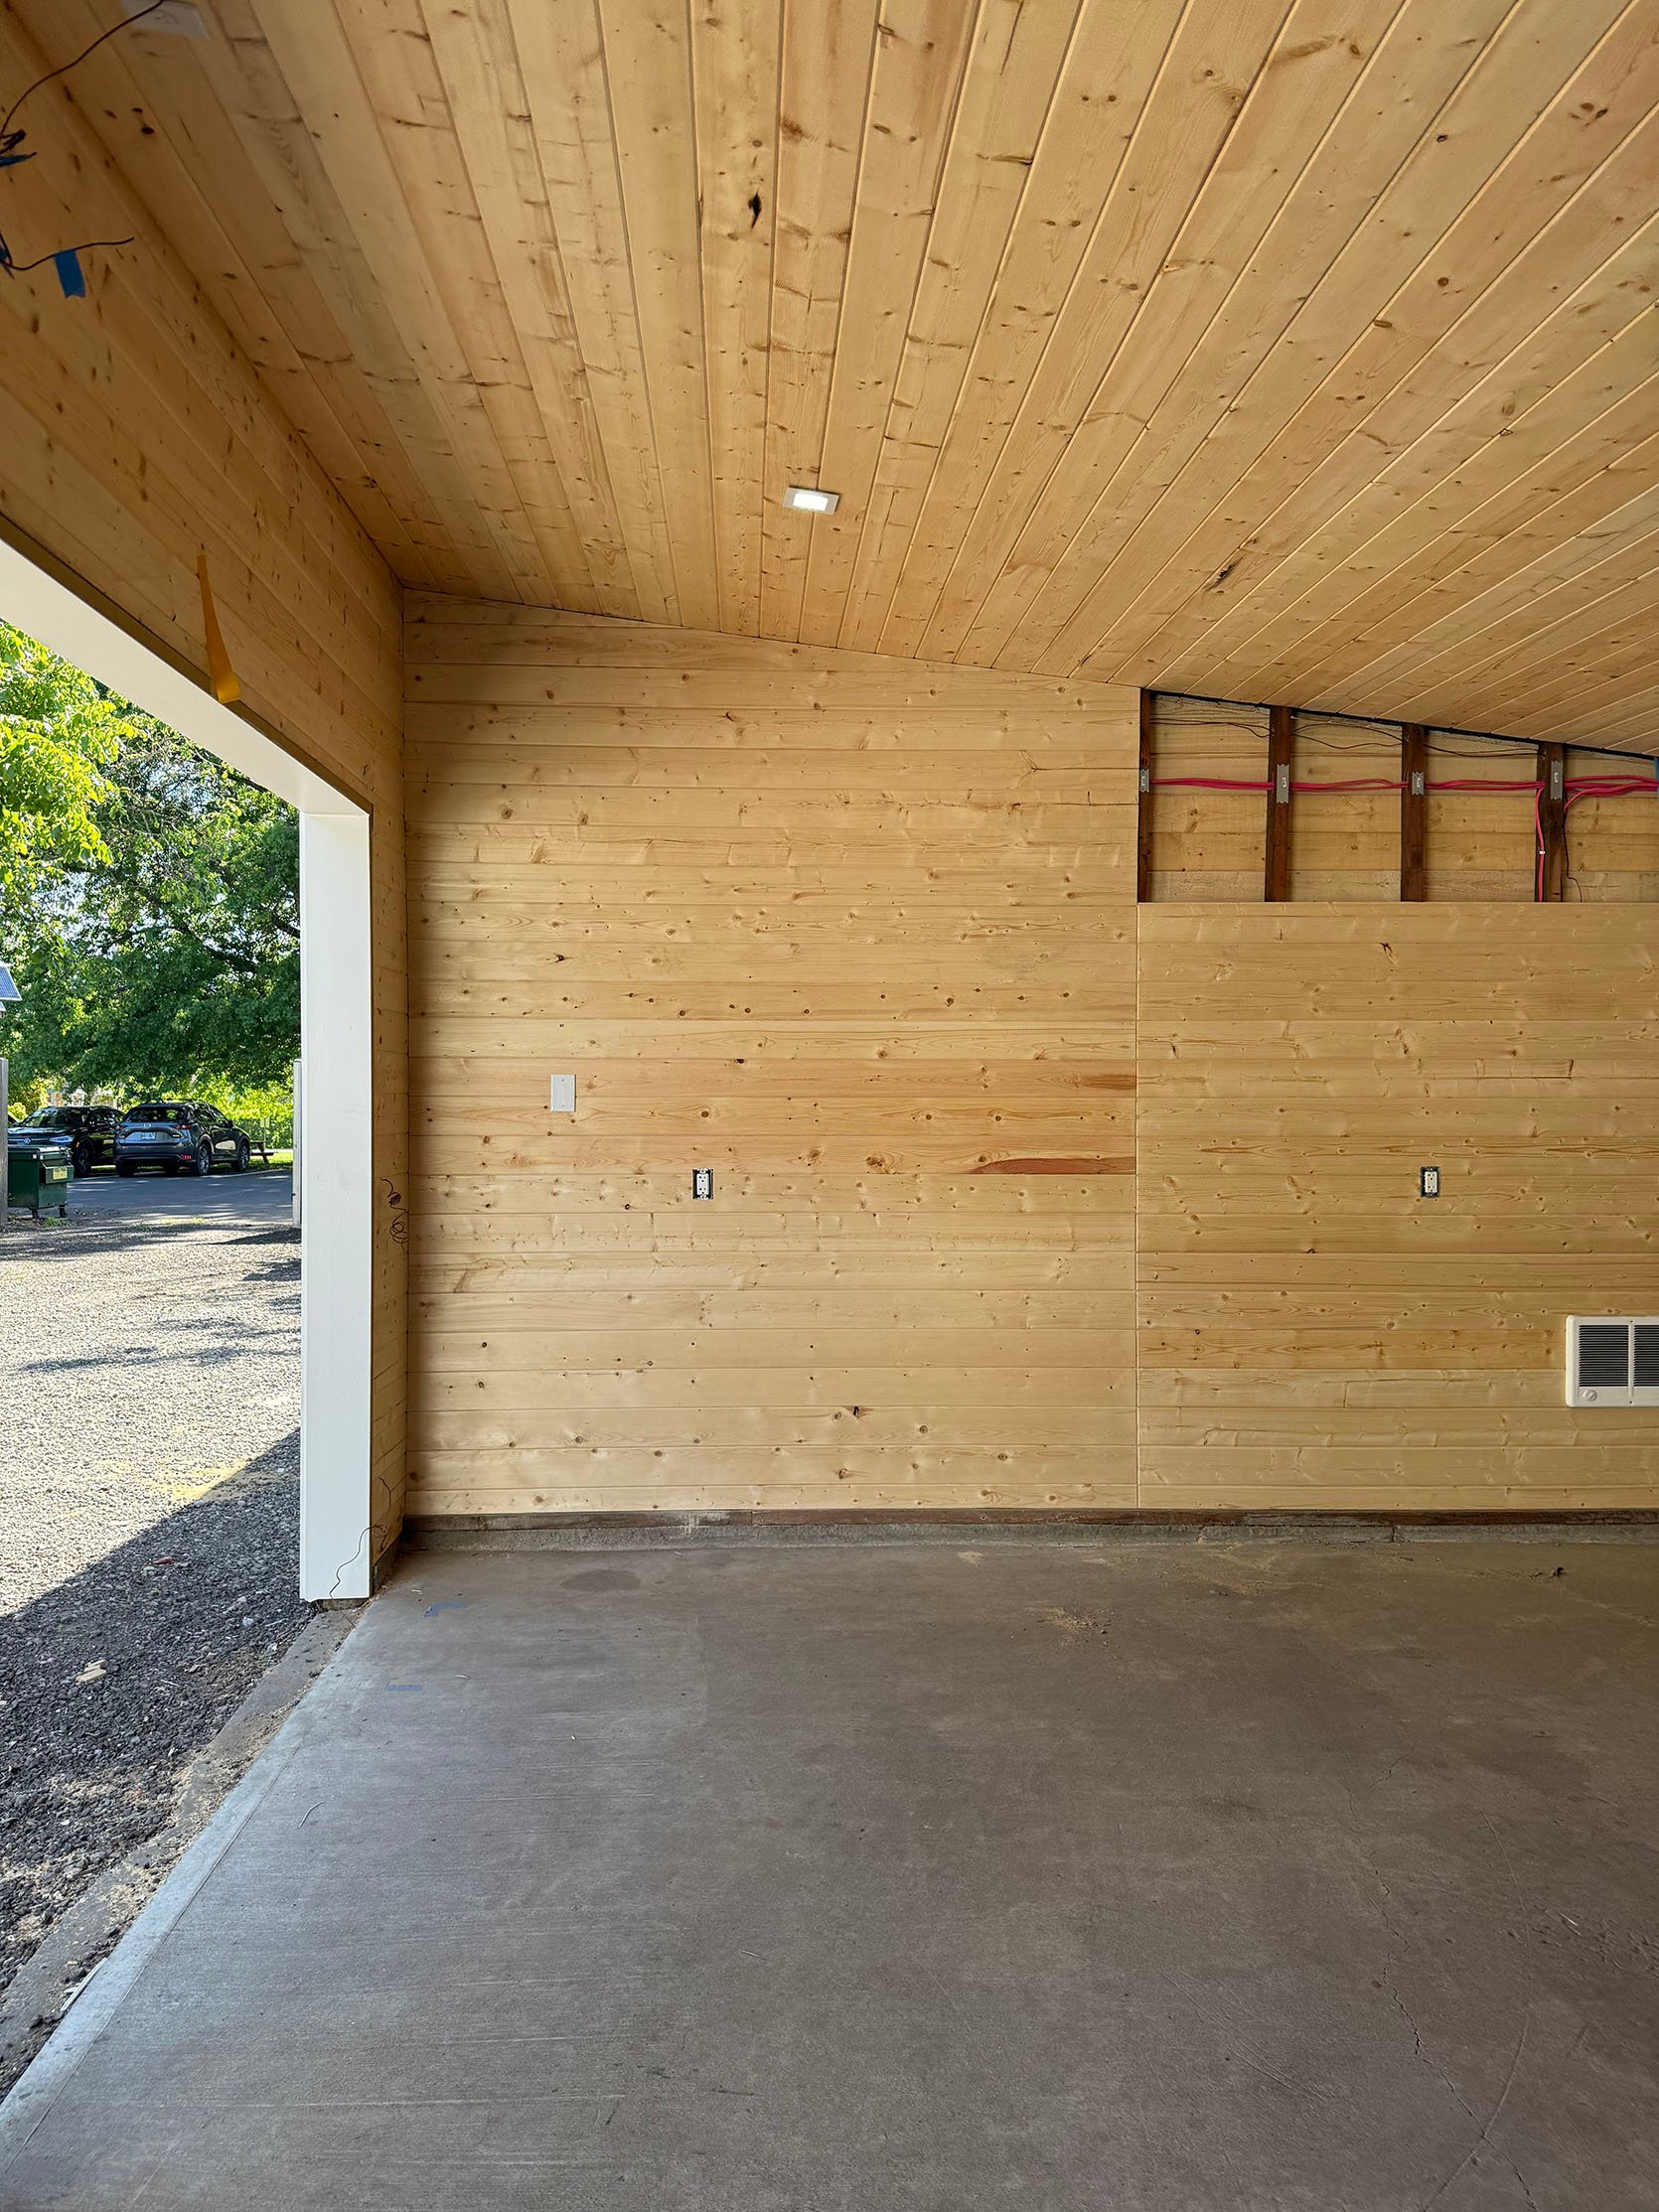
When my partner and I first decided to renovate our garage, we knew that the concrete floor in the first bay was salvageable, unlike the second bay which required pouring new concrete due to rotting wood and dirt. Initially, I was focused on sticking to a tight budget and thought of just sealing the concrete without any fancy treatments. However, as the renovation progressed and the space started to come together with pine walls, the worn-out floor stood out, prompting me to reconsider. Today, I’ll walk you through our process and decision-making.
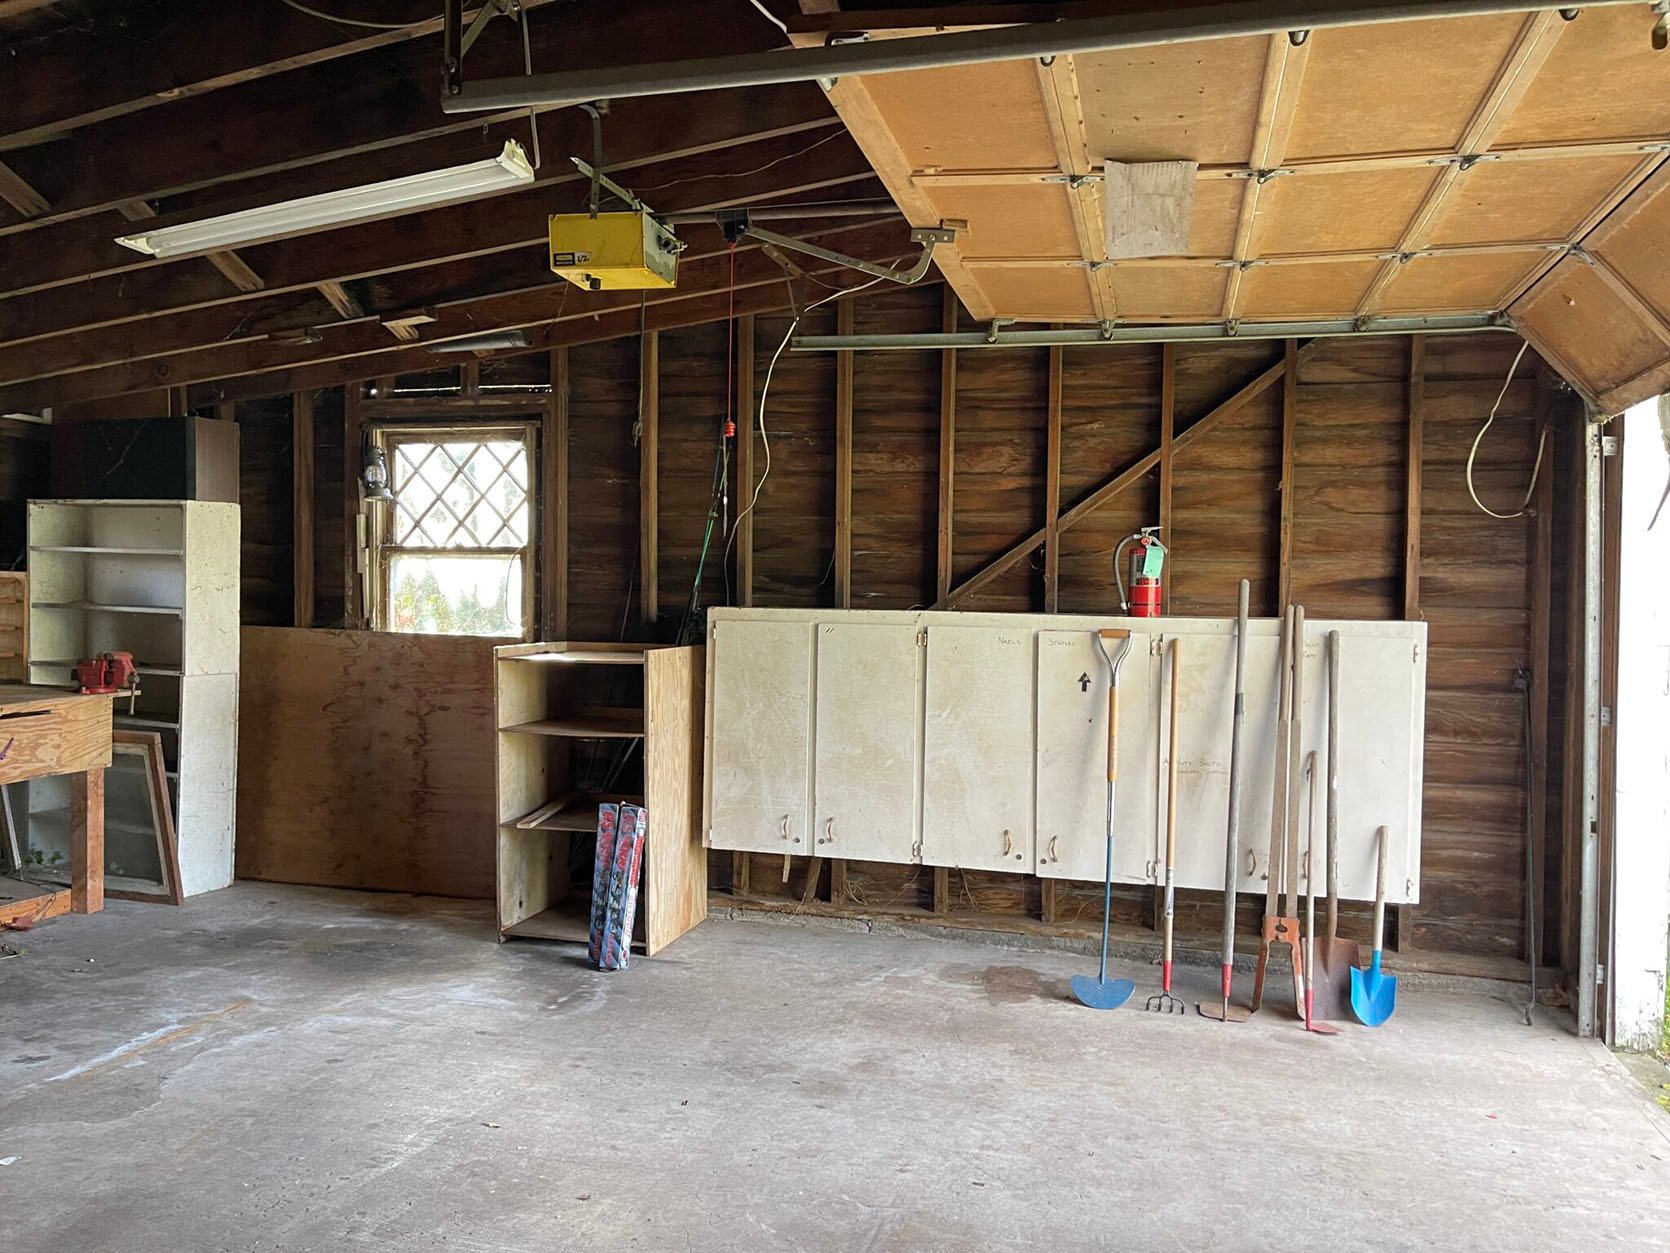
The original concrete floor in the prop storage bay was in decent condition, with some cracks and unevenness, but overall, it was functional. On the other hand, the second bay required new concrete due to extensive damage. Despite the differences, we opted for different treatments for each bay based on our priorities and budget constraints.
In the bay designated for the sofas, we poured new concrete and sealed it with a satin polyurethane finish for a clean and polished look. For the prop storage bay, which had more stains and imperfections, we opted for a different approach to achieve better coverage and a fresh appearance.
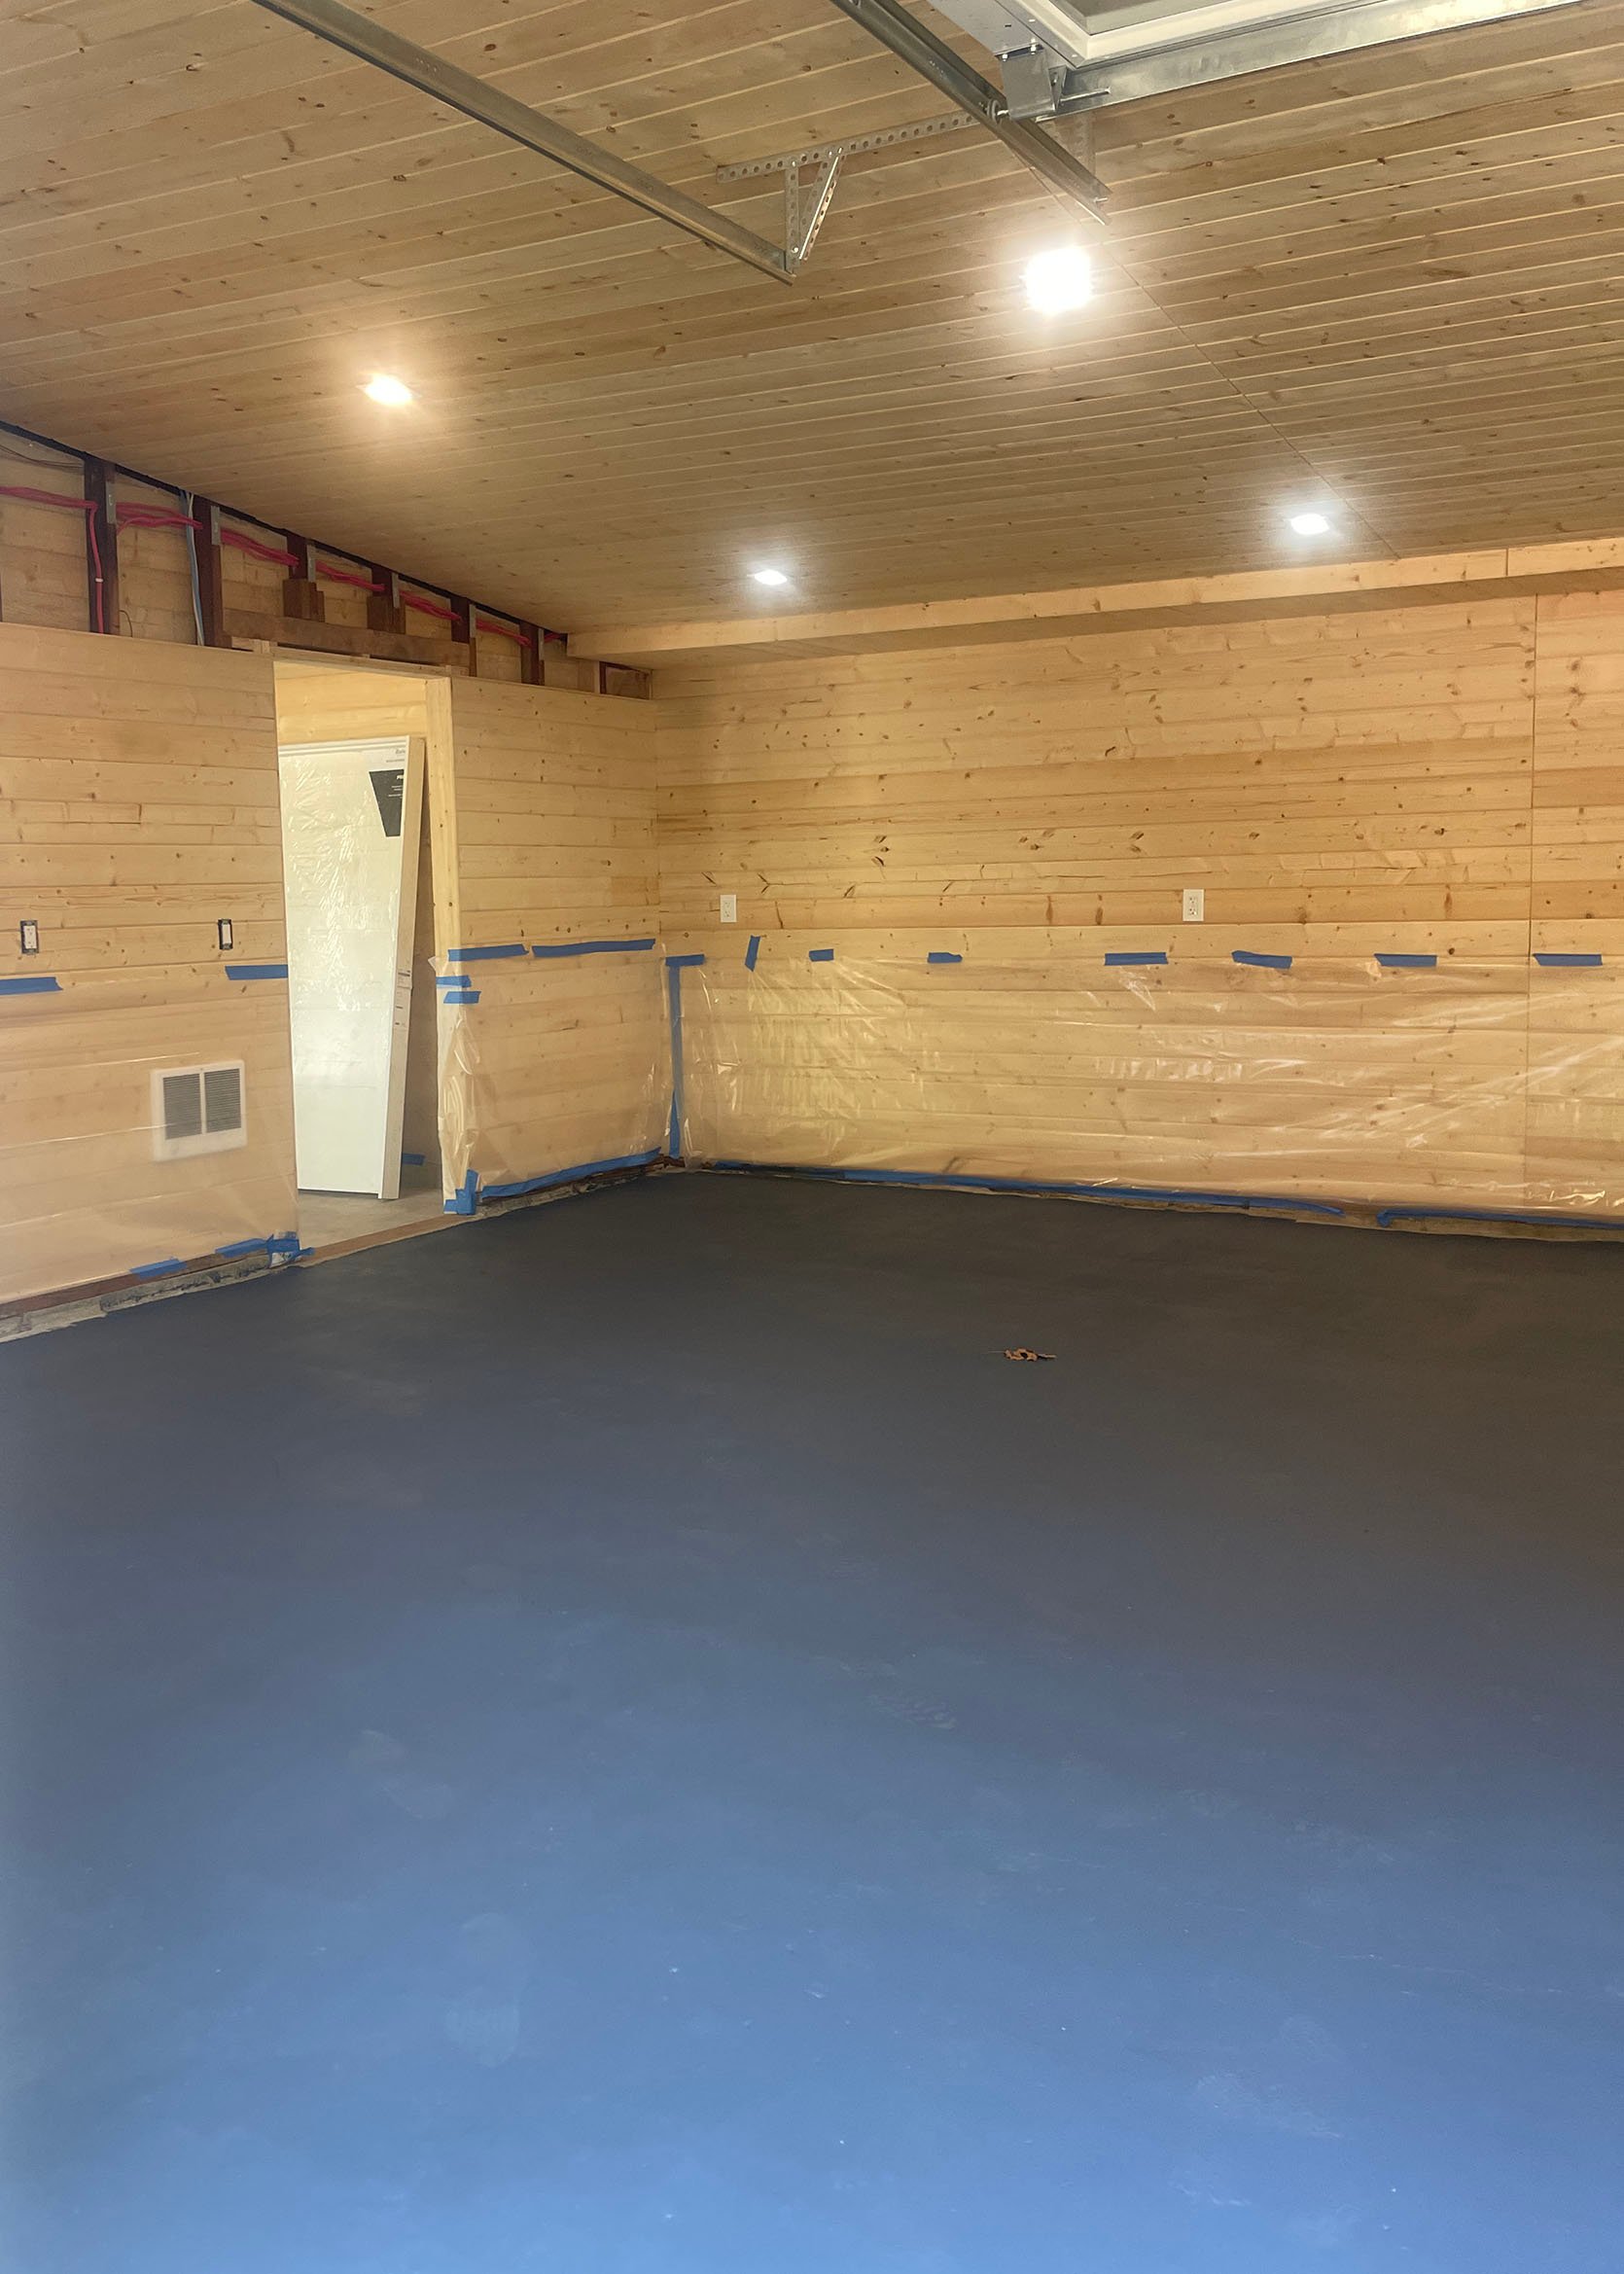
While my partner poured fresh concrete for the sofa bay and sealed it, we decided to paint the prop garage floor to conceal the stains and give it a facelift. In a hurry to finish before the IKEA installation, I mistakenly chose an opaque blue paint instead of a transparent stain, resulting in a bold and intense color that didn’t fit the aesthetic.
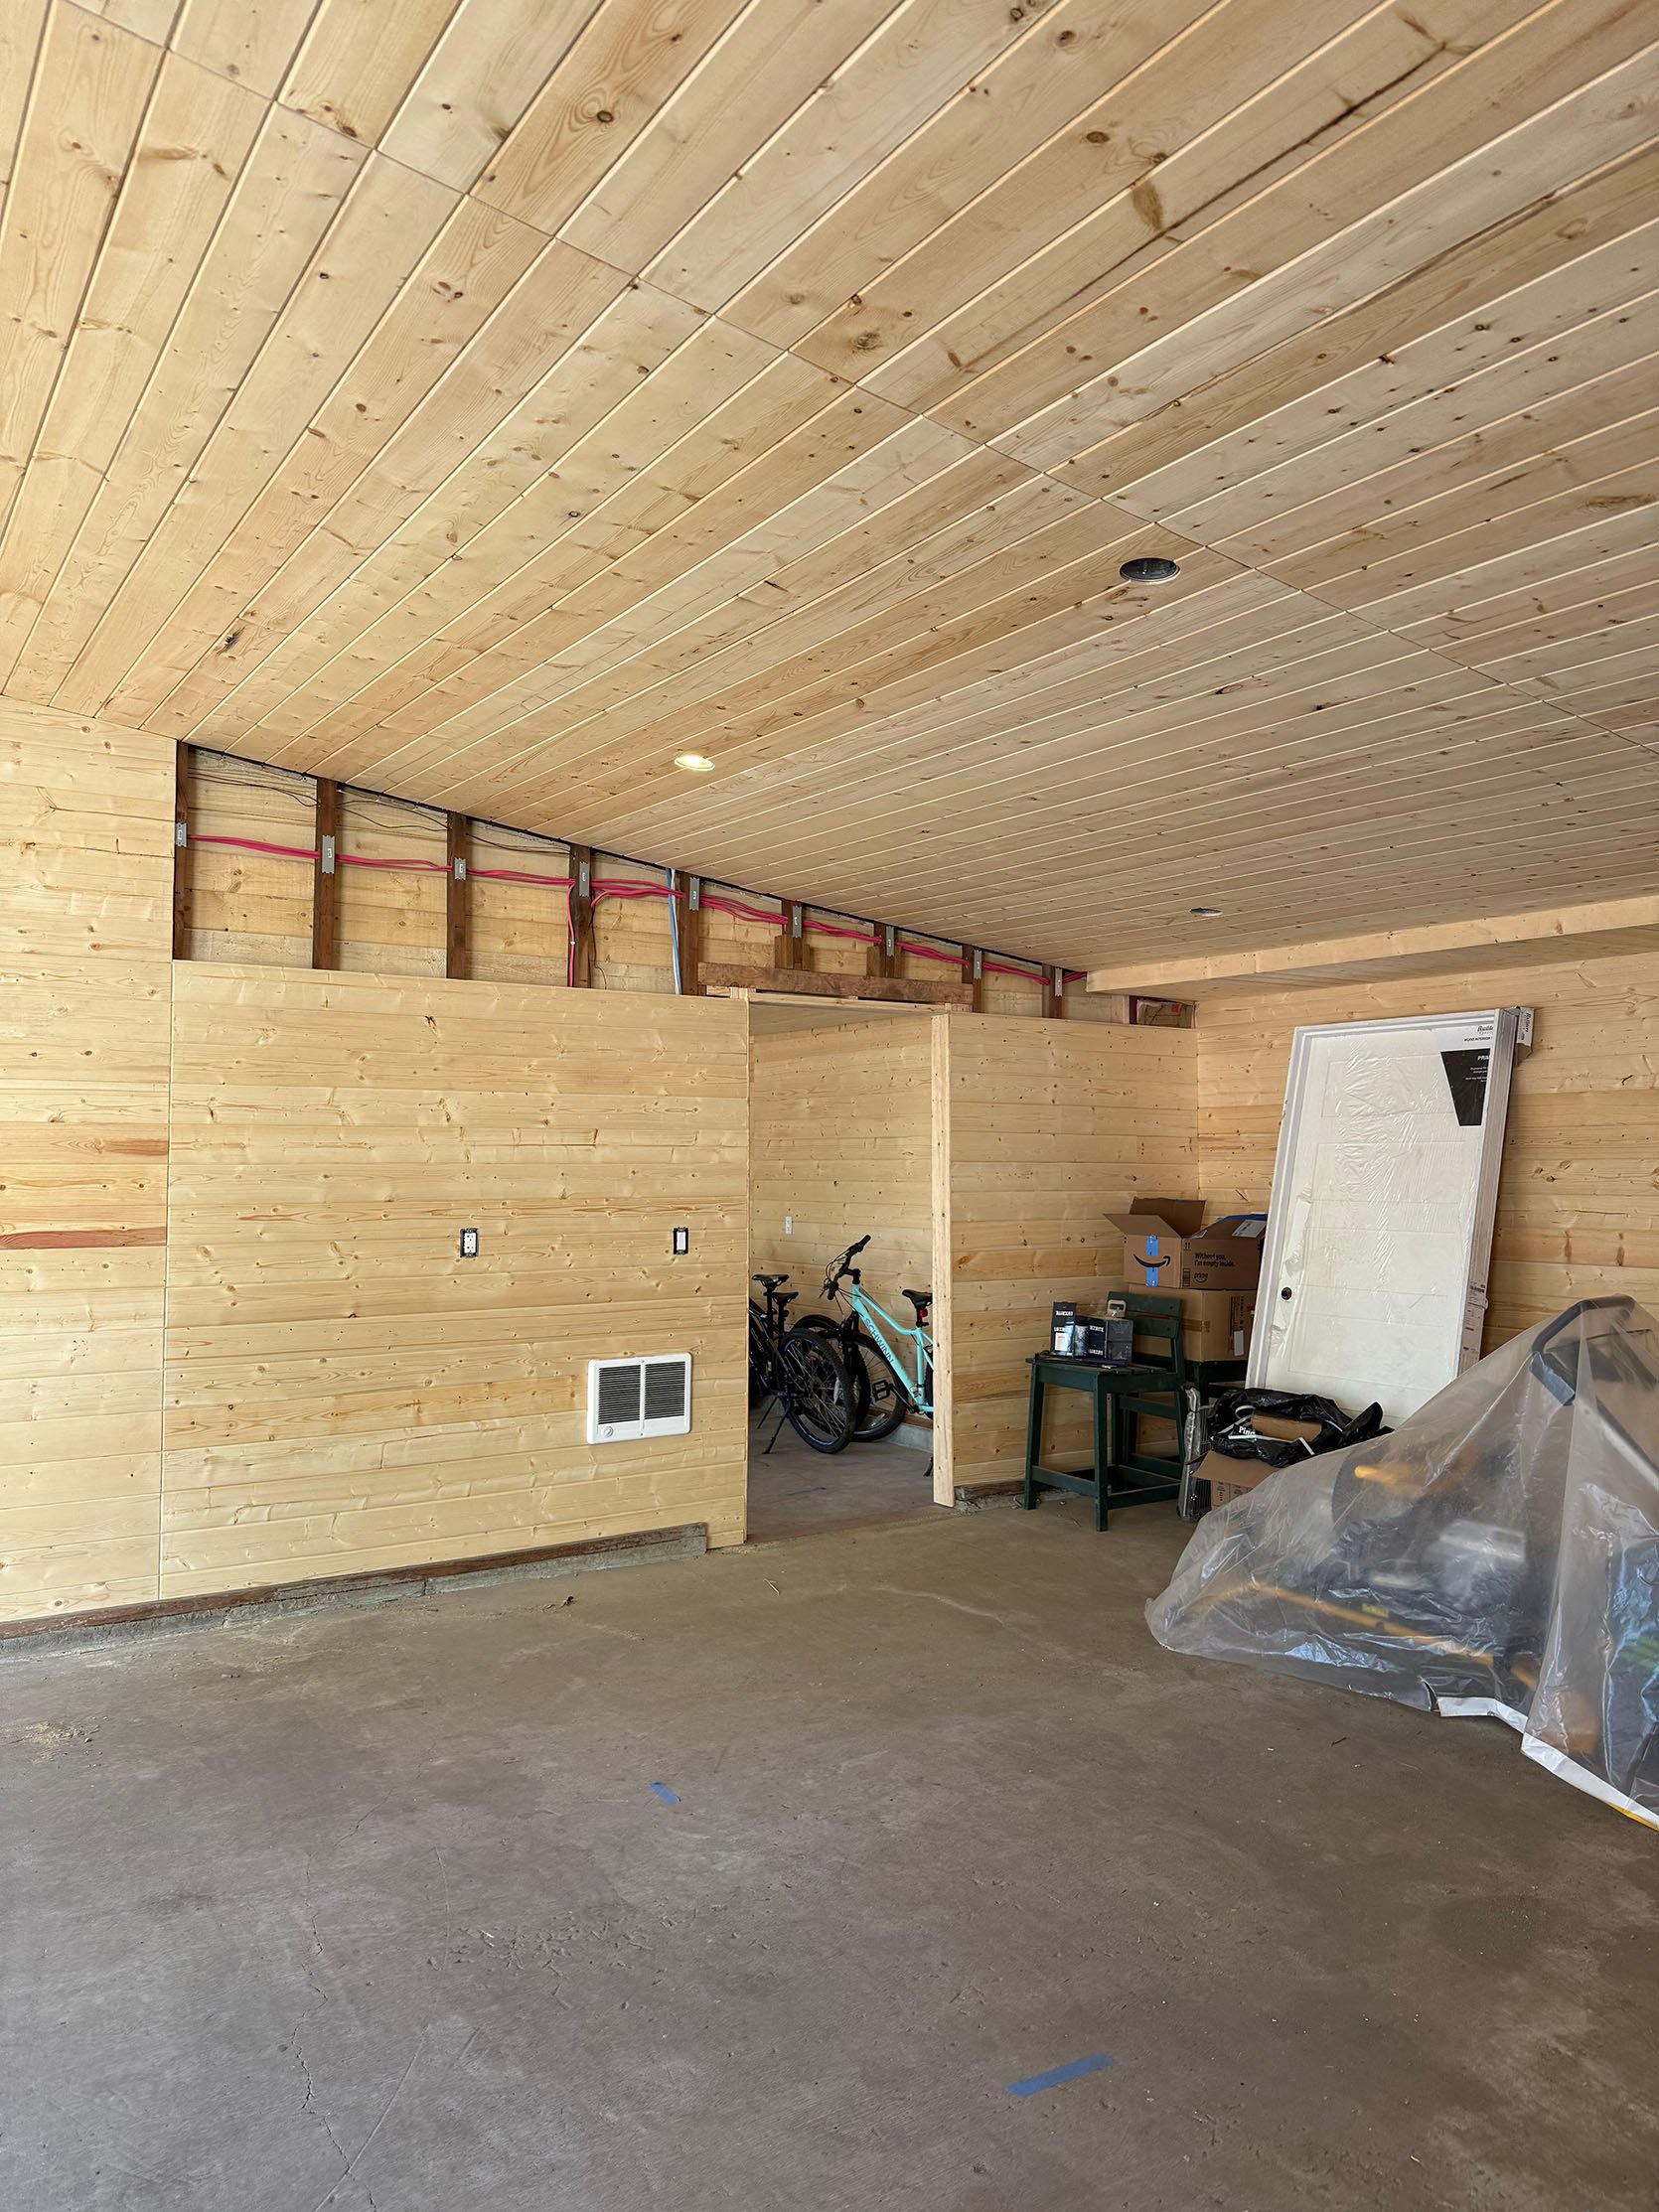
After realizing the mistake, we sampled various shades of gray to find a color that would complement the existing elements in the garage, such as the wood walls and green cabinets. Eventually, we settled on a neutral gray with green undertones, Sherwin-Williams’ Illusive Green, which tied everything together beautifully.

Although it may appear gray in photos, the Illusive Green paint added warmth and character to the garage, enhancing the overall aesthetic. This cost-effective and low-maintenance solution provided full coverage and easy cleaning, making it a practical choice for our space.
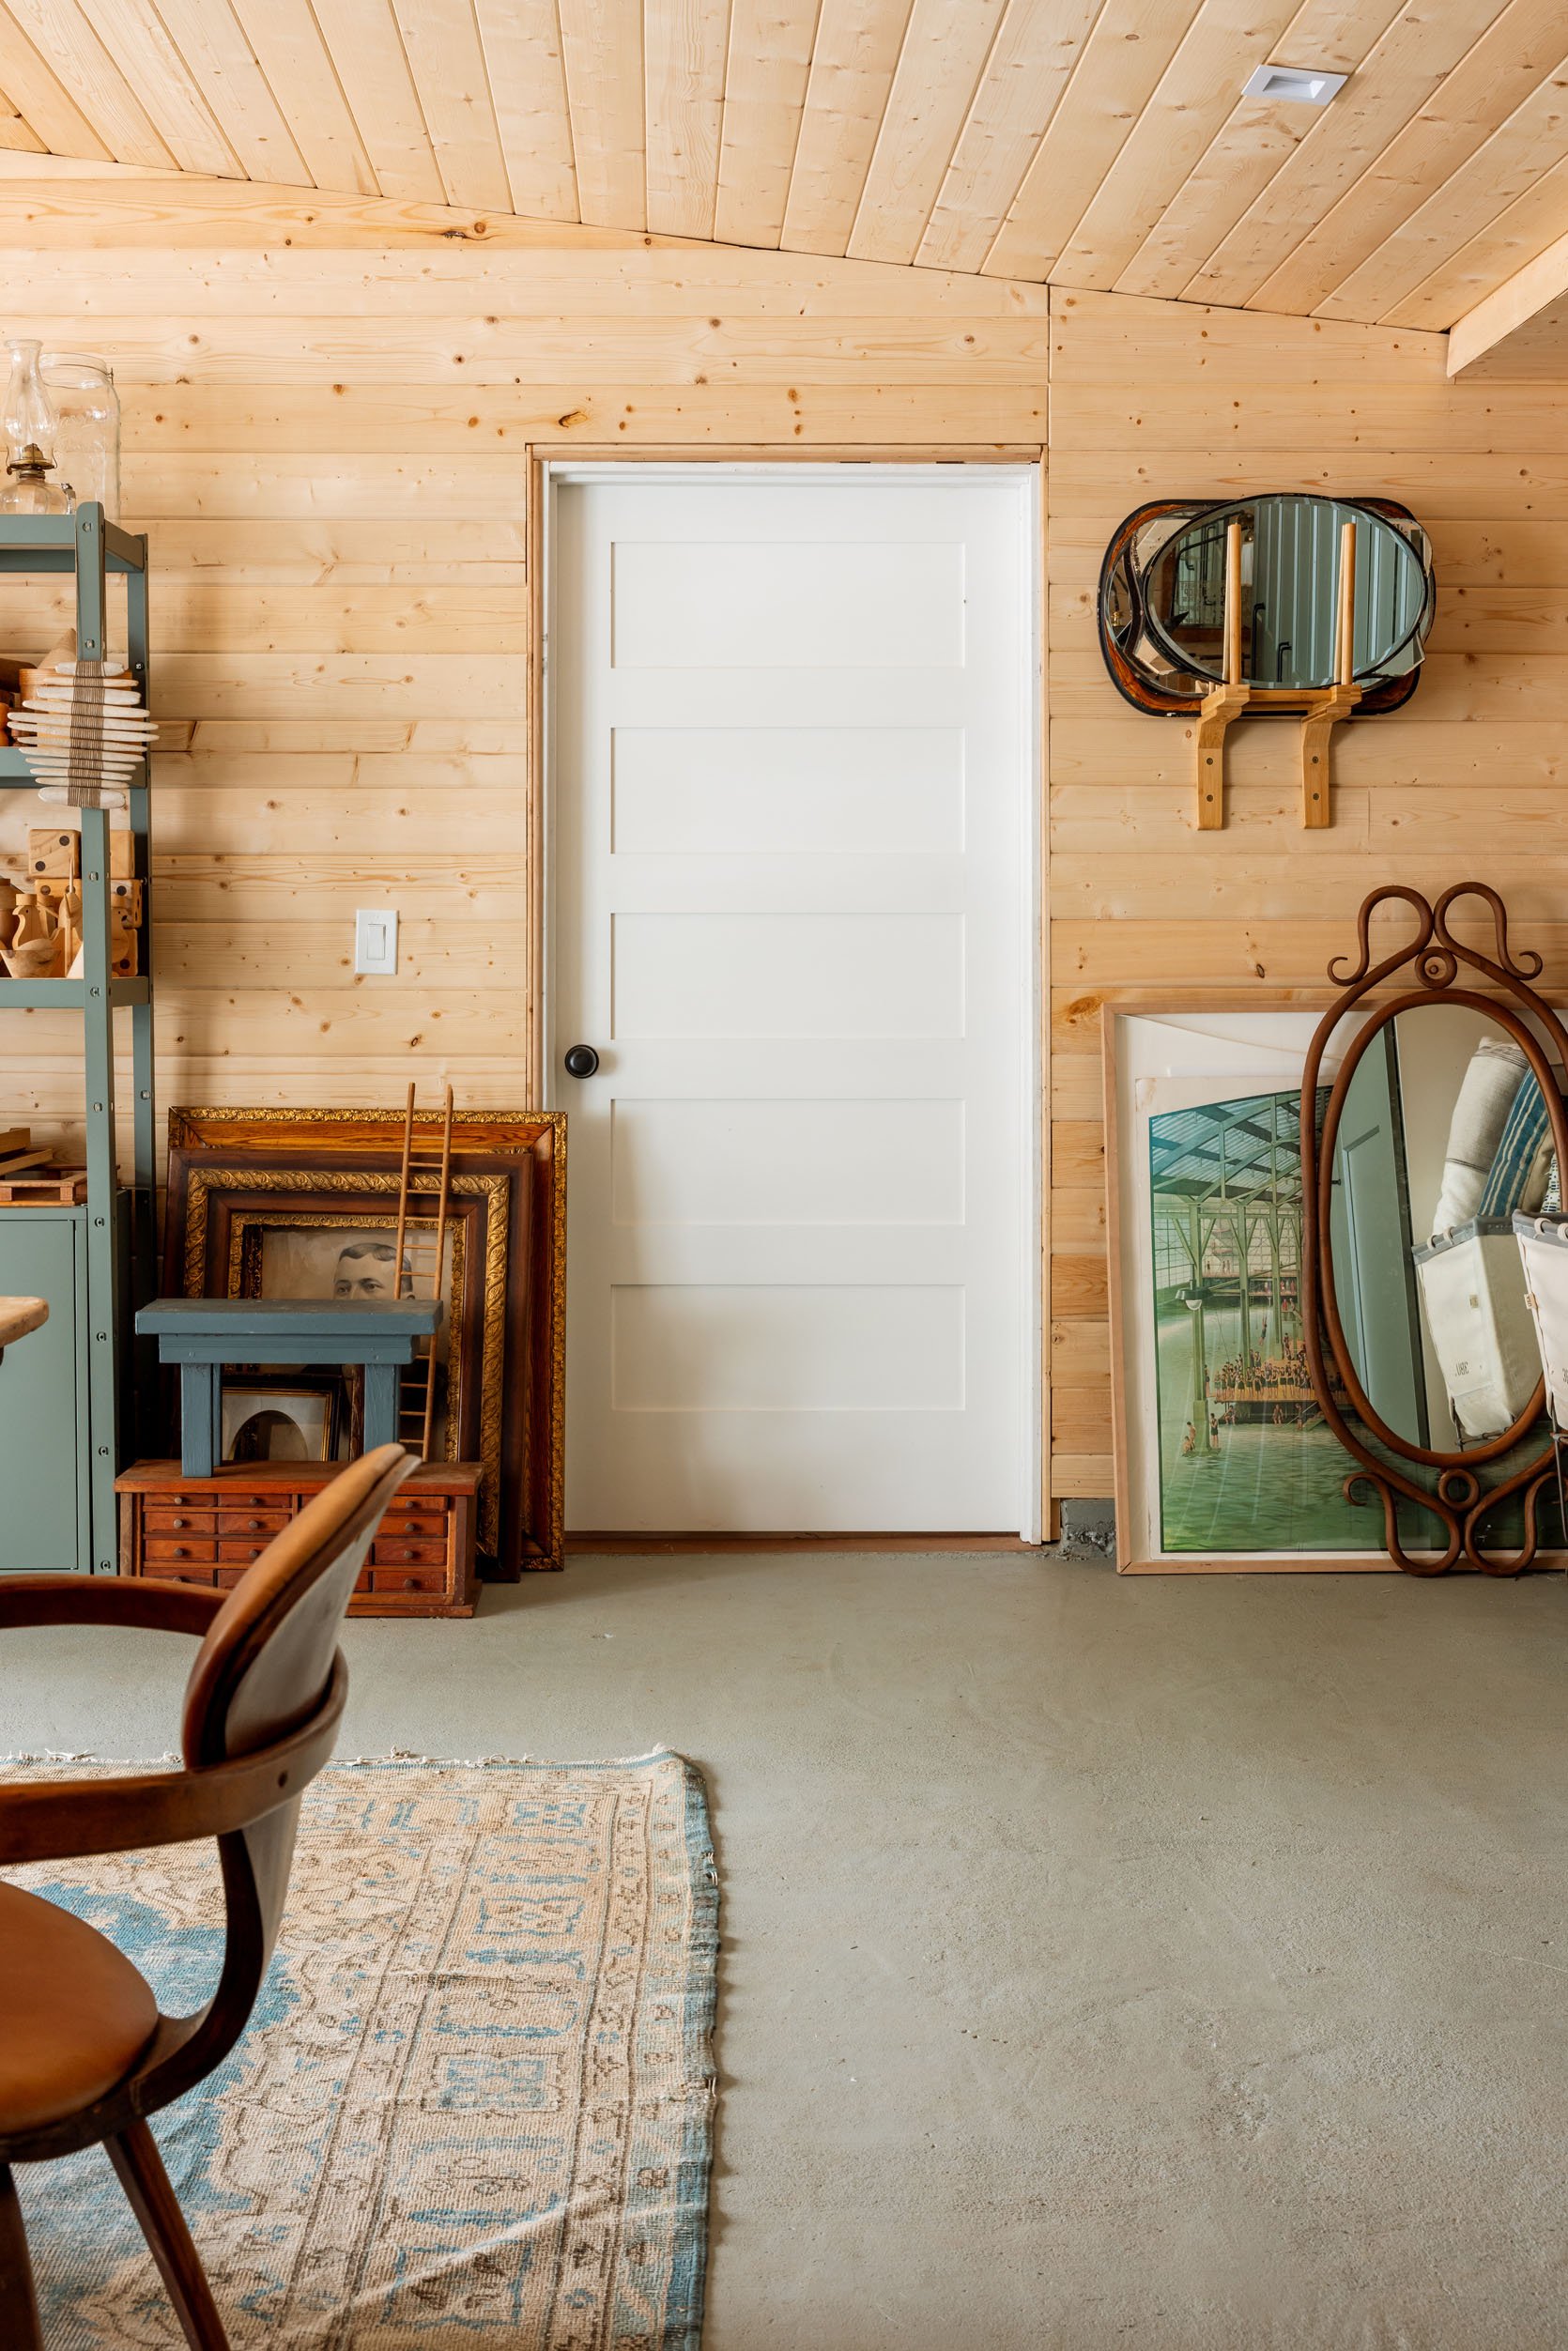
The final result was a cohesive and visually appealing garage floor that tied in with the rest of the space effortlessly. With the right choice of color and finish, our DIY project transformed the garage into a functional and stylish area without breaking the bank.
Images courtesy of Kaitlin Green | Source: My New Prop Garage Reveal – Including IKEA Shelving (Non-Spon) And A Lot Of Vintage Collections