
")
It finally happened. I managed to meet my deadline to tackle the curtain issue in my dining room by the end of January. I must admit, I am extremely proud of myself for this accomplishment, even though I technically started and finished the entire project on February 2 and 3, respectively. I also took a not-so-great photo during this time (more on that later), all while knowing that a post about it was due to go live on February 4. Although I wouldn’t recommend this kind of last-minute pressure, especially when it coincides with your birthday, your child is unwell, and your family is dealing with additional stress, this experience showed me that a project I had been struggling with for months, or even years, only took a few hours to complete. Typical.
But before I delve into the details, let me give a quick recap for those who might be joining the conversation late.
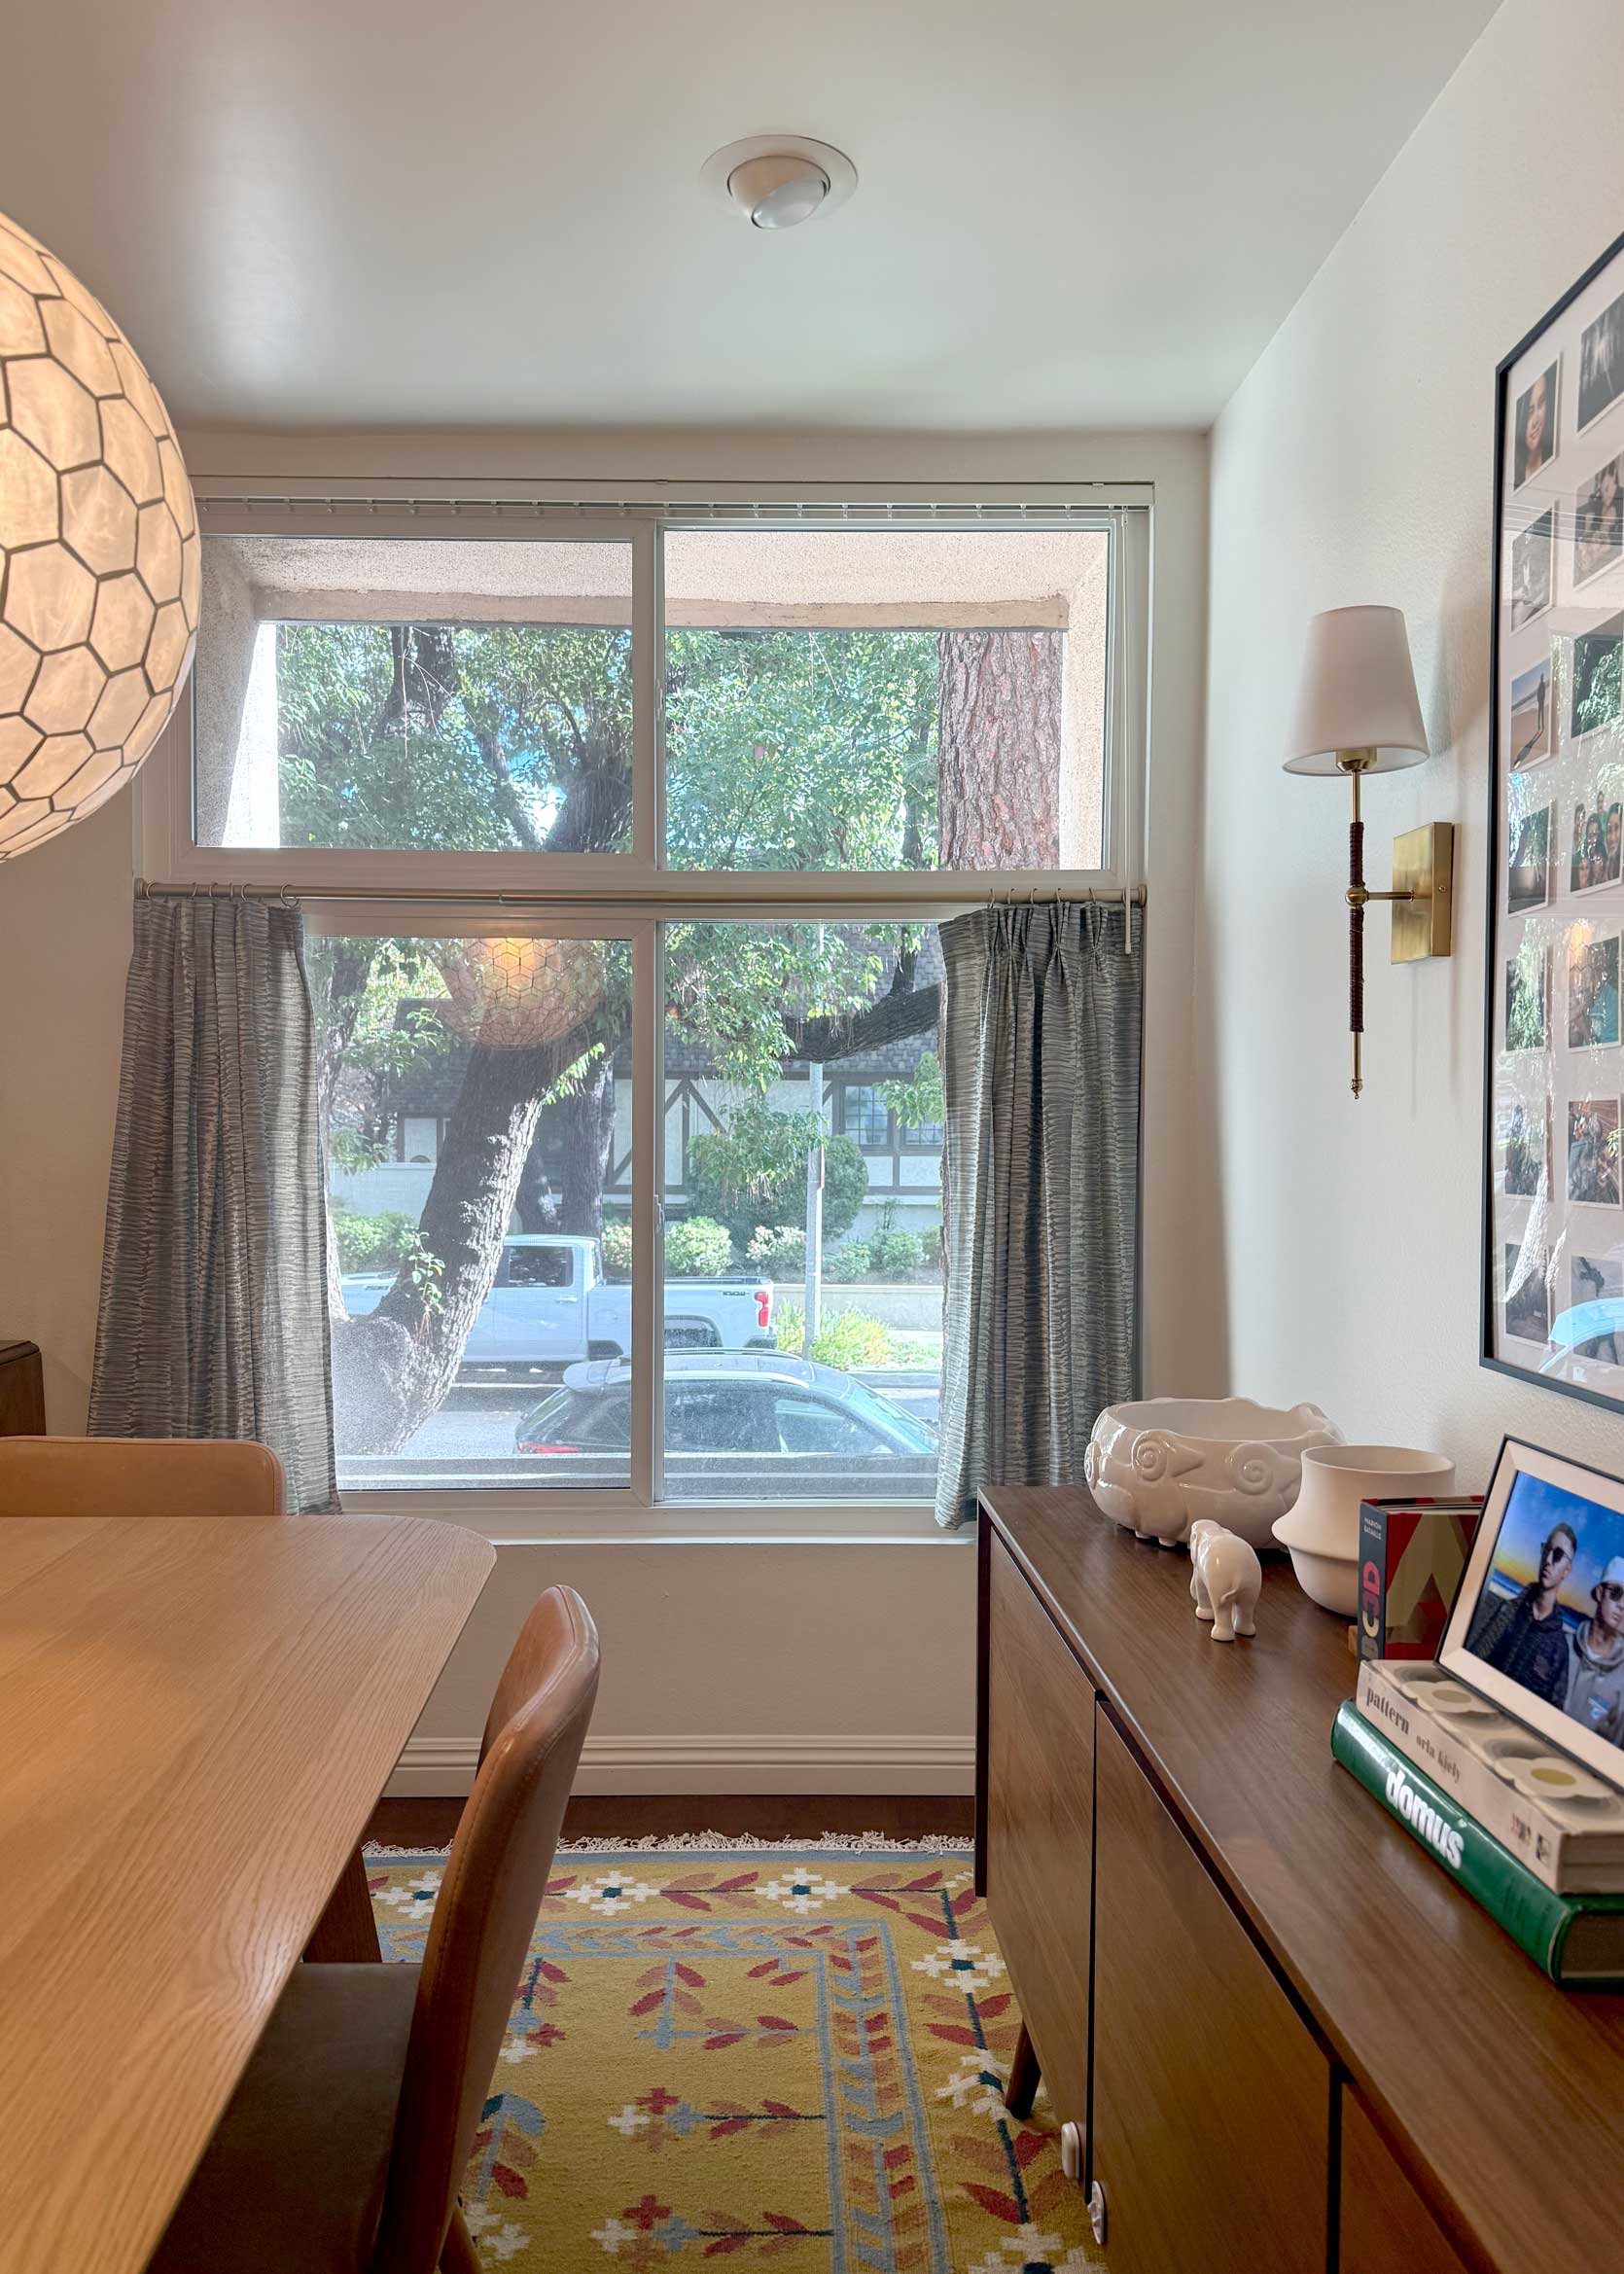
Up until yesterday morning, this was my dining room. While it was perfectly fine, the cafe curtains I had made after moving in just didn’t work for me for a variety of reasons. They were too short, too stiff due to my poor choice of fabric, and simply didn’t complement the size of the window.
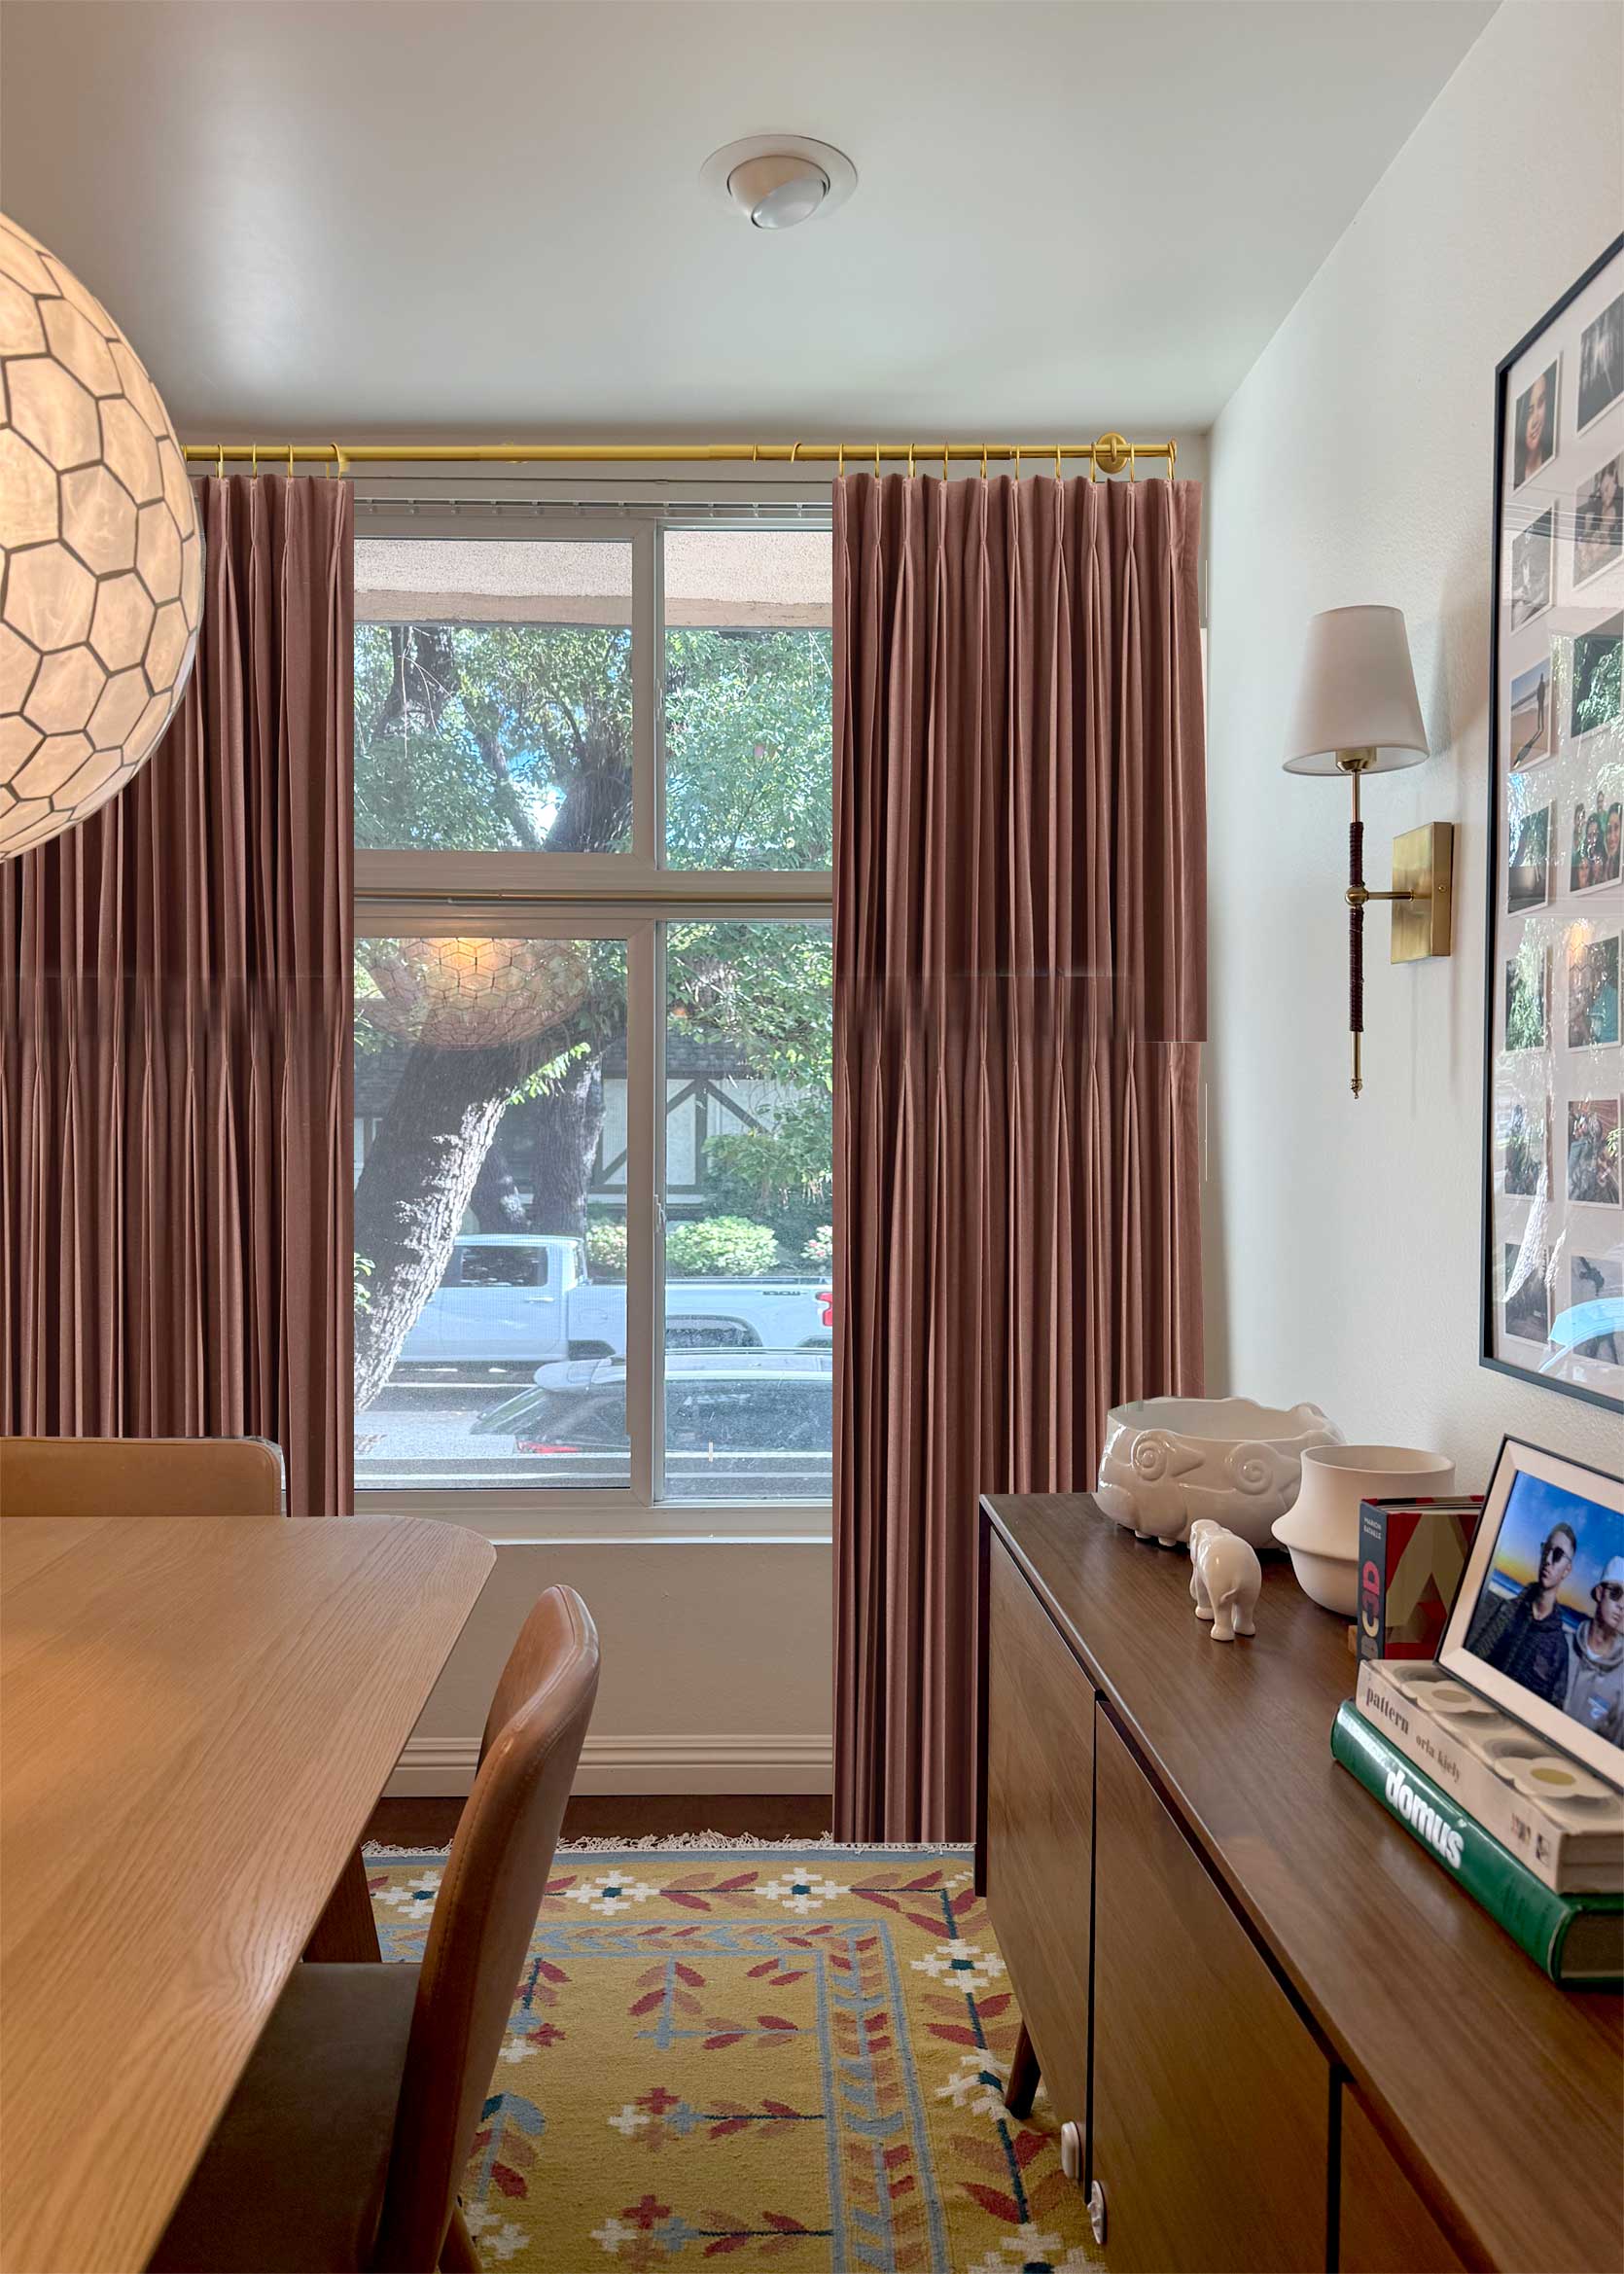
In a previous post, I discussed possible solutions and unexpectedly stumbled upon a look that I ended up loving. Although it was just a Photoshop mock-up, and I knew the real-life version would differ slightly, it was exciting to finally have a plan after two years of feeling stuck in a style rut.
The vision I had was to take white cotton curtains I had stored away, dye them a similar color, and hang them using a curtain rod I found in the garage. Spending $30 on dye and a few hours of my time seemed like a worthwhile experiment to save $300 on ready-made panels.
The Dye Color Options
I explored various color options on Rit dye’s website to find a hue that matched the West Elm curtains. After considering different shades, I ended up choosing a color that I thought would complement the existing elements in the room.
After selecting the dye color, I gathered my supplies, including bottles of dye and other necessary items, and prepared to embark on this new DIY adventure.
Finally, Dyeing the Curtains
I won’t go into every detail of the dyeing process, as the step-by-step instructions on the Rit website were invaluable. However, I’ll highlight some key points of the process.
Starting with washing the curtains to ensure an even application of the dye, I proceeded to dye them in a top-loader washing machine as per the instructions. Despite some initial apprehension, the process went smoothly, and I was amazed at how well the dye adhered to the fabric.


After allowing the curtains to dry and ironing them, I was ready for the big reveal.
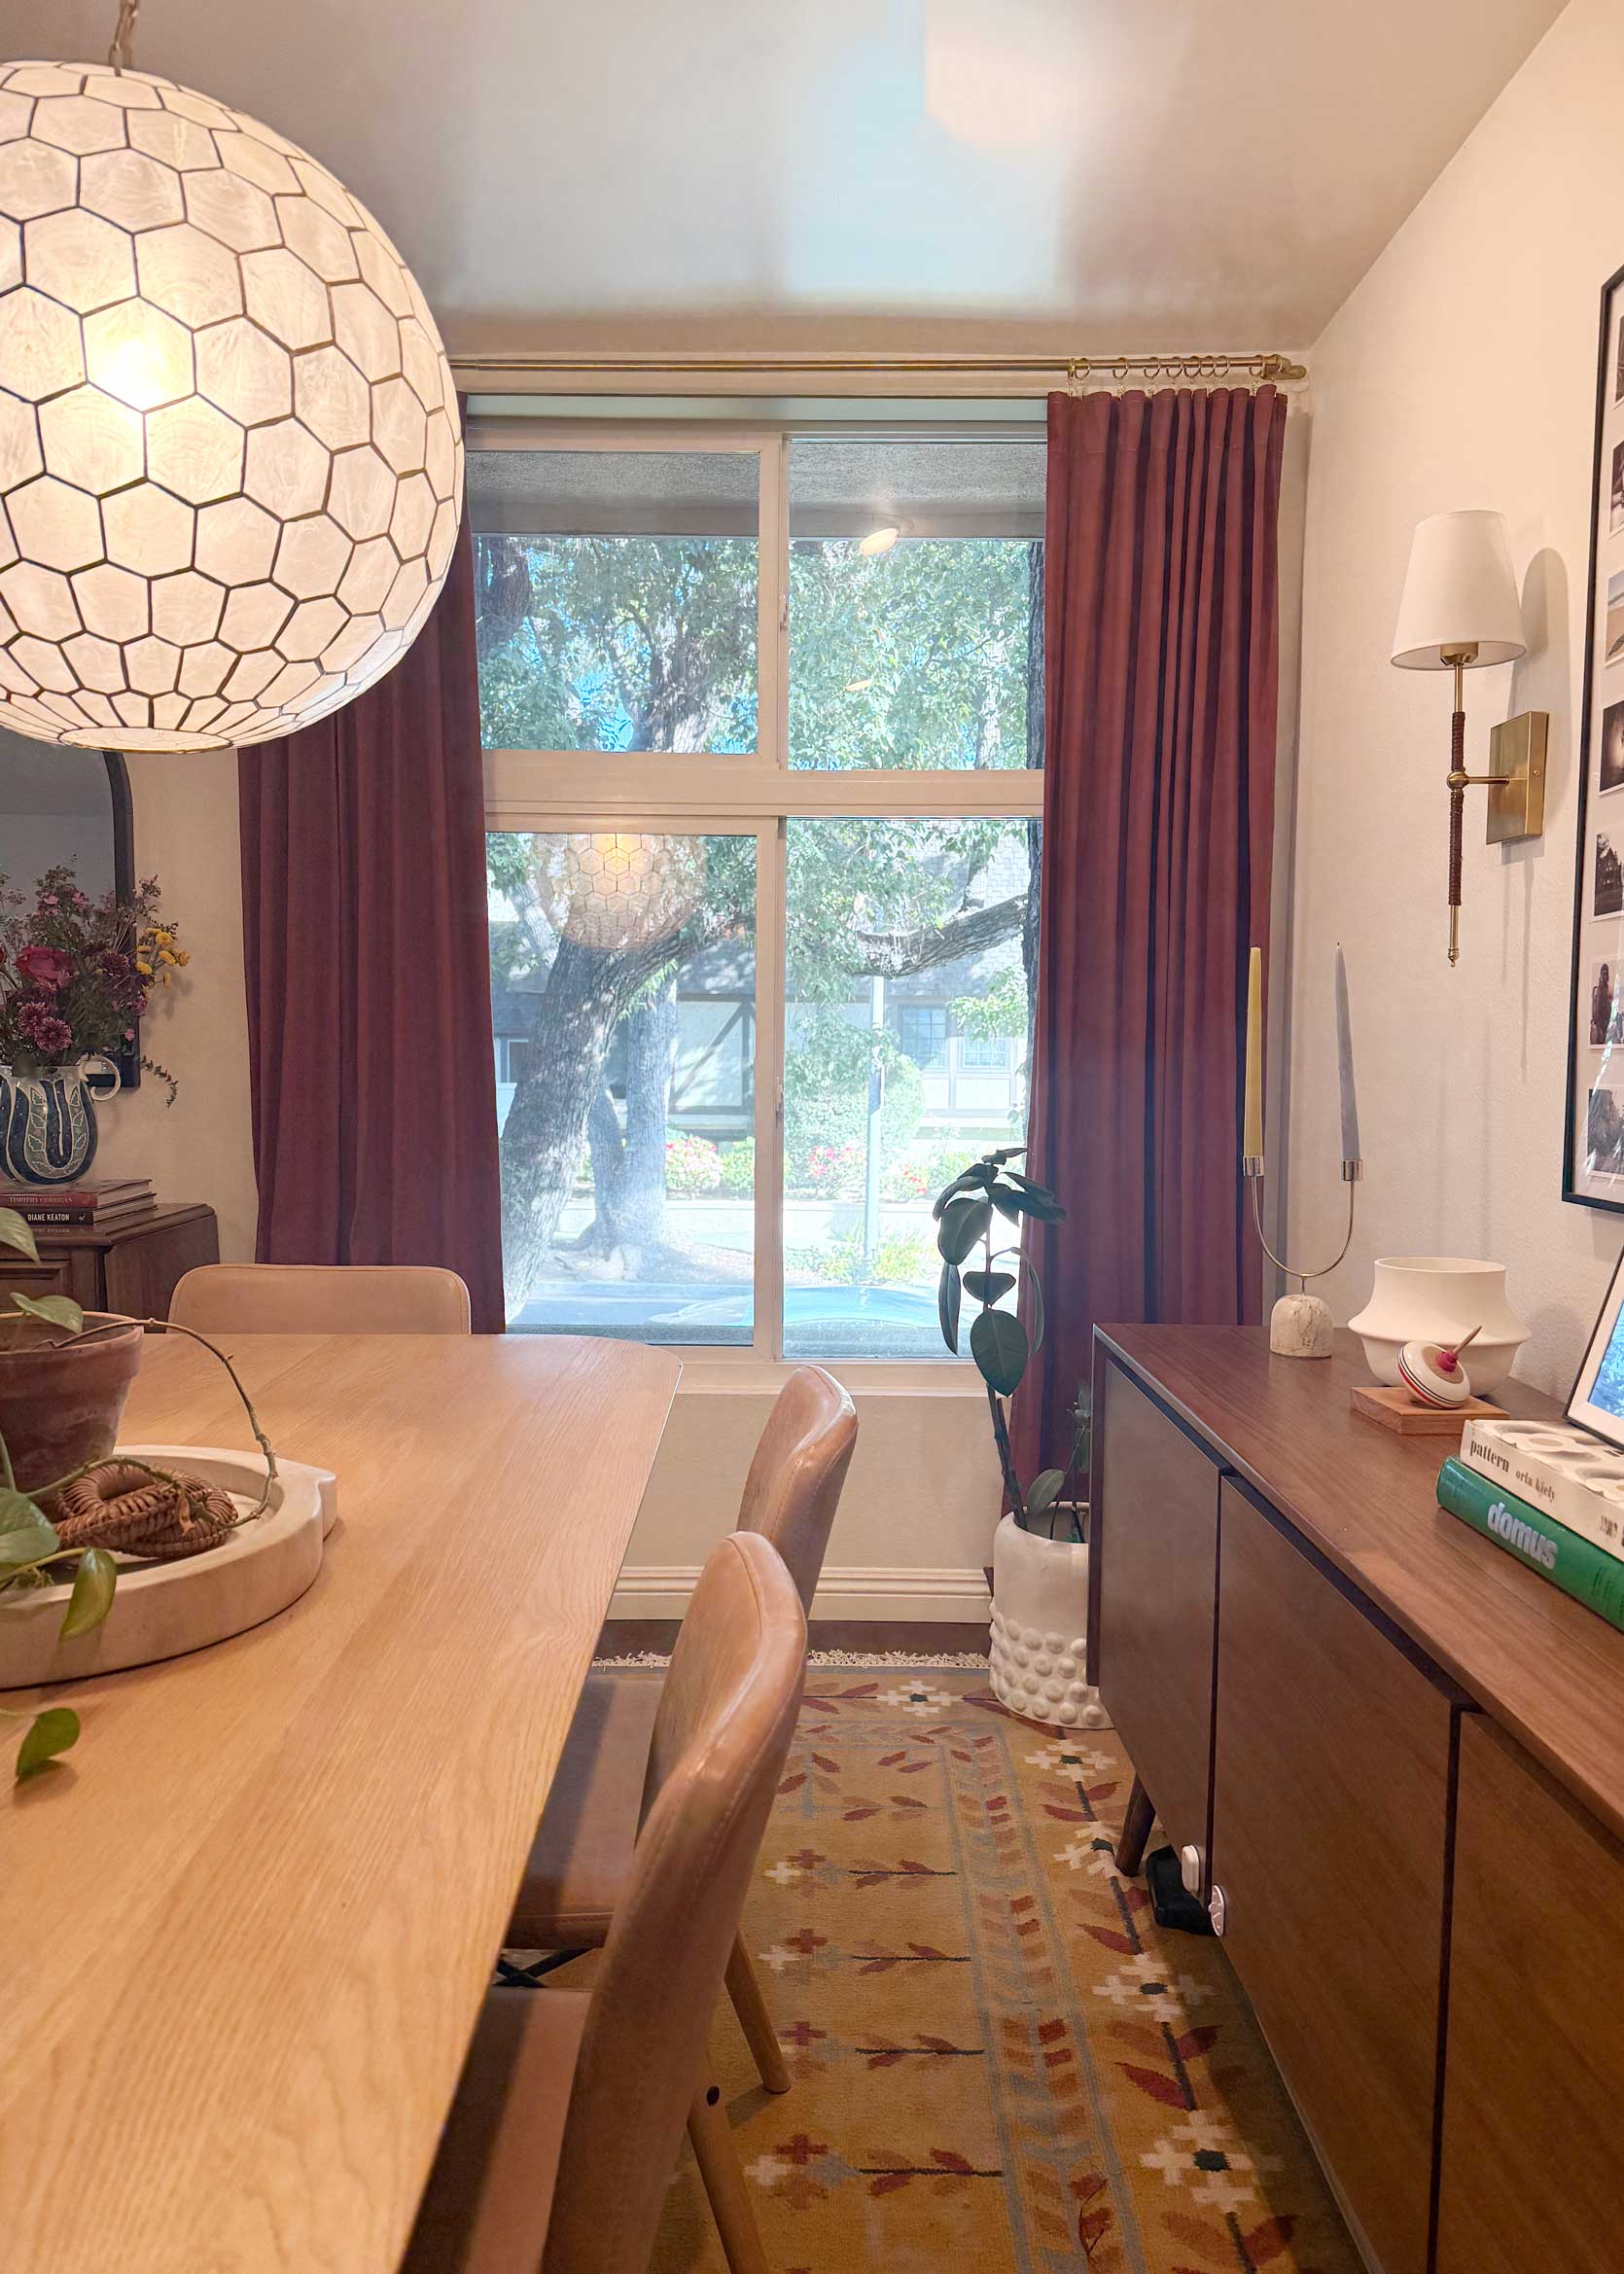
While the end result wasn’t exactly what I had envisioned, I was impressed with the dyeing process and the outcome. The curtains looked vibrant and transformed, even though the color was a bit different from what I had expected.
Overall, I learned a lot from this project and would be more confident to undertake similar tasks in the future. The curtains may not be perfect for this space, but they are a step in the right direction.
Feel free to ask me any questions about the dyeing process or share your insights. Thank you for following along on this curtain journey with me.
Until next time…