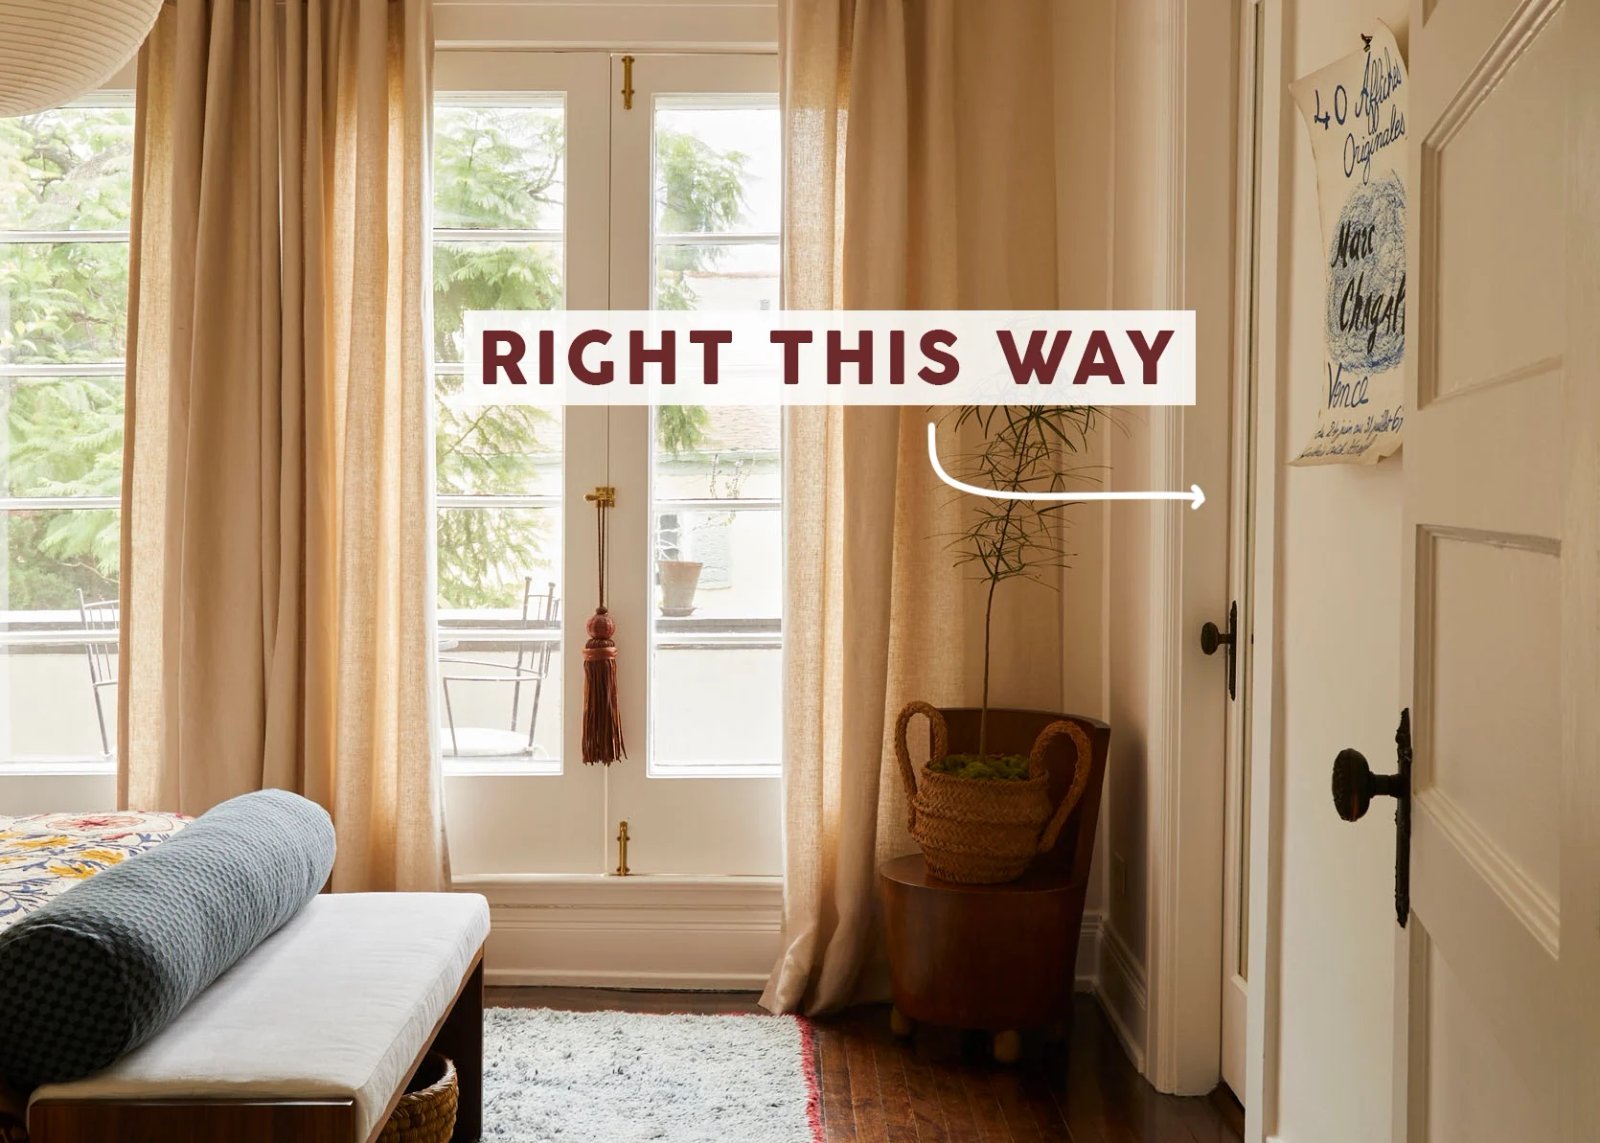
Welcome back to a project I first talked about… a while ago. What I initially thought would be fairly quick and easy was soon flooded with overcomplicated ideas and a new door that was too short for its new door frame. I’m not going to point fingers, but the right measurements were given to Les Bunge, and, well, the “Bungo, I found the perfect door” turned out to be 3″ short of “perfect”. I ultimately lost steam and just focused on my living room and bedroom. But the tide has finally shifted, and I am sick of looking at my sad “too short” salvaged door every time I walk into my apartment. So here’s the deal: I am giving myself a deadline of November 1st for my DIY closet. I have a plan; I have a new DIY buddy:); and enough energy to finally get this little pass-through DIY closet DONE and checked off the project list. Let’s jump right in.
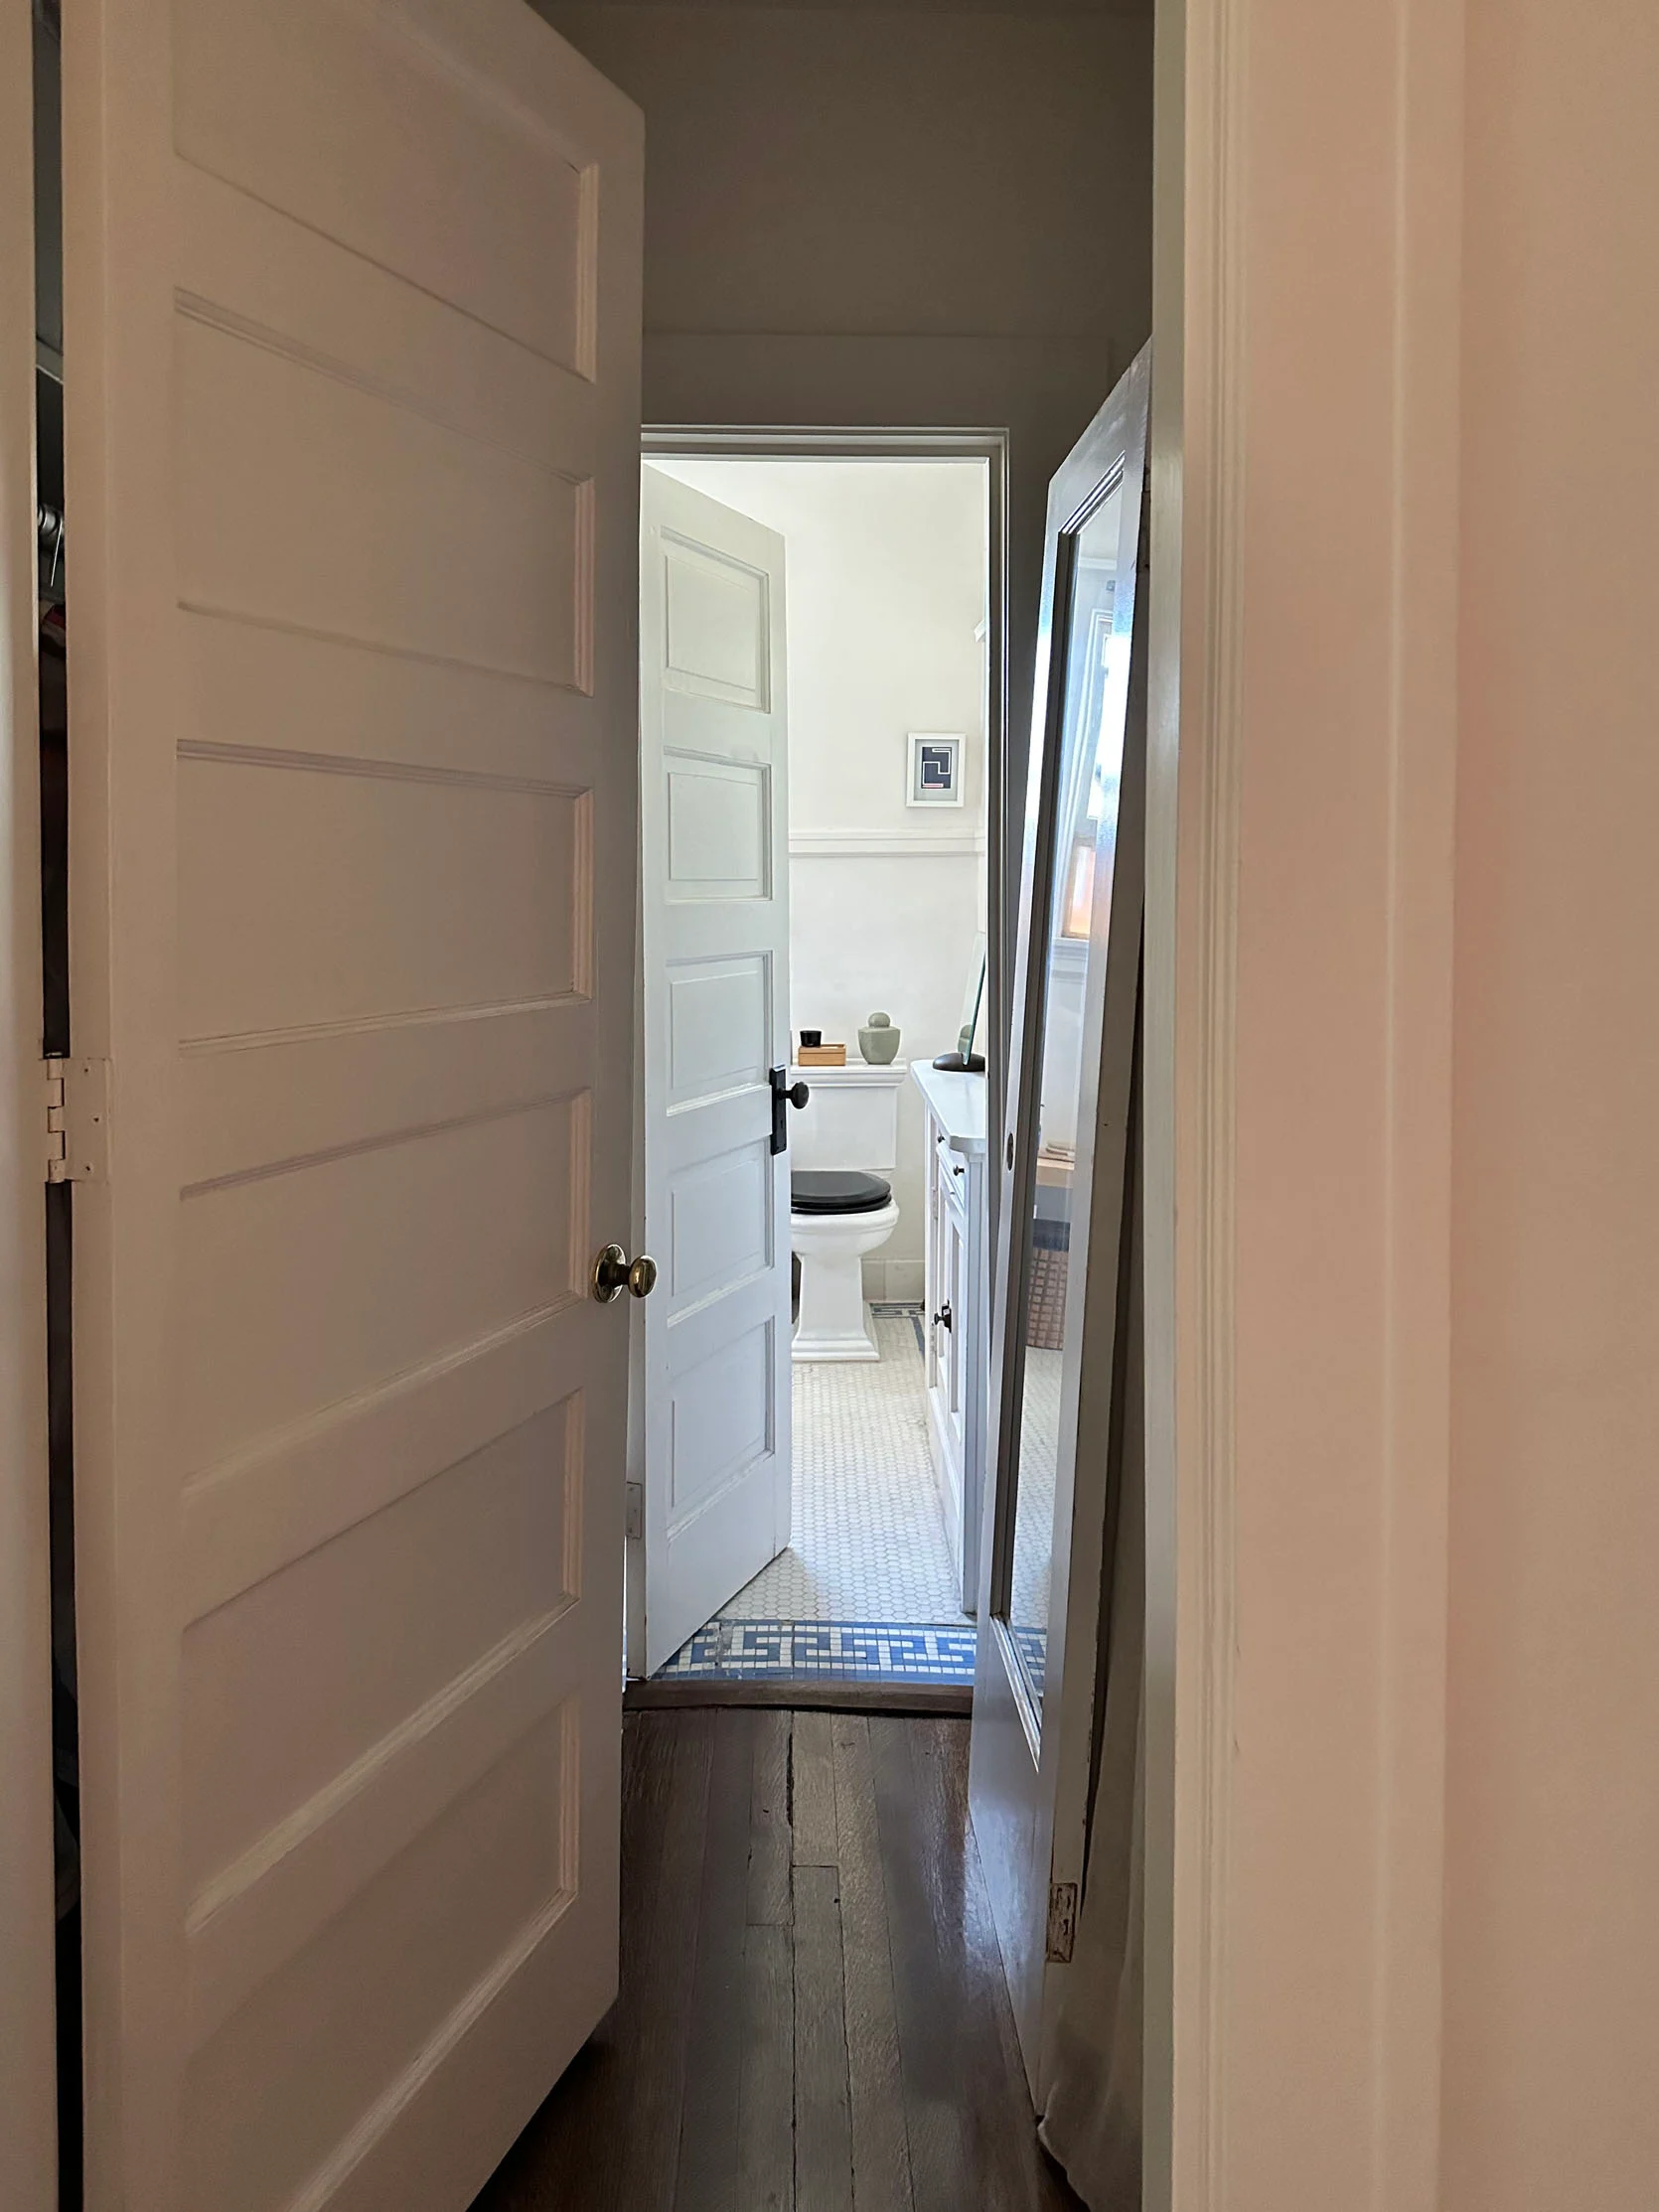
This is the view I am tired of. It’s not just that the extra door is off to the side, but also that my very lovely toilet is the first thing you see upon entry. It’s a cute bathroom, but I’d prefer some more visual mystery. But since the main/only natural light for the hallway is from my bathroom, I thought switching out the door that’s there for a door with glass, that I could add privacy film to, would be a pretty solution. That way I still get the light without the toilet welcoming you into my home.
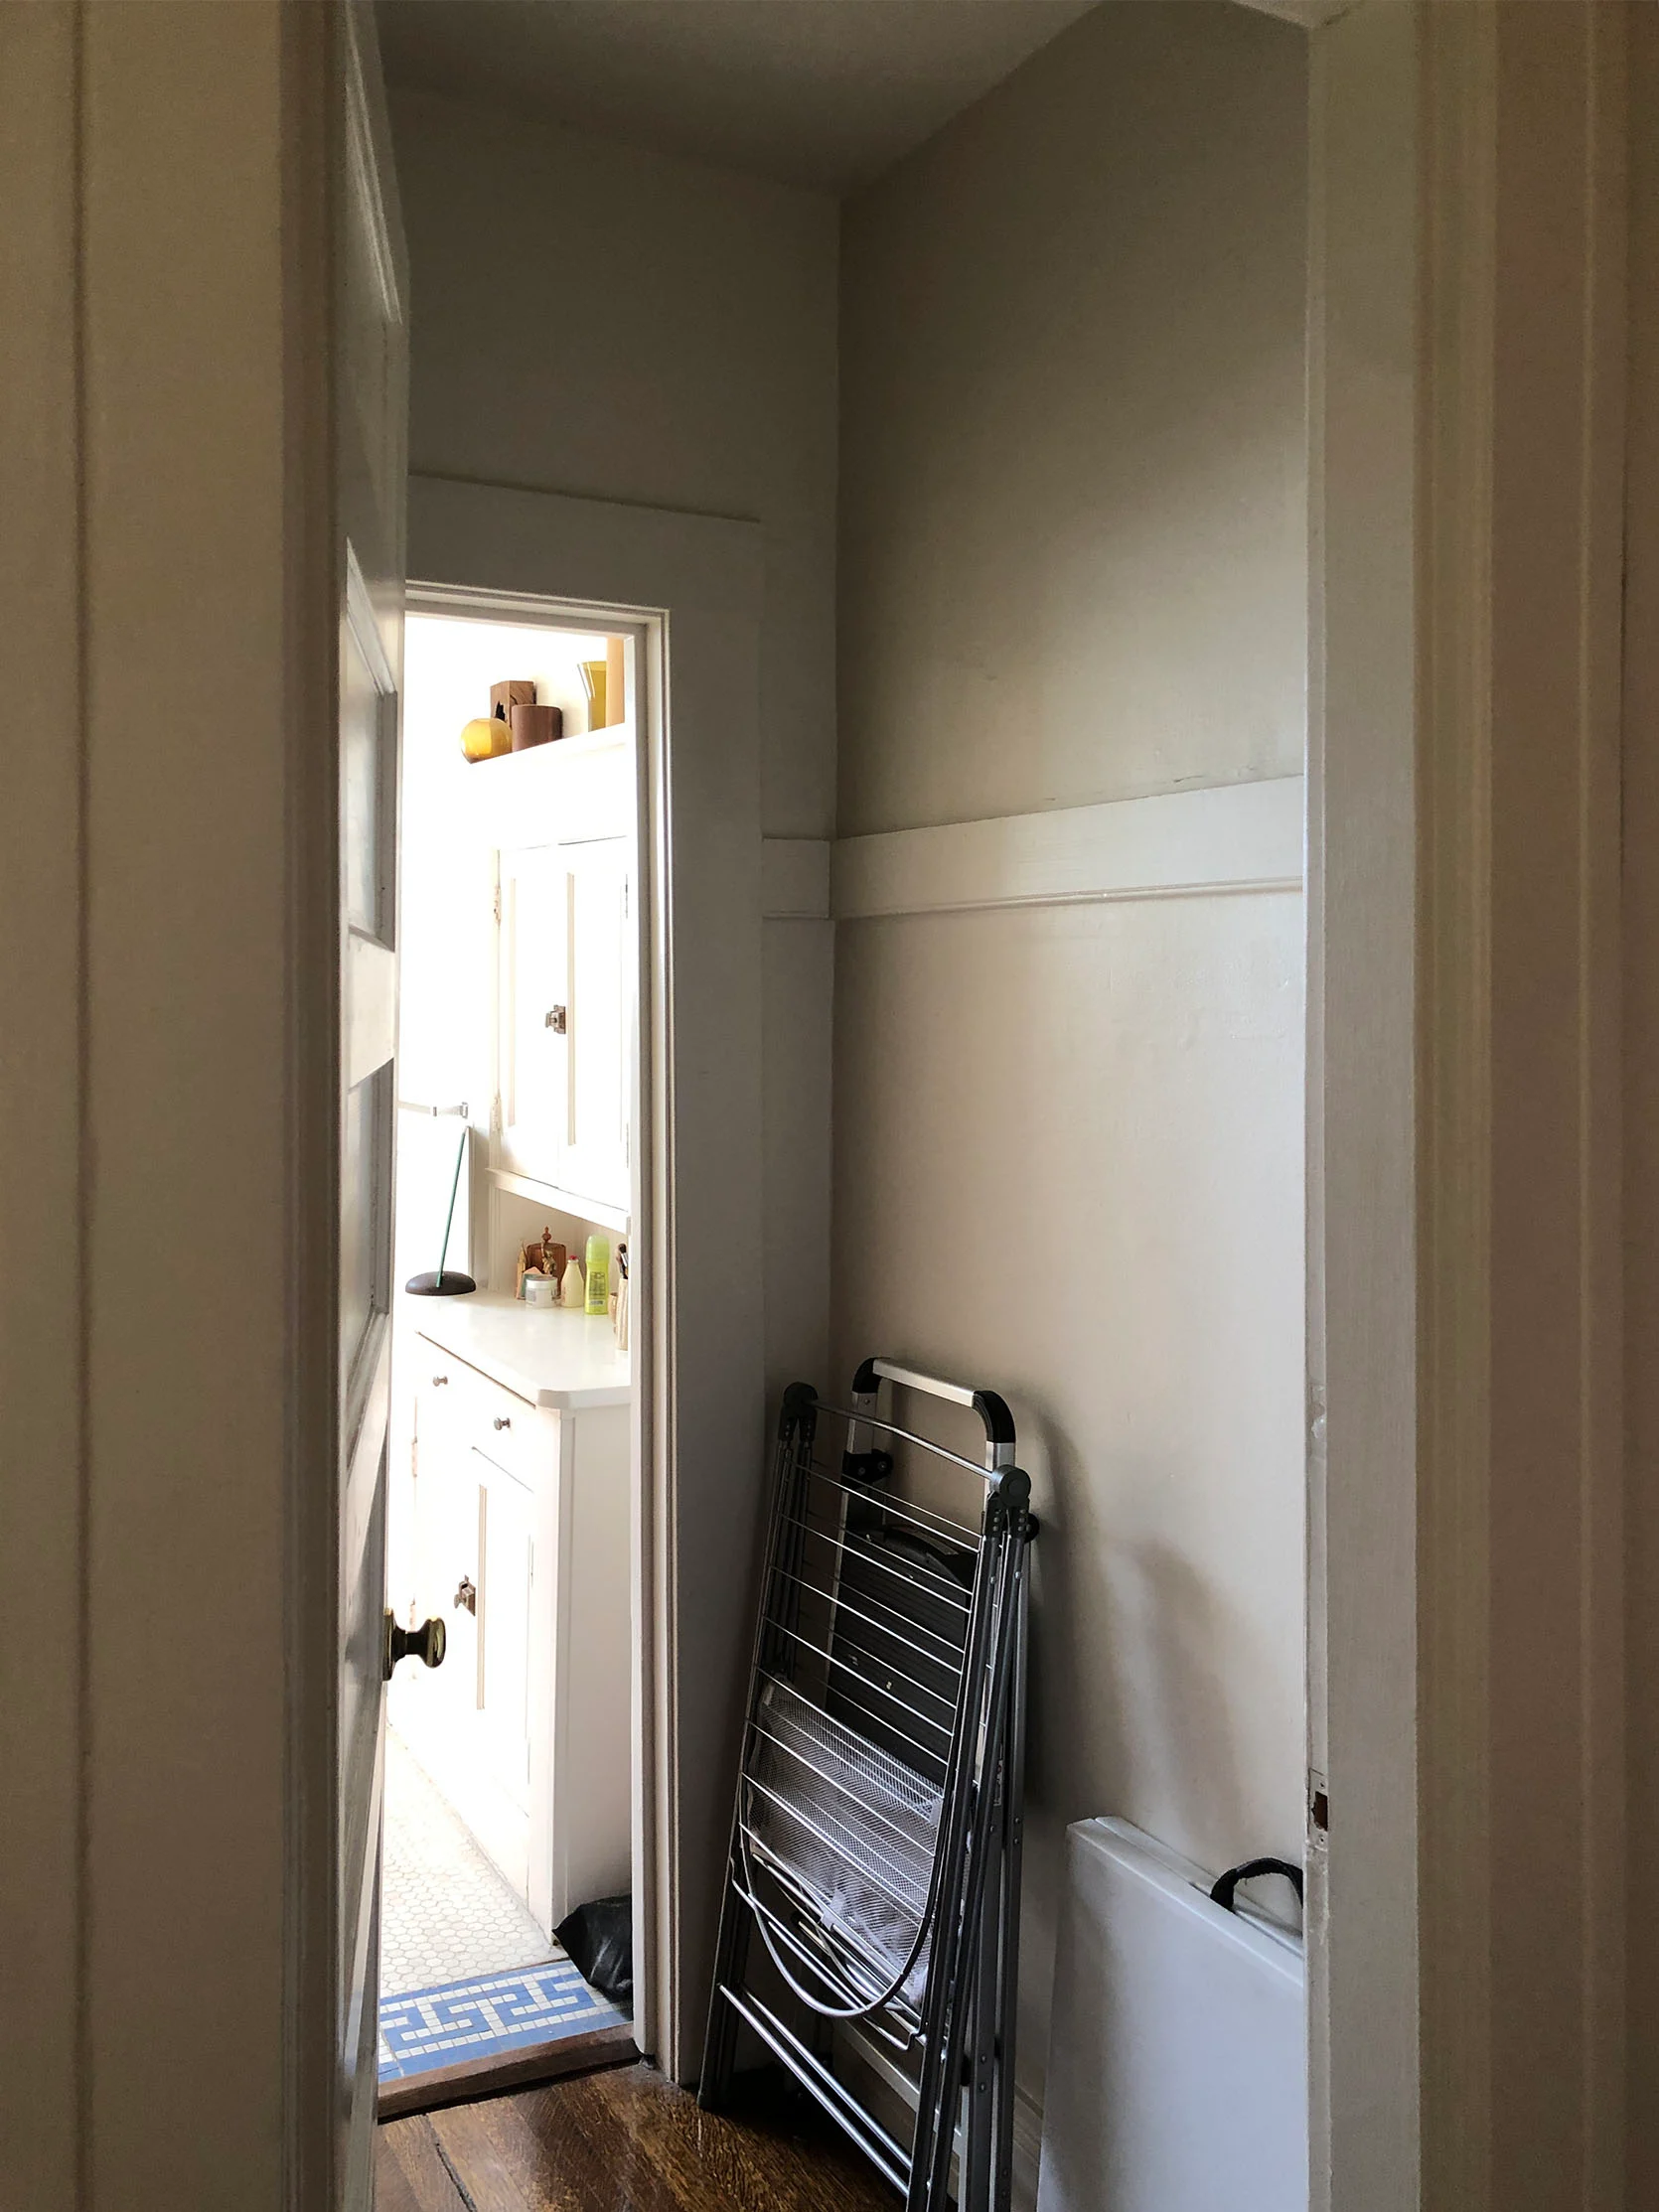
But before that little idea came to be, I wanted to make this pass-through closet cuter and add more storage. I knew I could make this right side much more functional. Let me show you how.
DIY Closet: The First Idea…More Storage

Here’s a little guest star moment of DIY Dad helping me get wood for the shelves I asked him to build. Nothing fancy since I knew I wanted to stain or paint them once I had my whole design plan together.
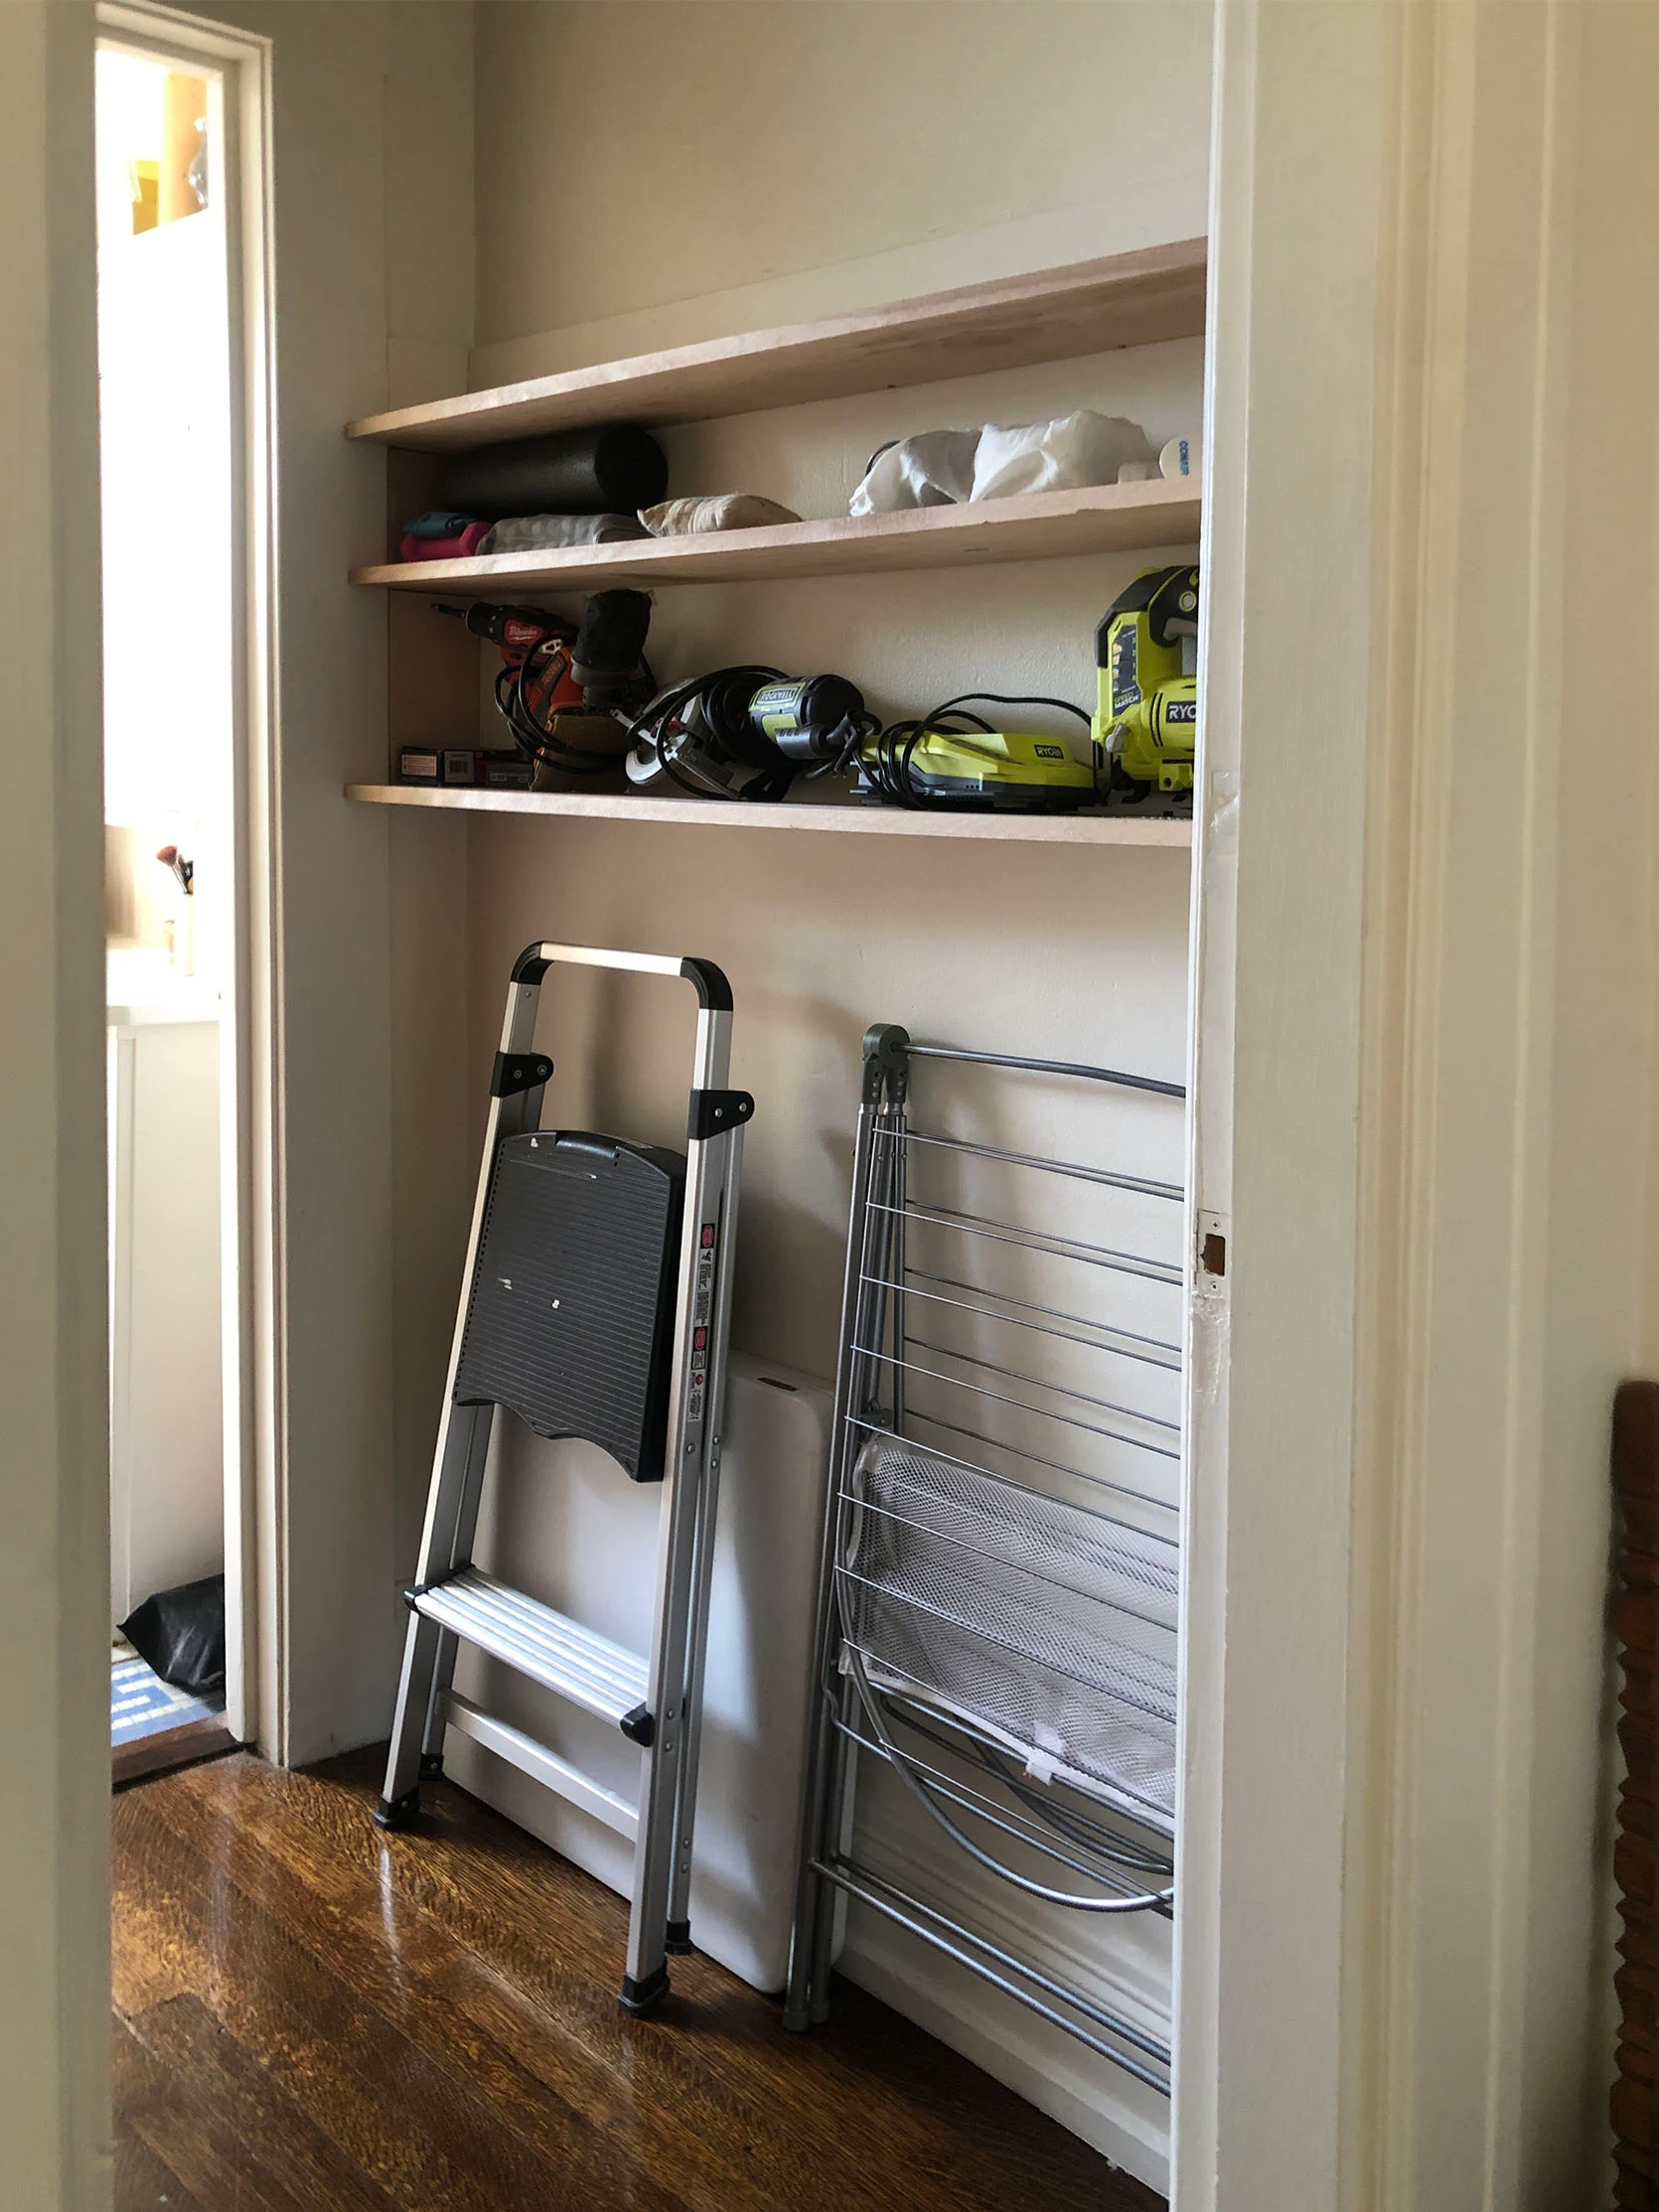
My idea was to have a couple of shelves for tools, and I guess workout weights (?) while leaving enough height below for my stepstool and drying rack. You know, those important helpful items that don’t fit effortlessly in a one-bedroom apartment. I would then add a curtain to conceal the important helpful (but unattractive) items as well as bring in some soft texture. Then the ideas went a little wild…
DIY Closet: The Roman Clay Idea
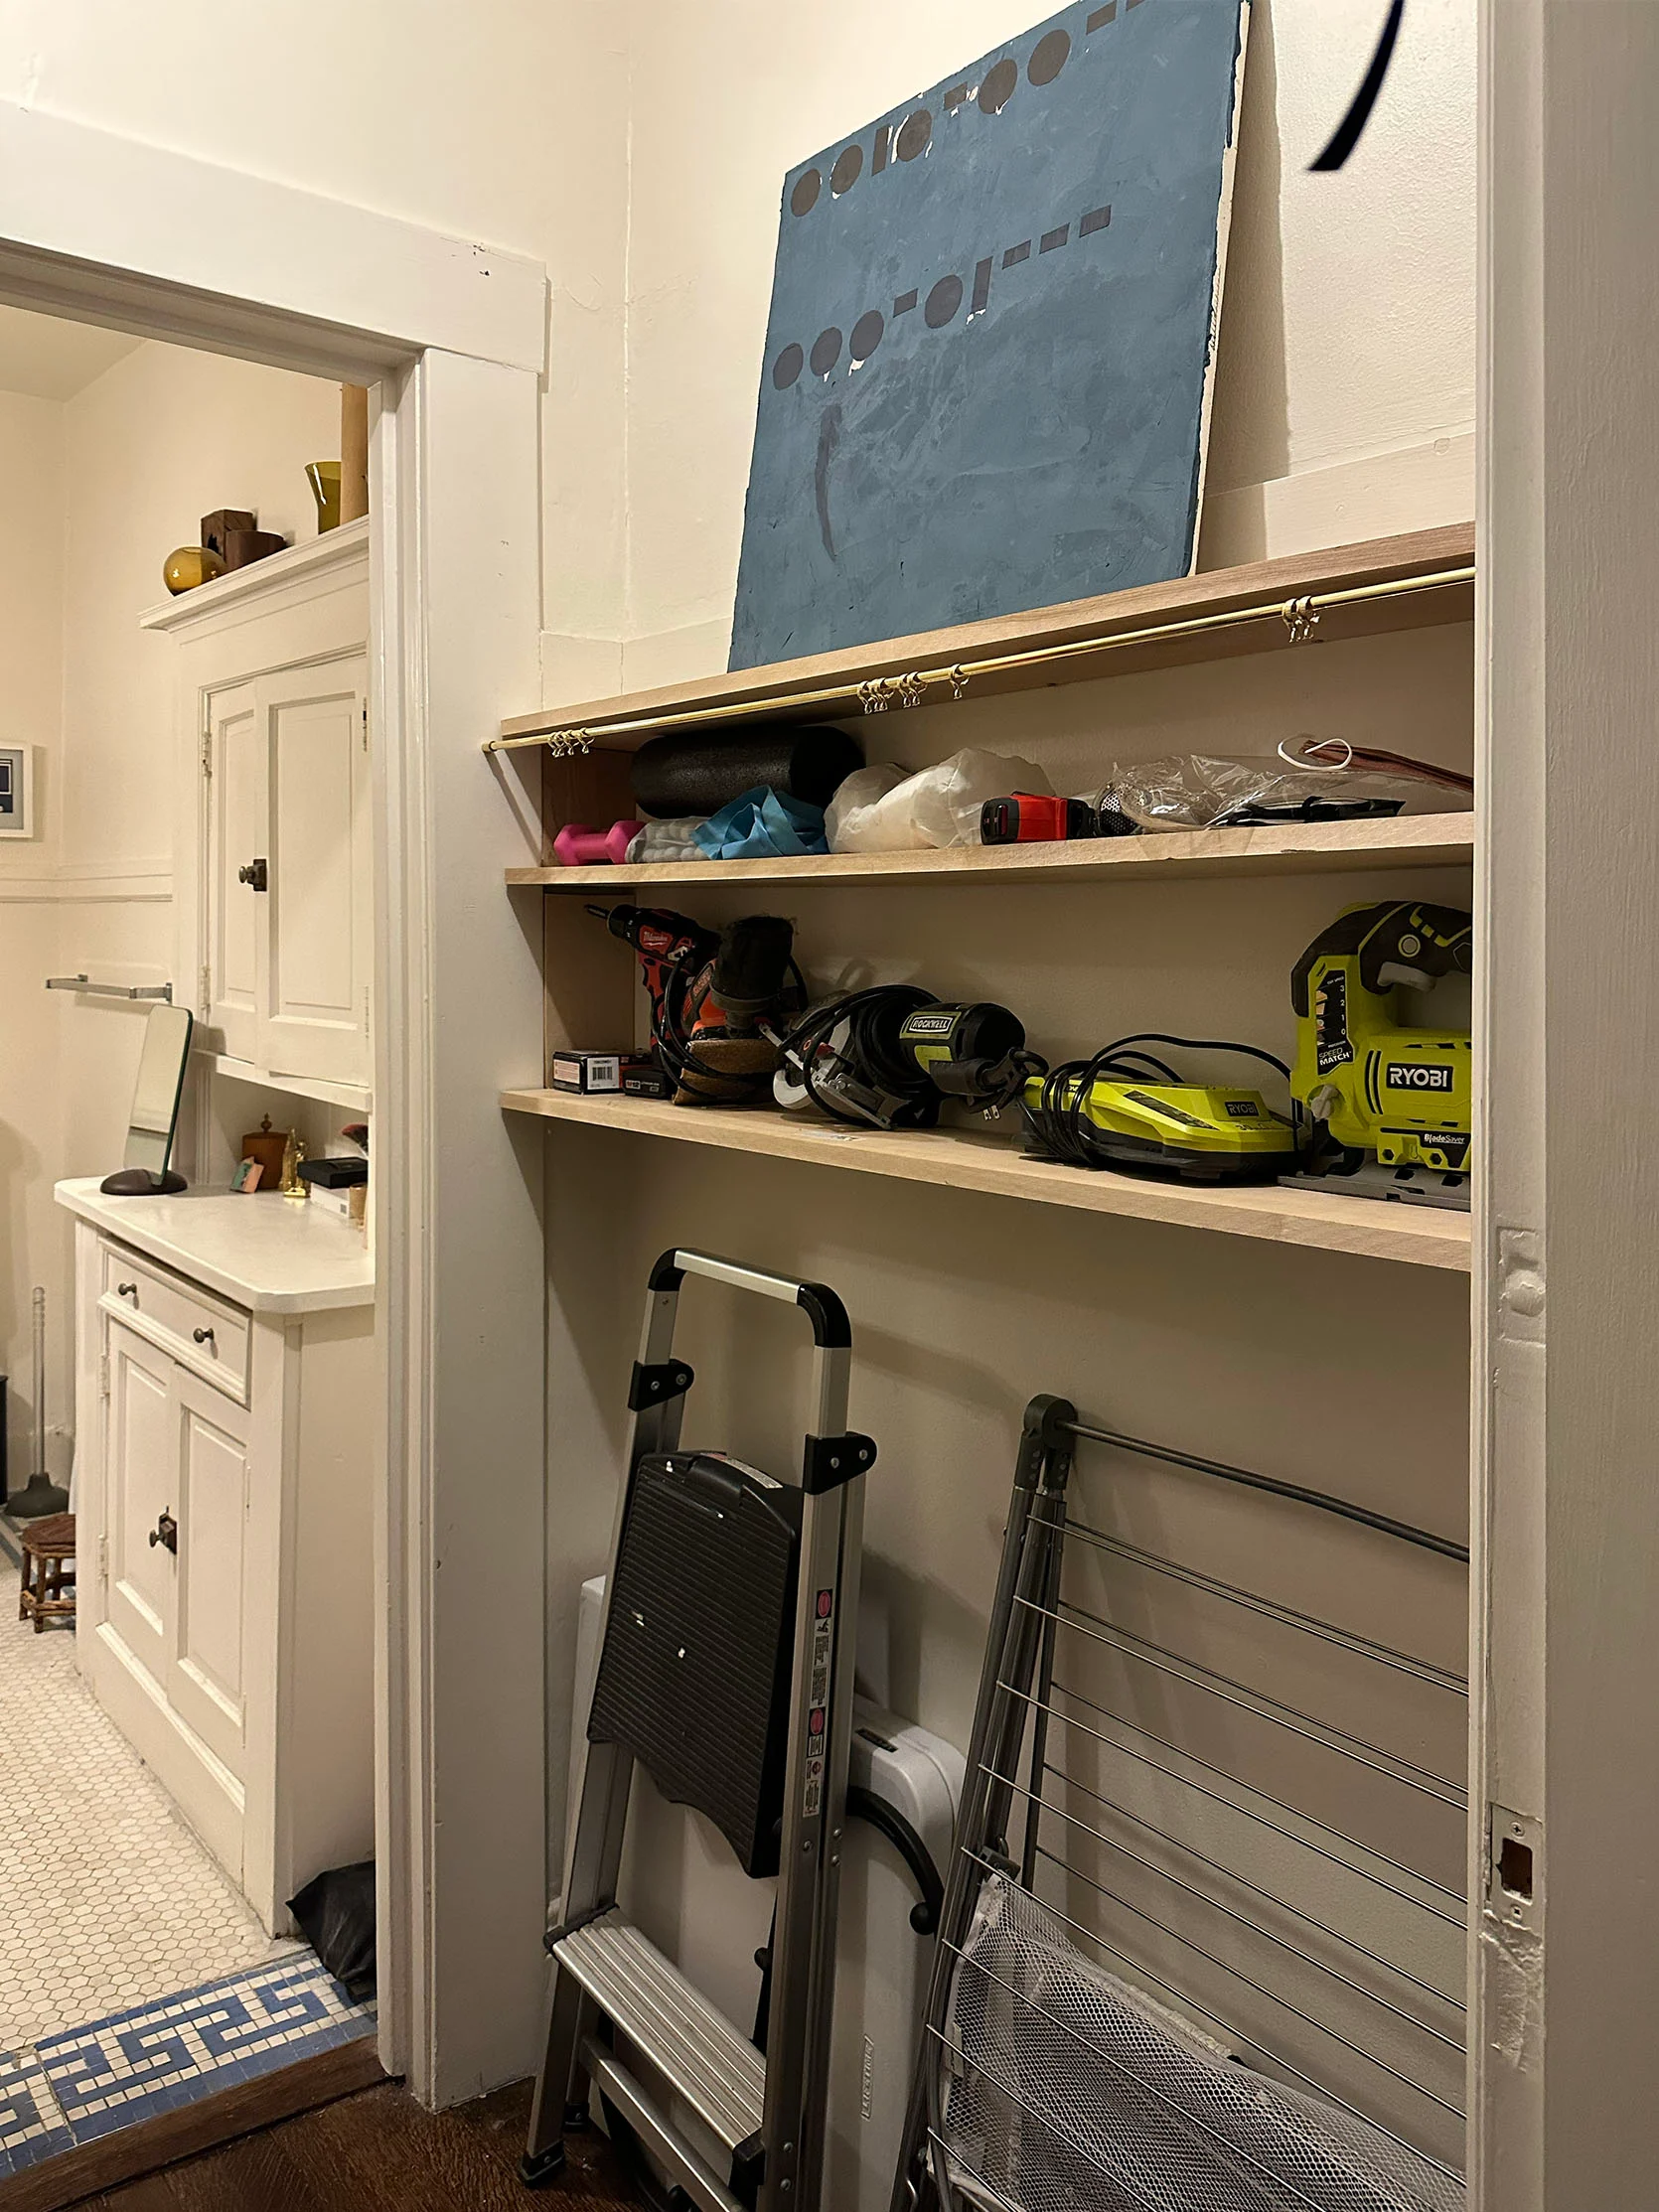
Remember this idea? What started out as a very sweet and personal idea turned into something I realized I didn’t want to do. I love the look of Roman clay and limewash paint, but nowhere else in the apartment would have it, and it was a feature I don’t know I would have loved in the end. Plus, I was really nervous about the application and the success of my idea of how I would add my “Morse code” shapes. I also wasn’t convinced of either color I chose. Ultimately, I’m so glad I didn’t go this route in this home. Maybe a textured paint is in my future, but for now I’m sticking to something more classic.
DIY Closet: A Curtain…FINALLY
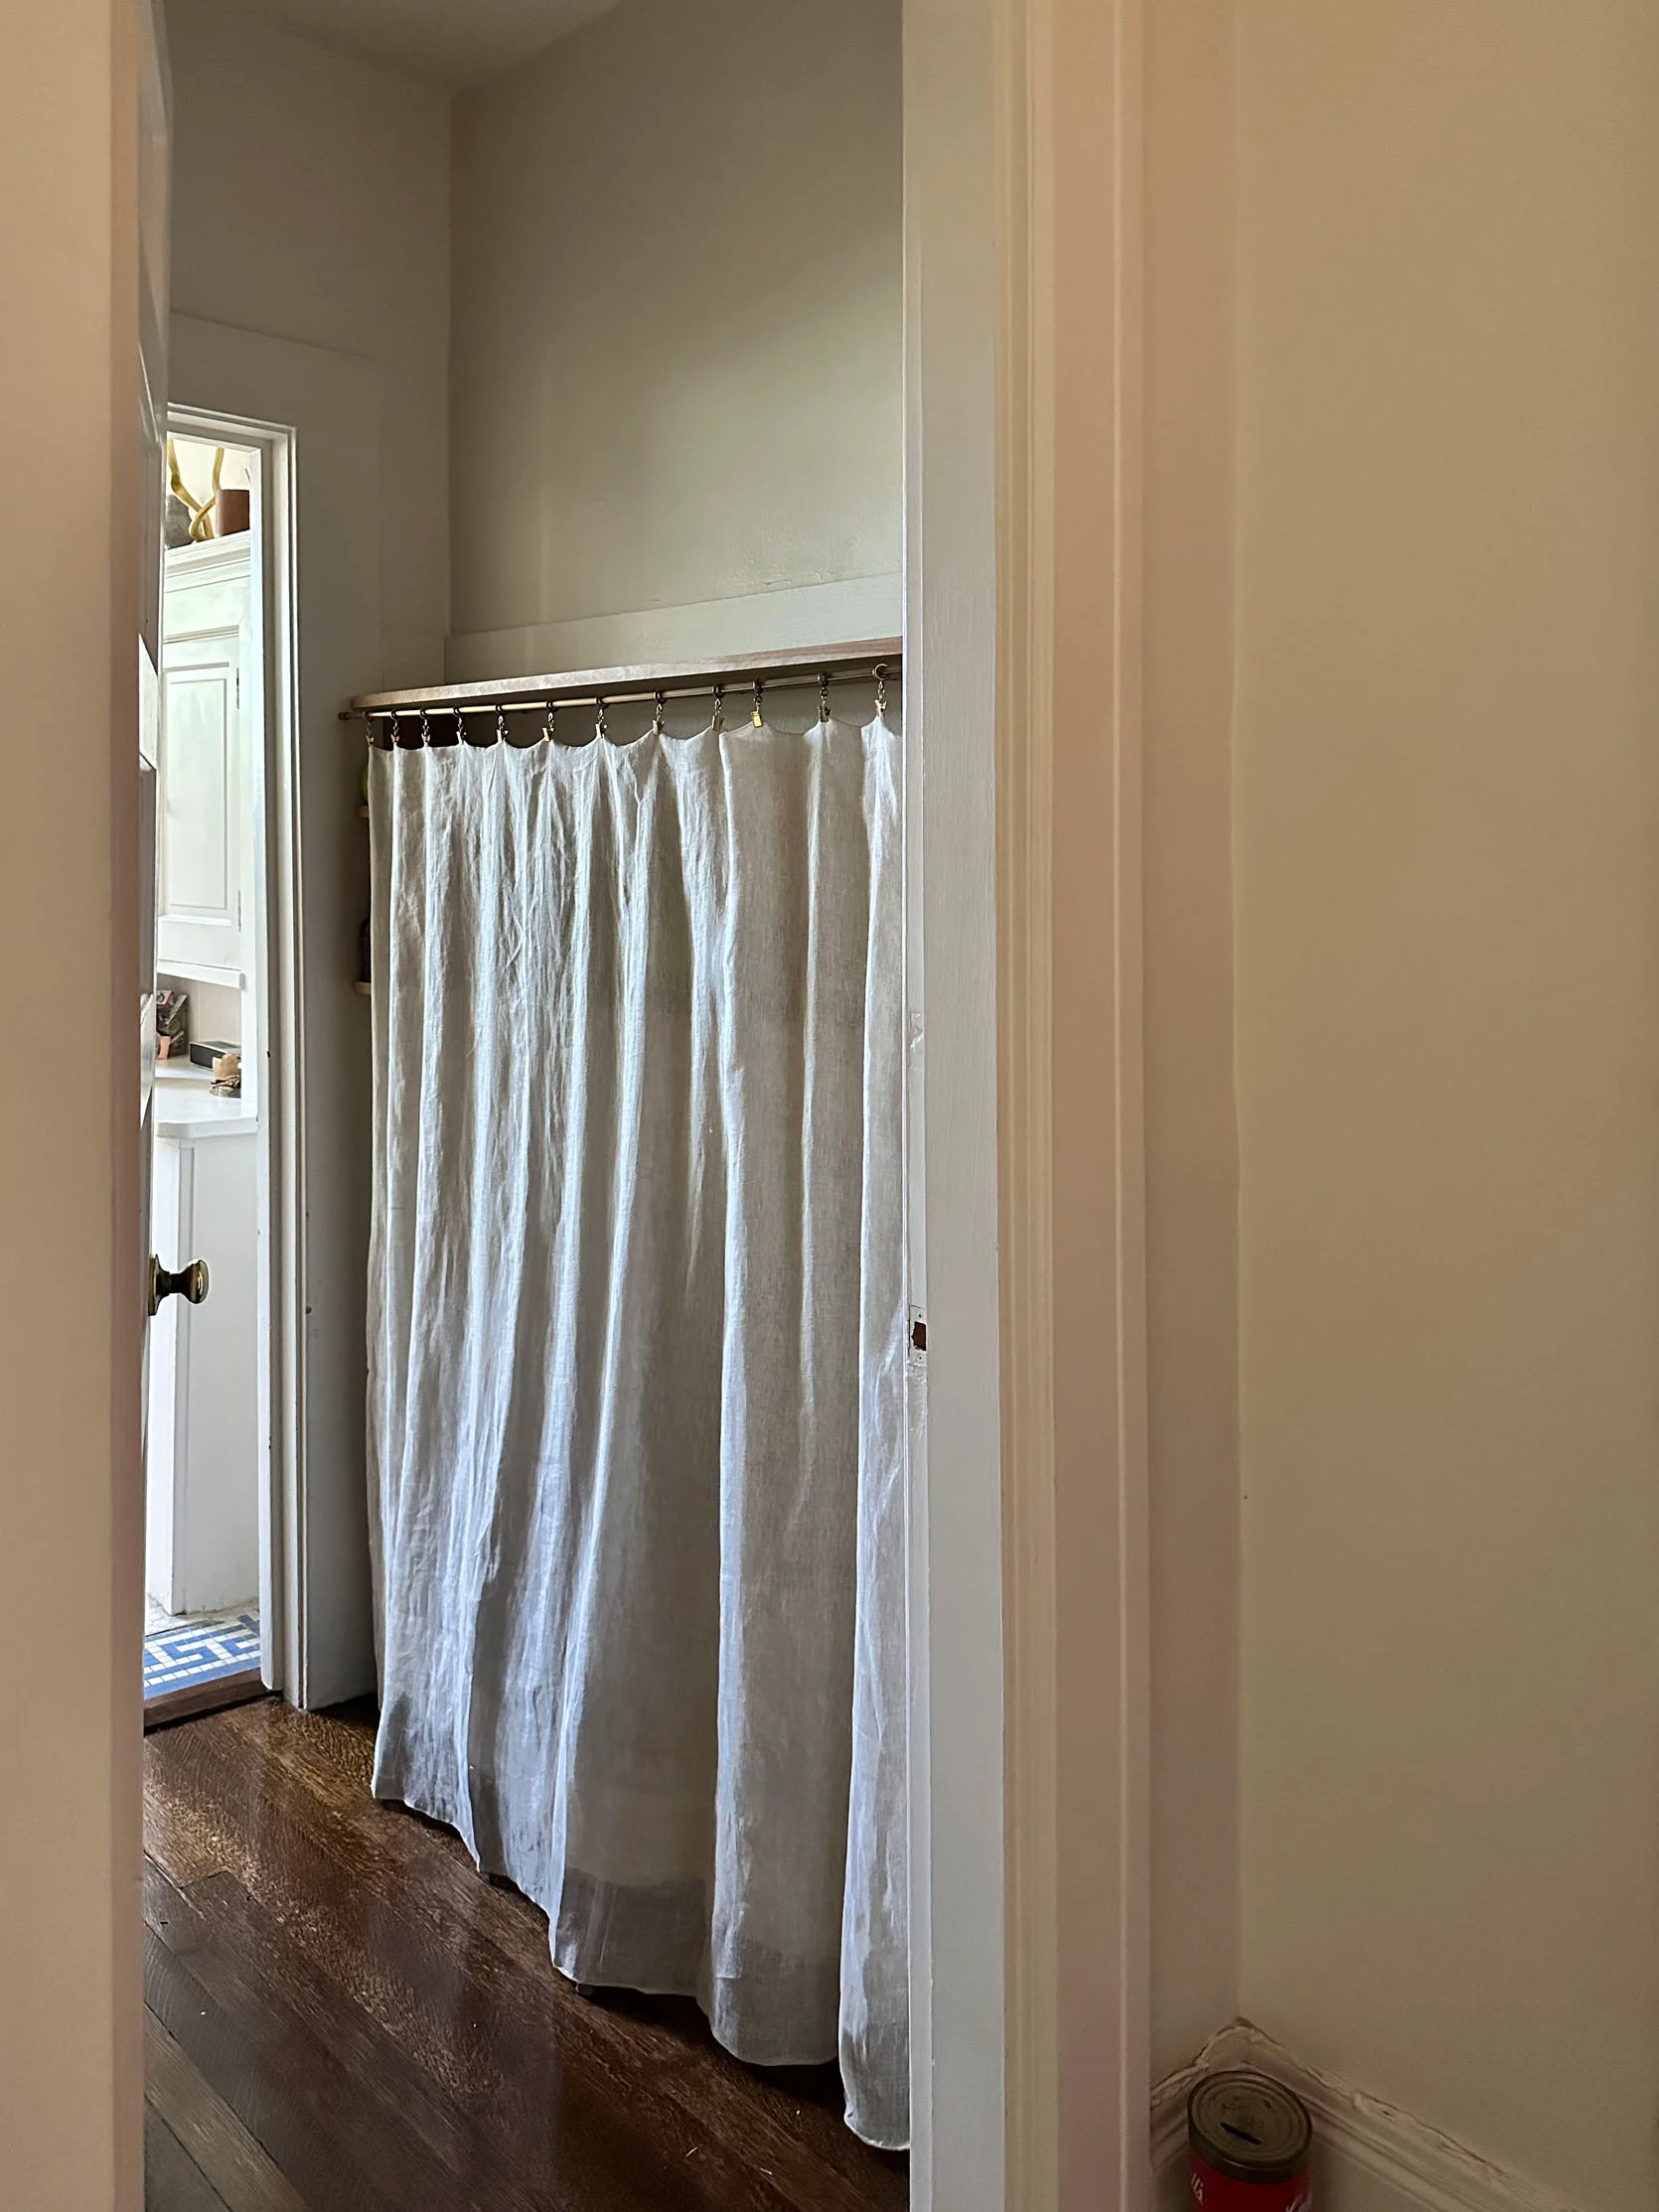
Concealed Mount Cafe Set | Cafe Curtain Rings
The one thing I did get done was finding a rod, rings, and curtain to cover the less beautiful things I wanted to store. The curtain I have is a pretty sheer one from Zara Home. I needed the curtain to be lightweight (since the rod doesn’t have a center support bracket) but obviously not see-through. So I just folded it in half so it was less transparent. It’s been working just fine, but I’m not opposed to swapping it out if that’s better for the final design. Also, an FYI that some of you told me after I had already made the purchase! If you get this beautiful rod from Rejuvenation, I highly recommend getting the cafe curtain rings instead of the cafe pinch rings. They may be cheaper, but they will also drive you nuts when your curtains won’t stay up. Maybe there’s a secret trick, but unless you are crafty, just go for the ones with the better clips.
So with some decor on the top shelf, this is how it’s looked for the last few years.
DIY Closet: A New Door??
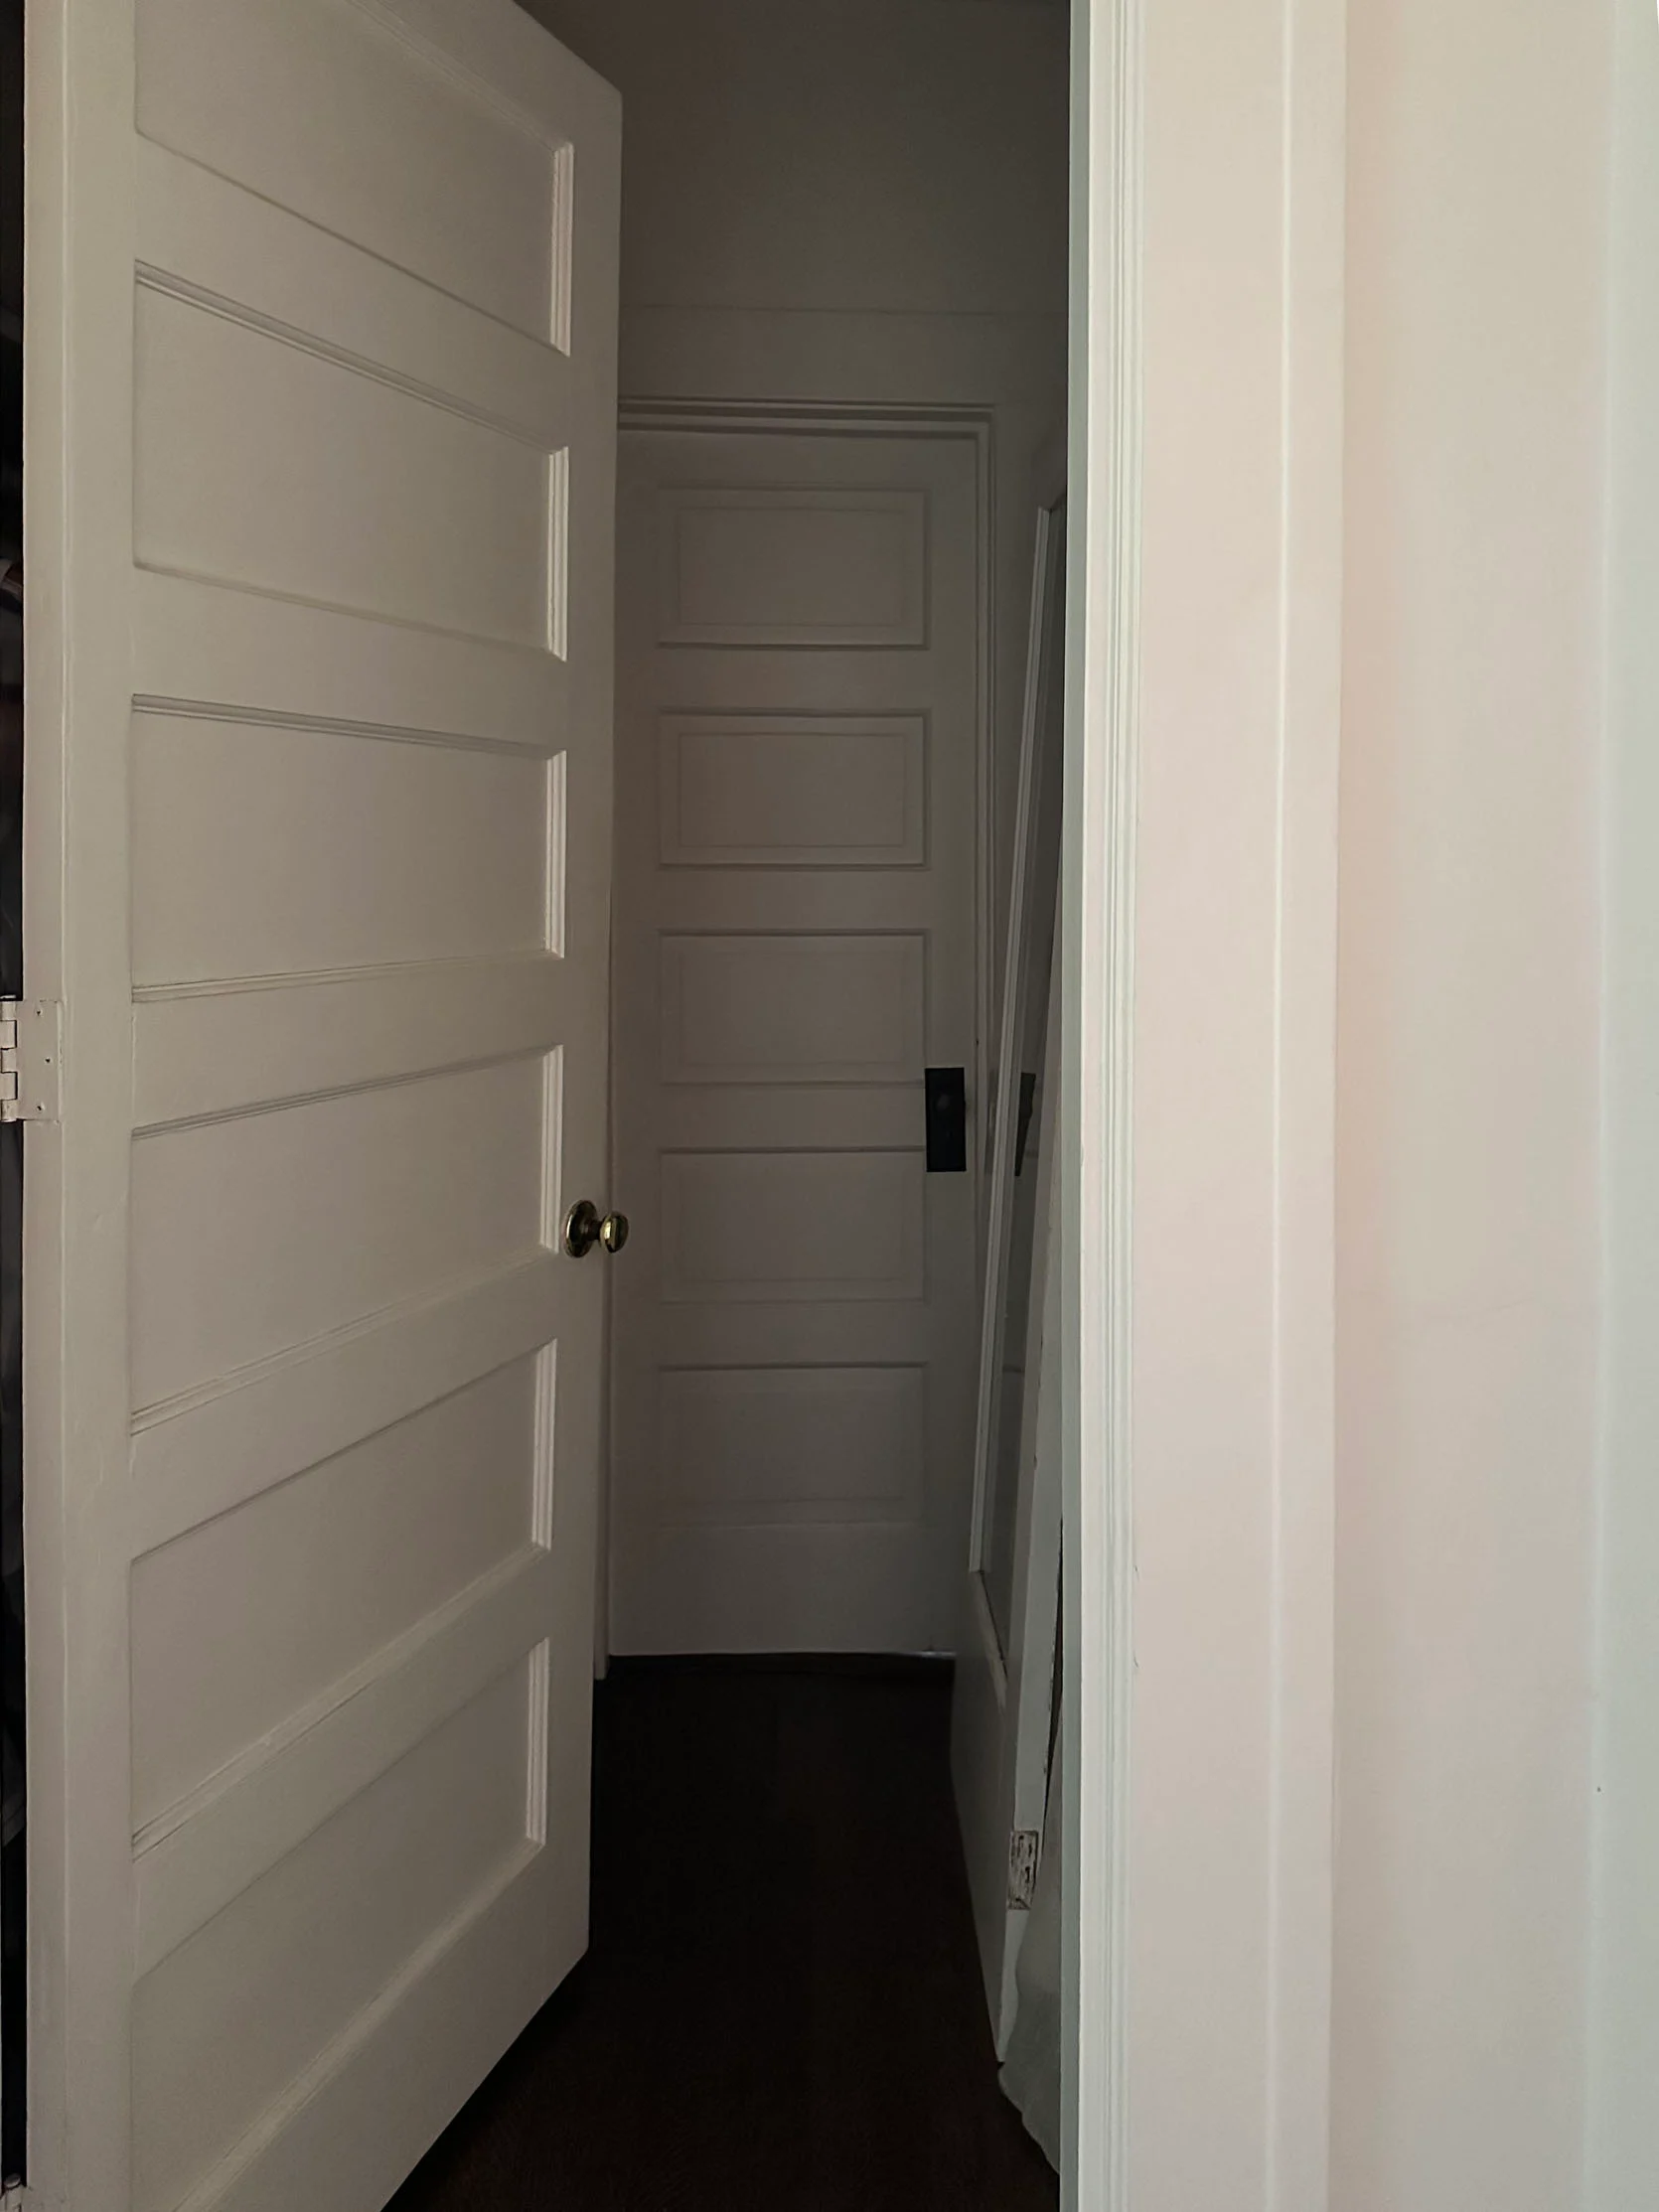
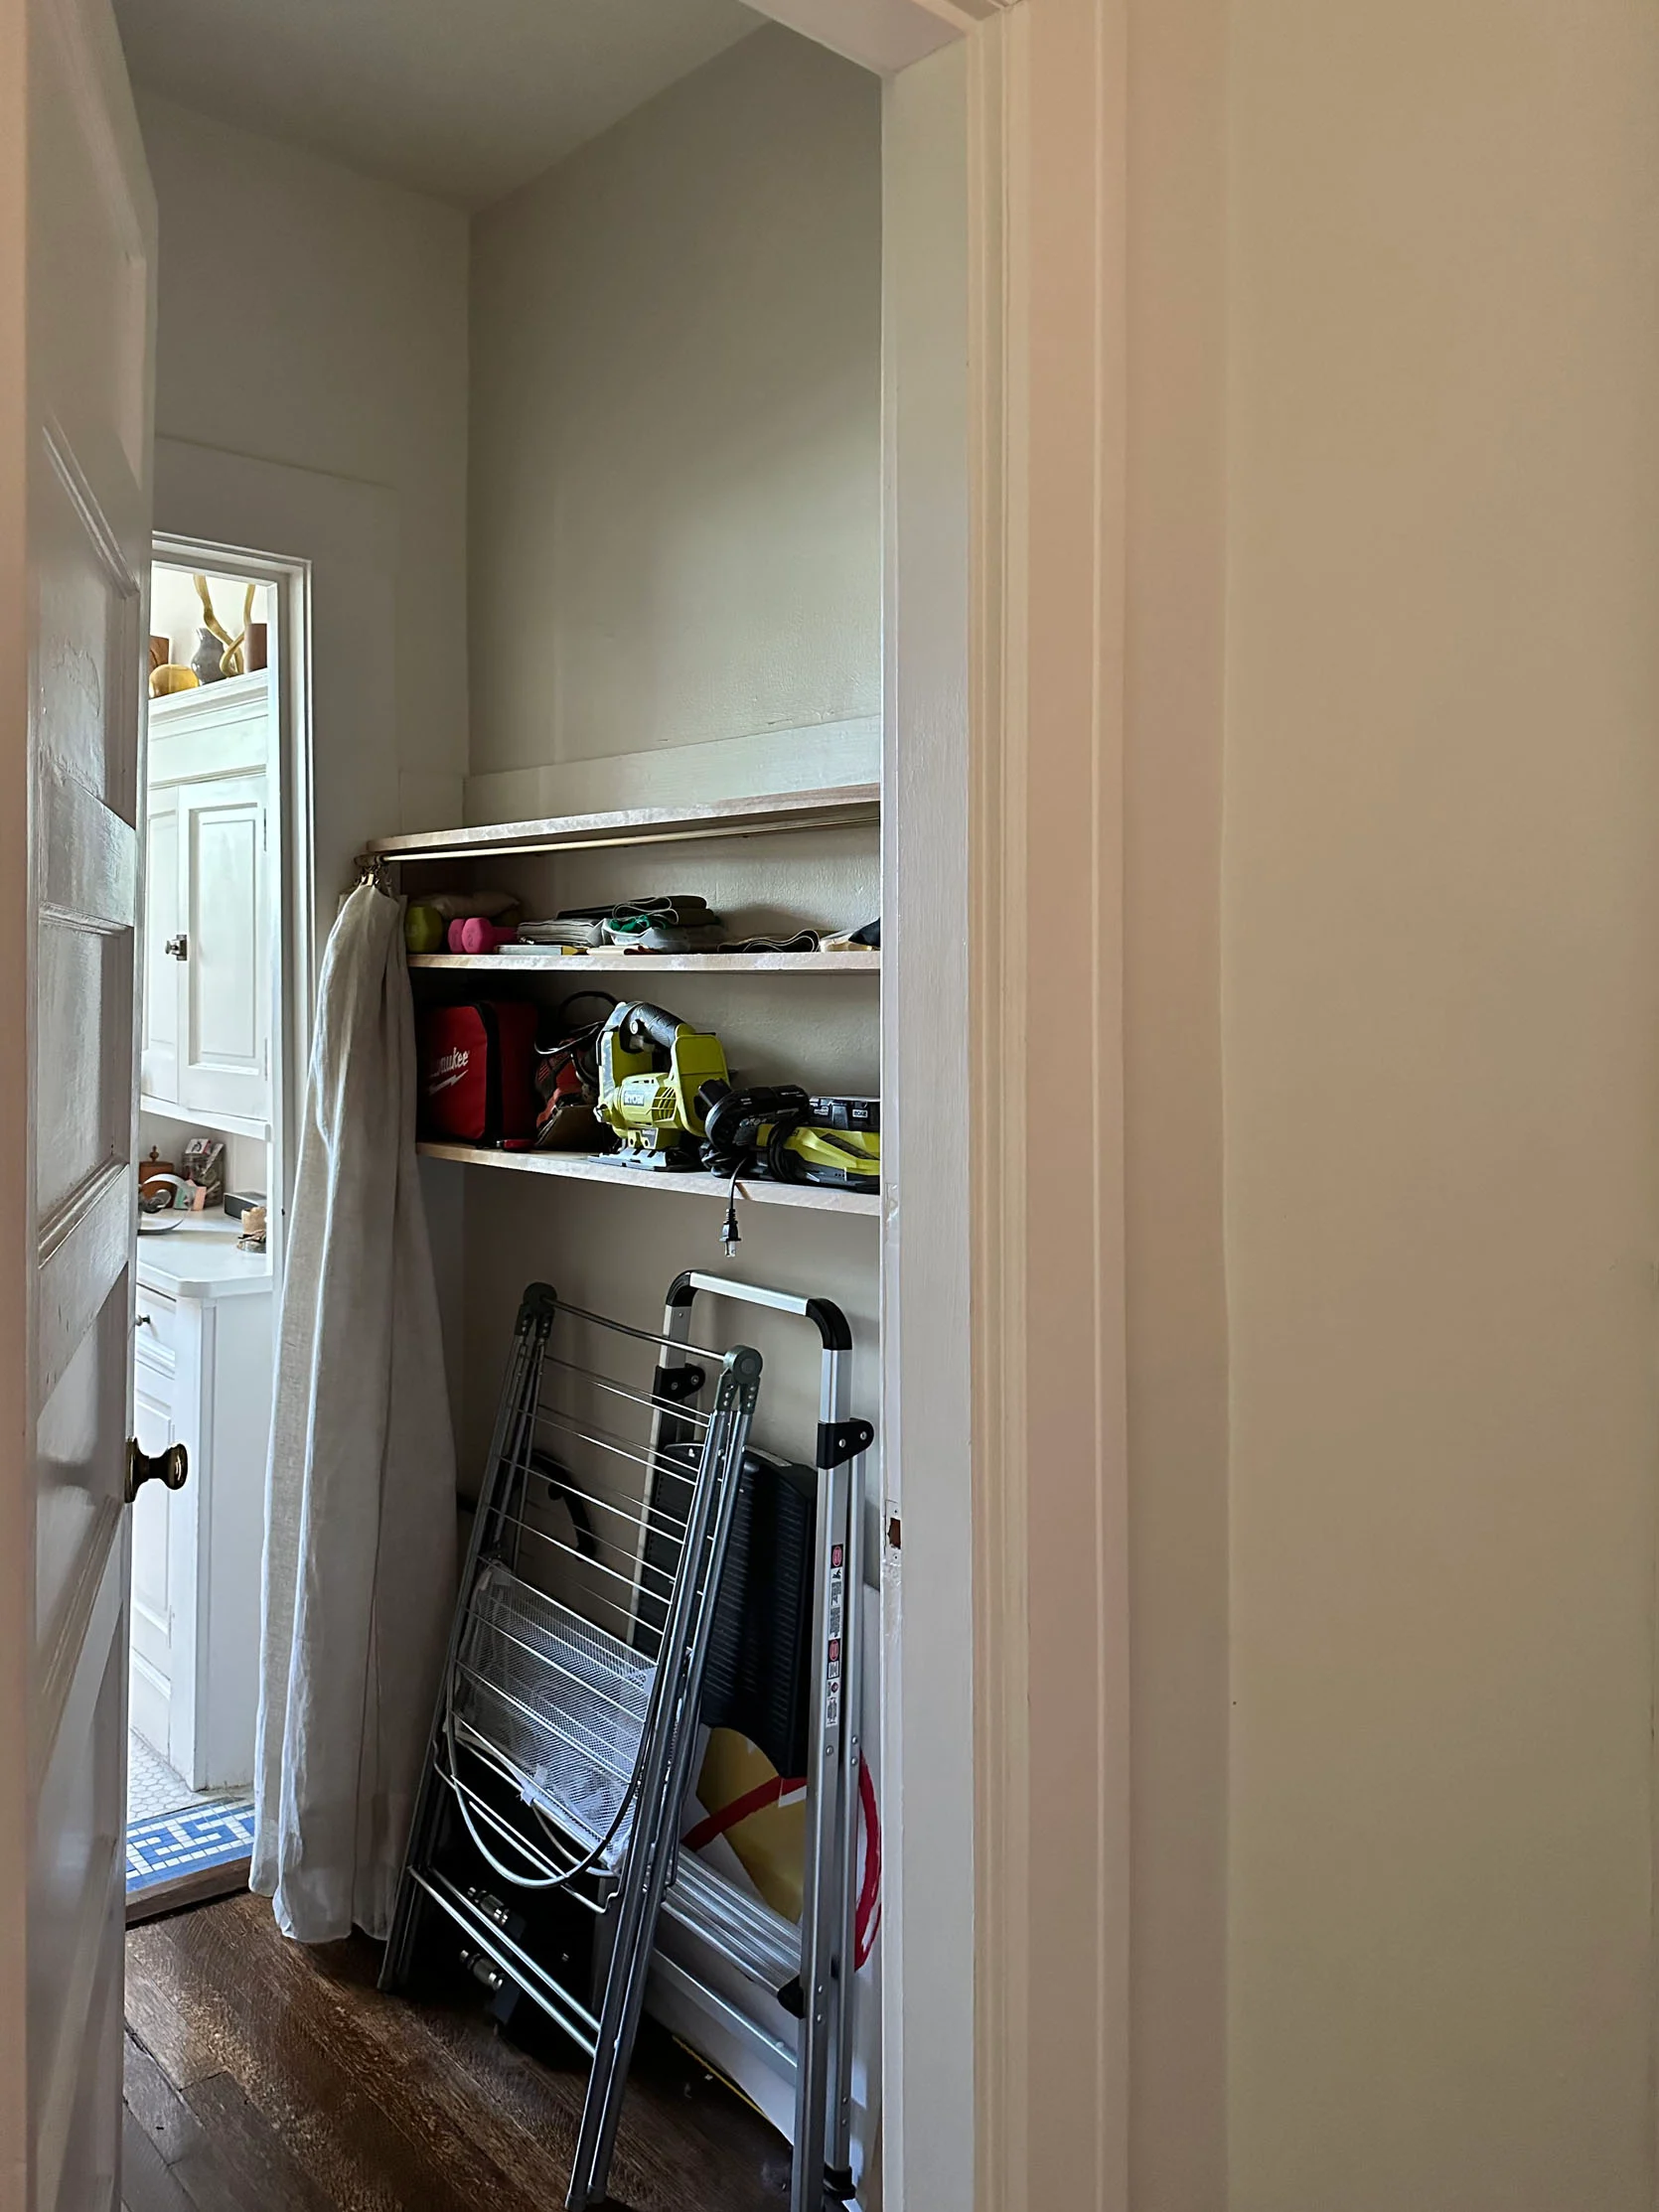
Ok, it’s time to dig into the door drama. To show you how dark it is when the current door is closed look at the photo above…it’s dark. That also means that when you walk through my front door, you nearly step into darkness, but with a bright room directly to your right. The balance is too off which is why I am going to replace the door. Don’t worry, nothing bad is happening to that pretty paneled door. It will just be carefully wrapped and put into the owner’s storage garage.
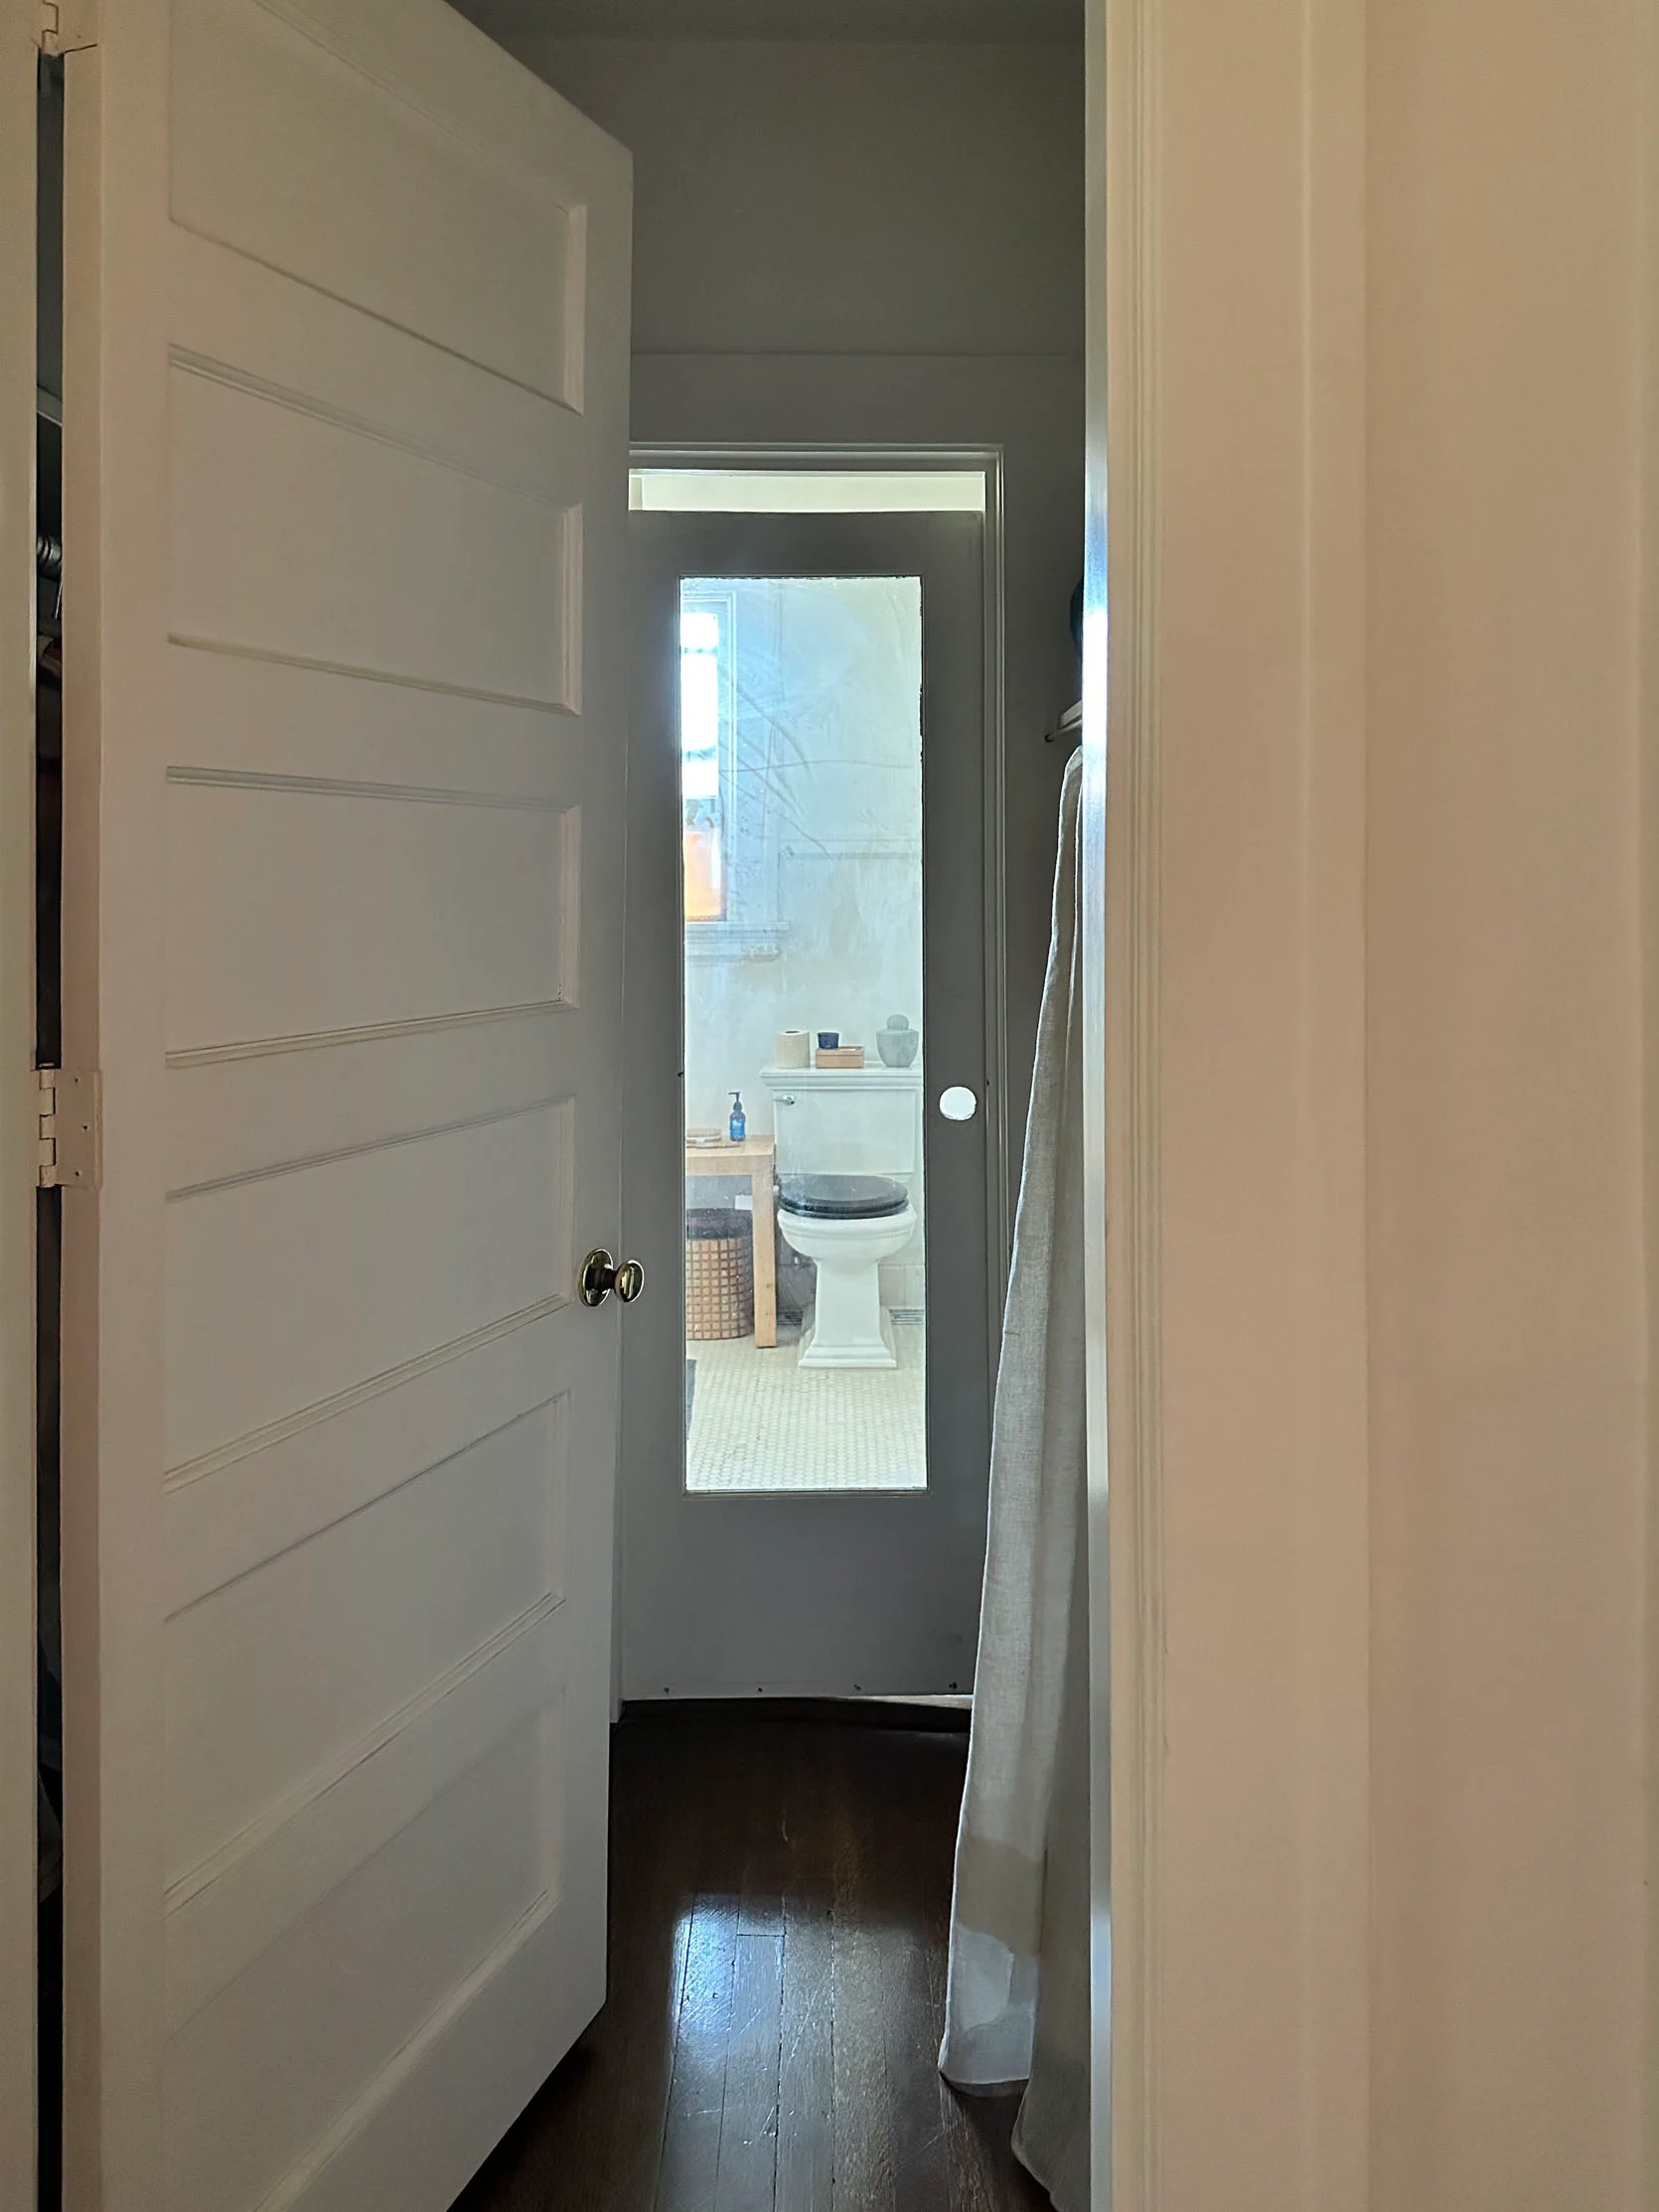
Now, here is the $50 door my dad found that’s…not the right height. Allllmost, Bunge. Oh, and yes, the floor is very slanted, but that’s what we call “free charm” in a 100+ year old home:) My options are to find a magical unicorn of a door at a salvage yard that IS the right size or find a cheap door that’s the same width and add it to the top of the door I have. I’ll keep you posted. The latter seems more feasible if you ask me.
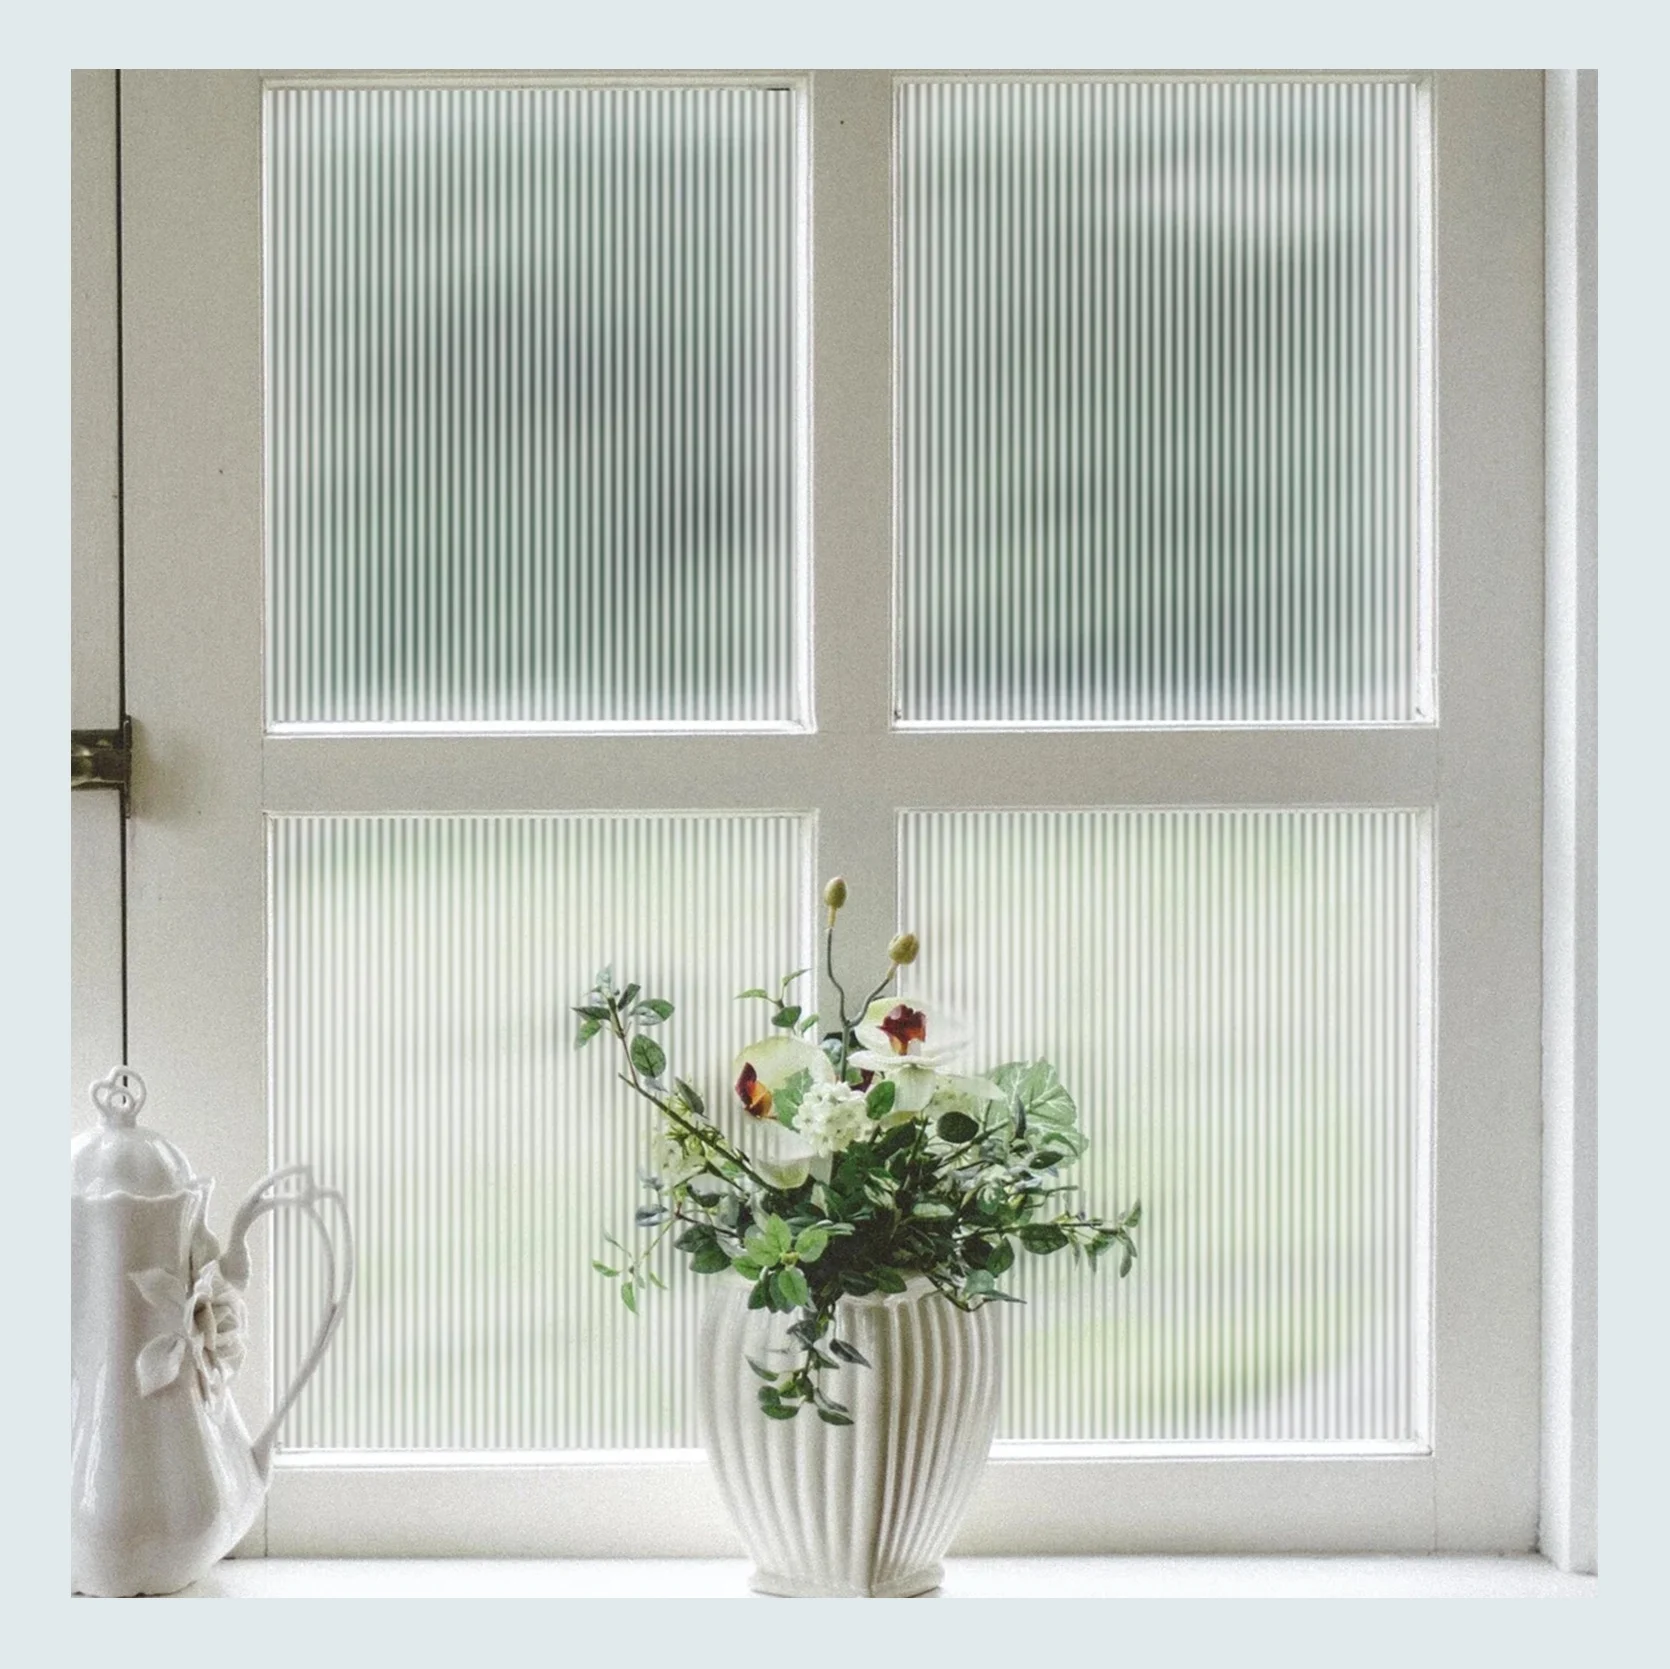
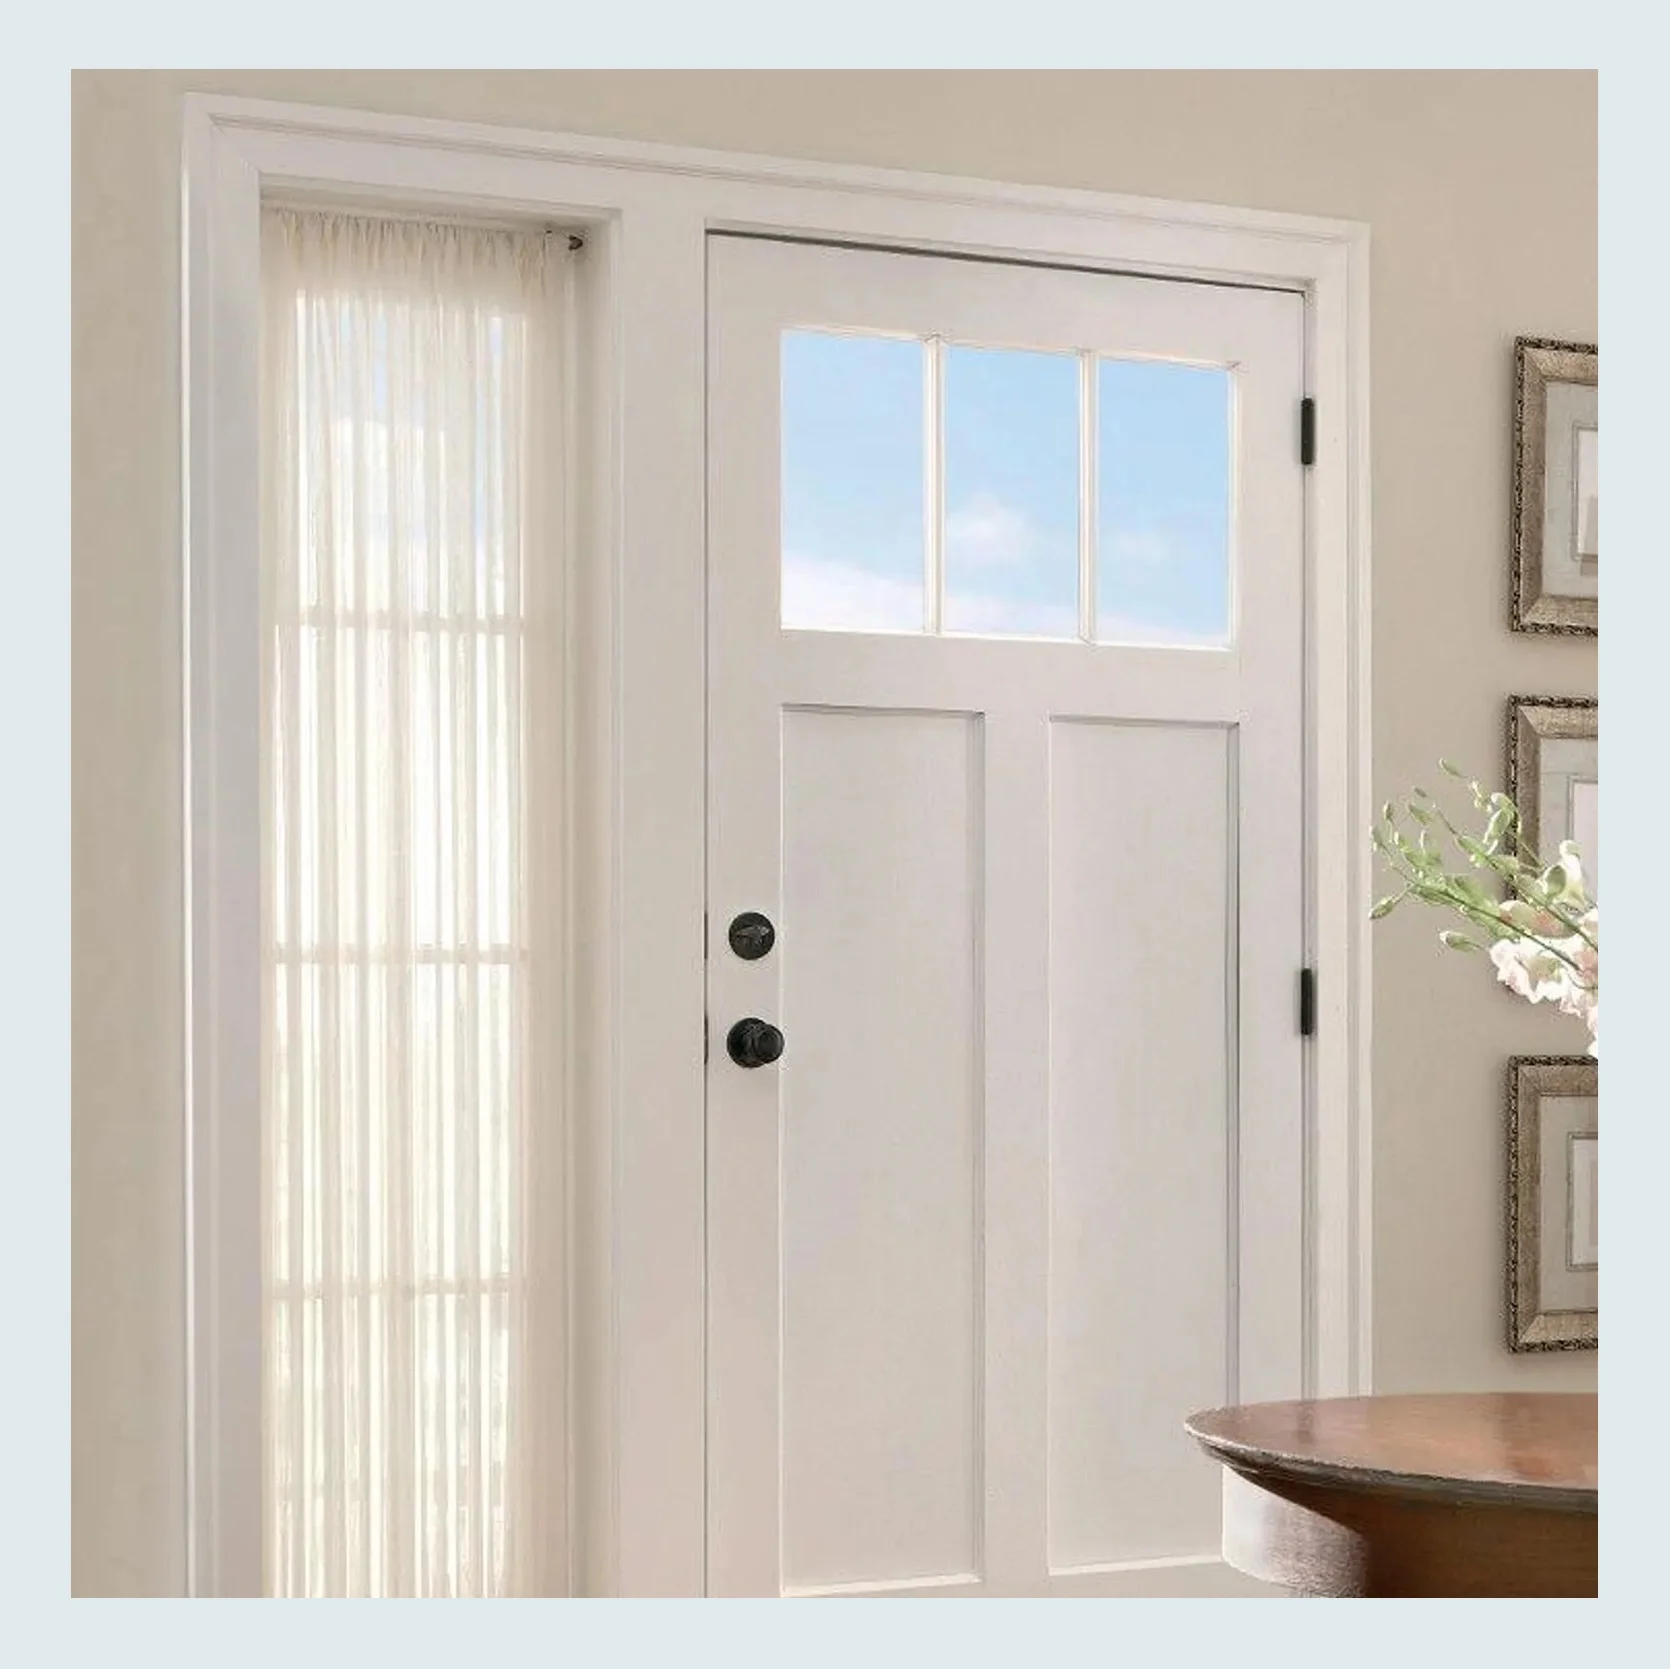
Reeded Glass Window Film | Custom Made Linen Door Or Narrow Window Panel
For the privacy part of this DIY, I will likely do a reeded privacy film. I’m sure you’ll still see soooome of the toilet, but it’s so much better than nothing and it adds some fun style. My other idea was to order a custom-size “French door curtain” but with a curtain right next to it hiding the shelves. I think that’s too much fabric for one little DIY closet and actually provides less visual privacy than the film.
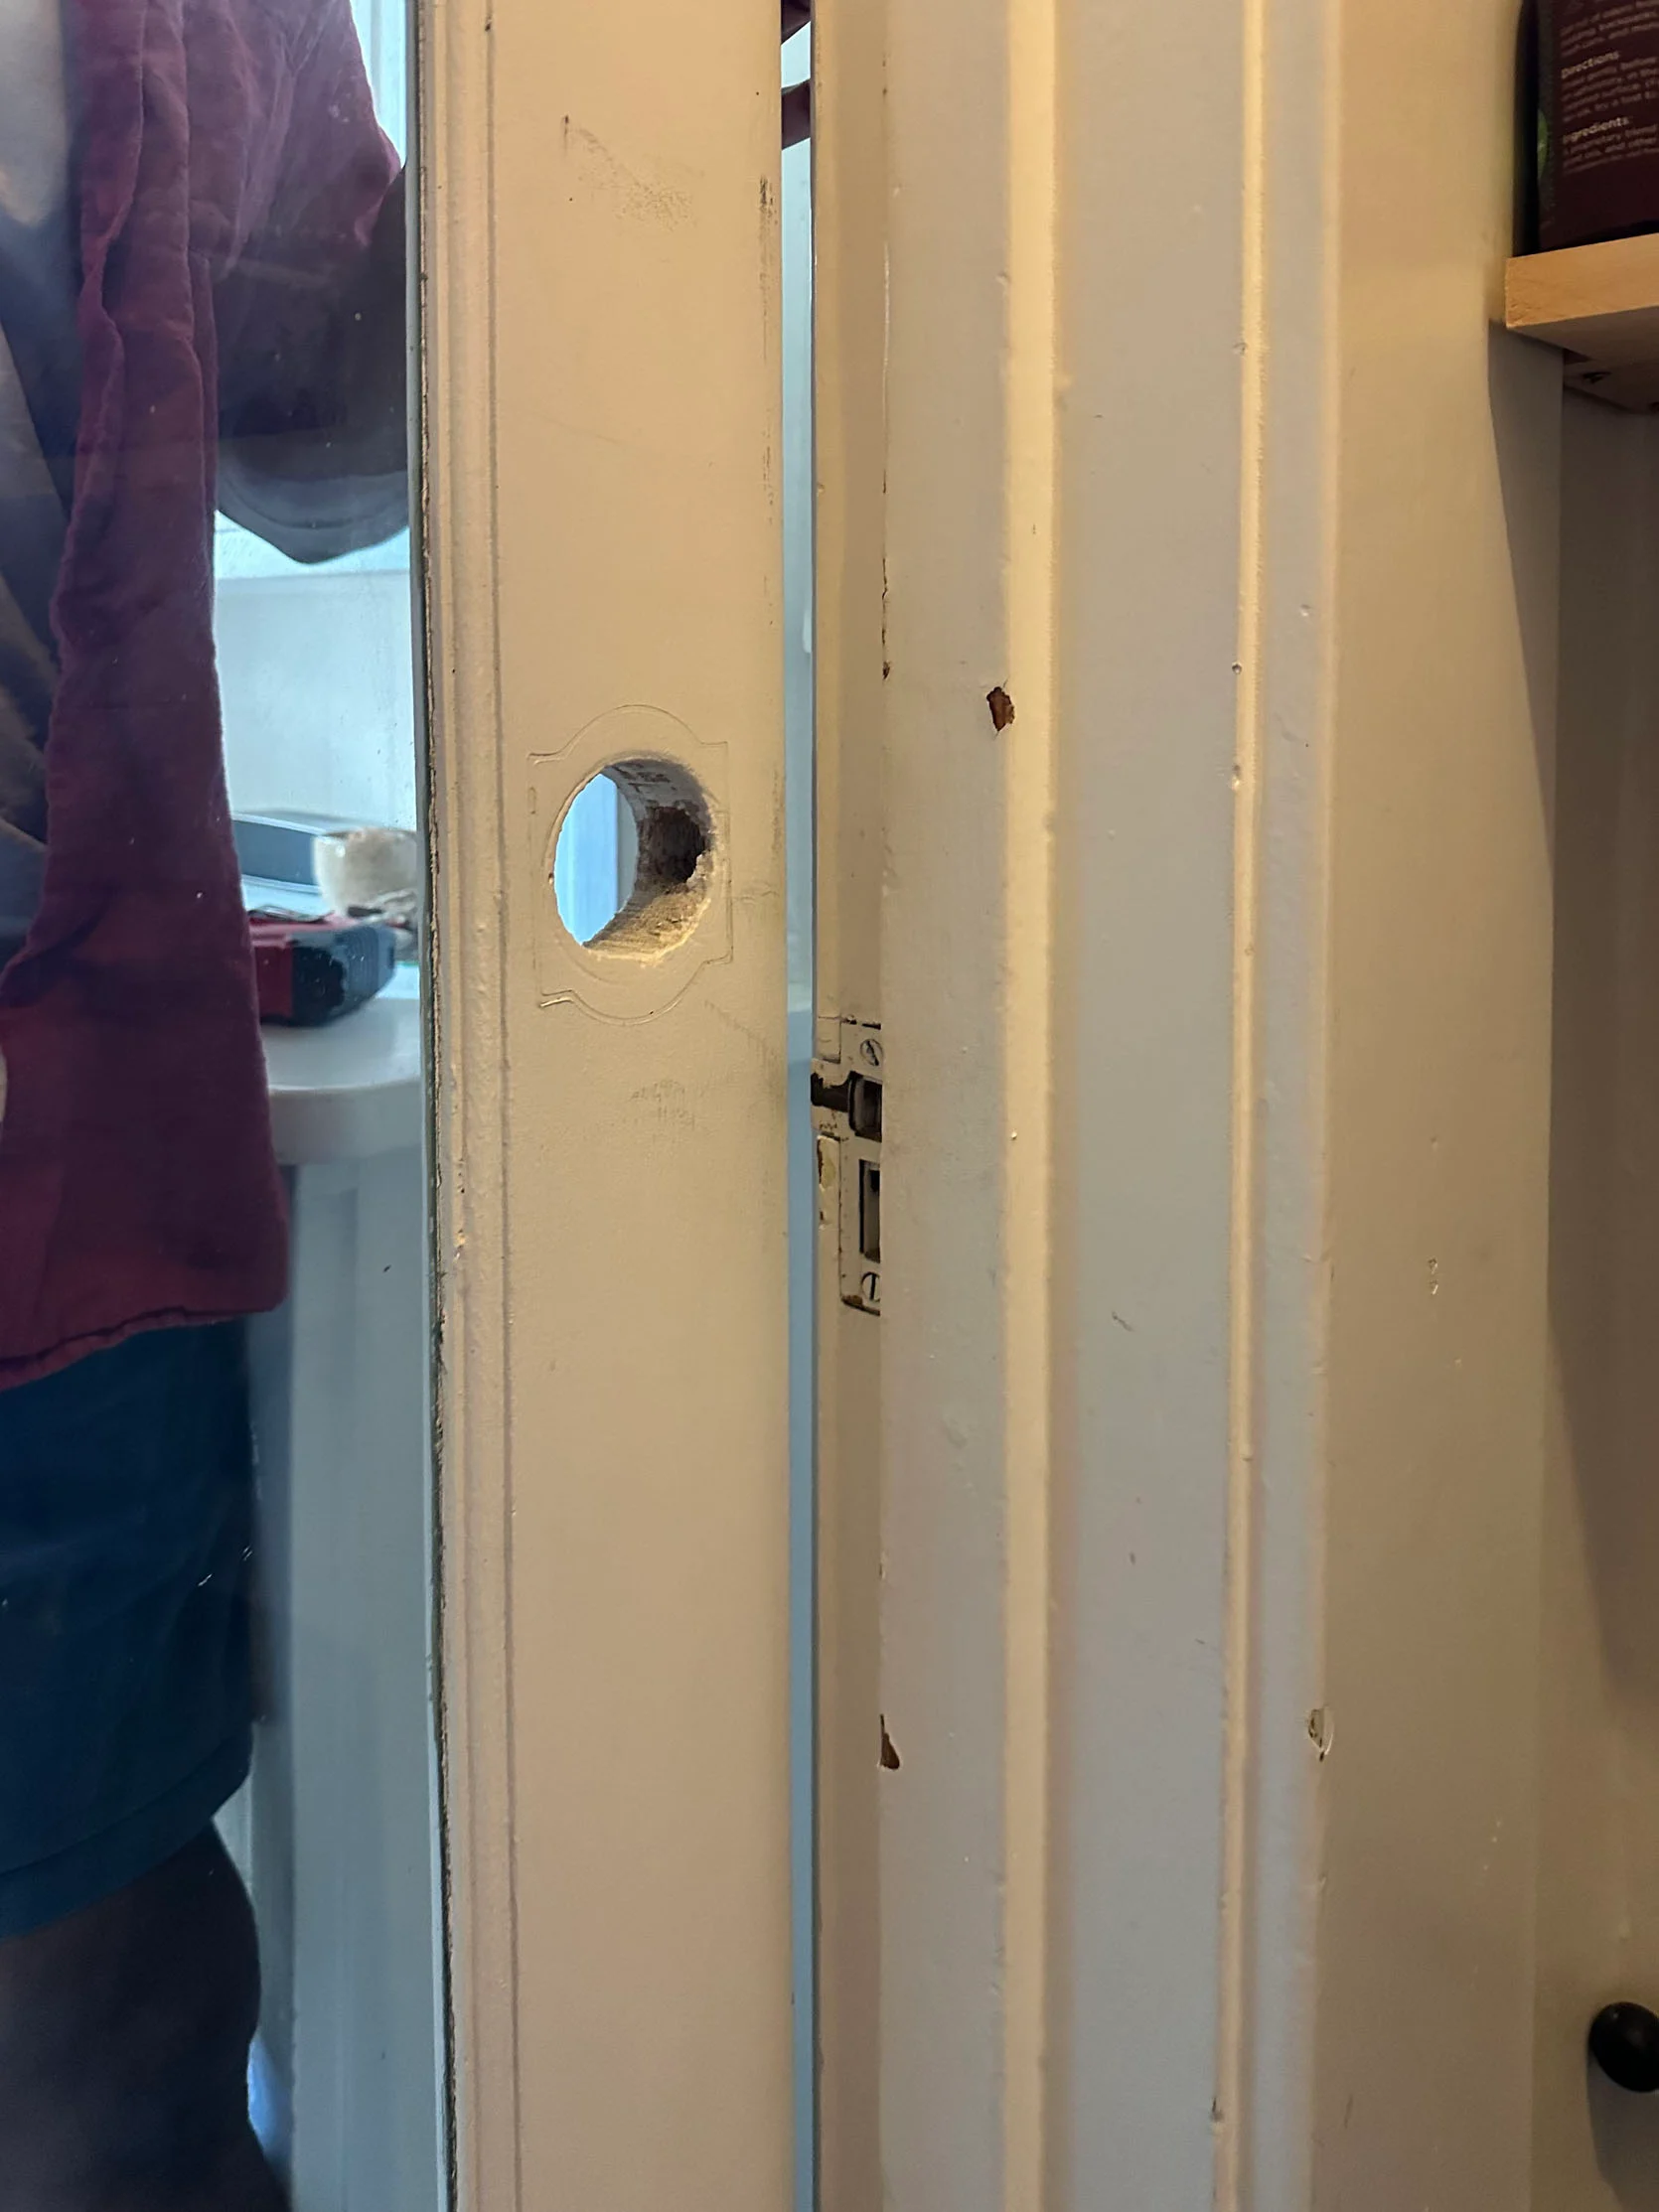
Oh, and another little hiccup! Where the handle goes on the door doesn’t match the door frame’s hardware. So either I need to chop some length off the bottom of the door (which there’s enough of if you go back to the photo) or patch up the current hole and make a new one. The first option seems easier to me since I already need to add to the top.
Now onto the fun stuff (she says with a heavy dose of decision anxiety)
DIY Closet: Picking A Paint Color
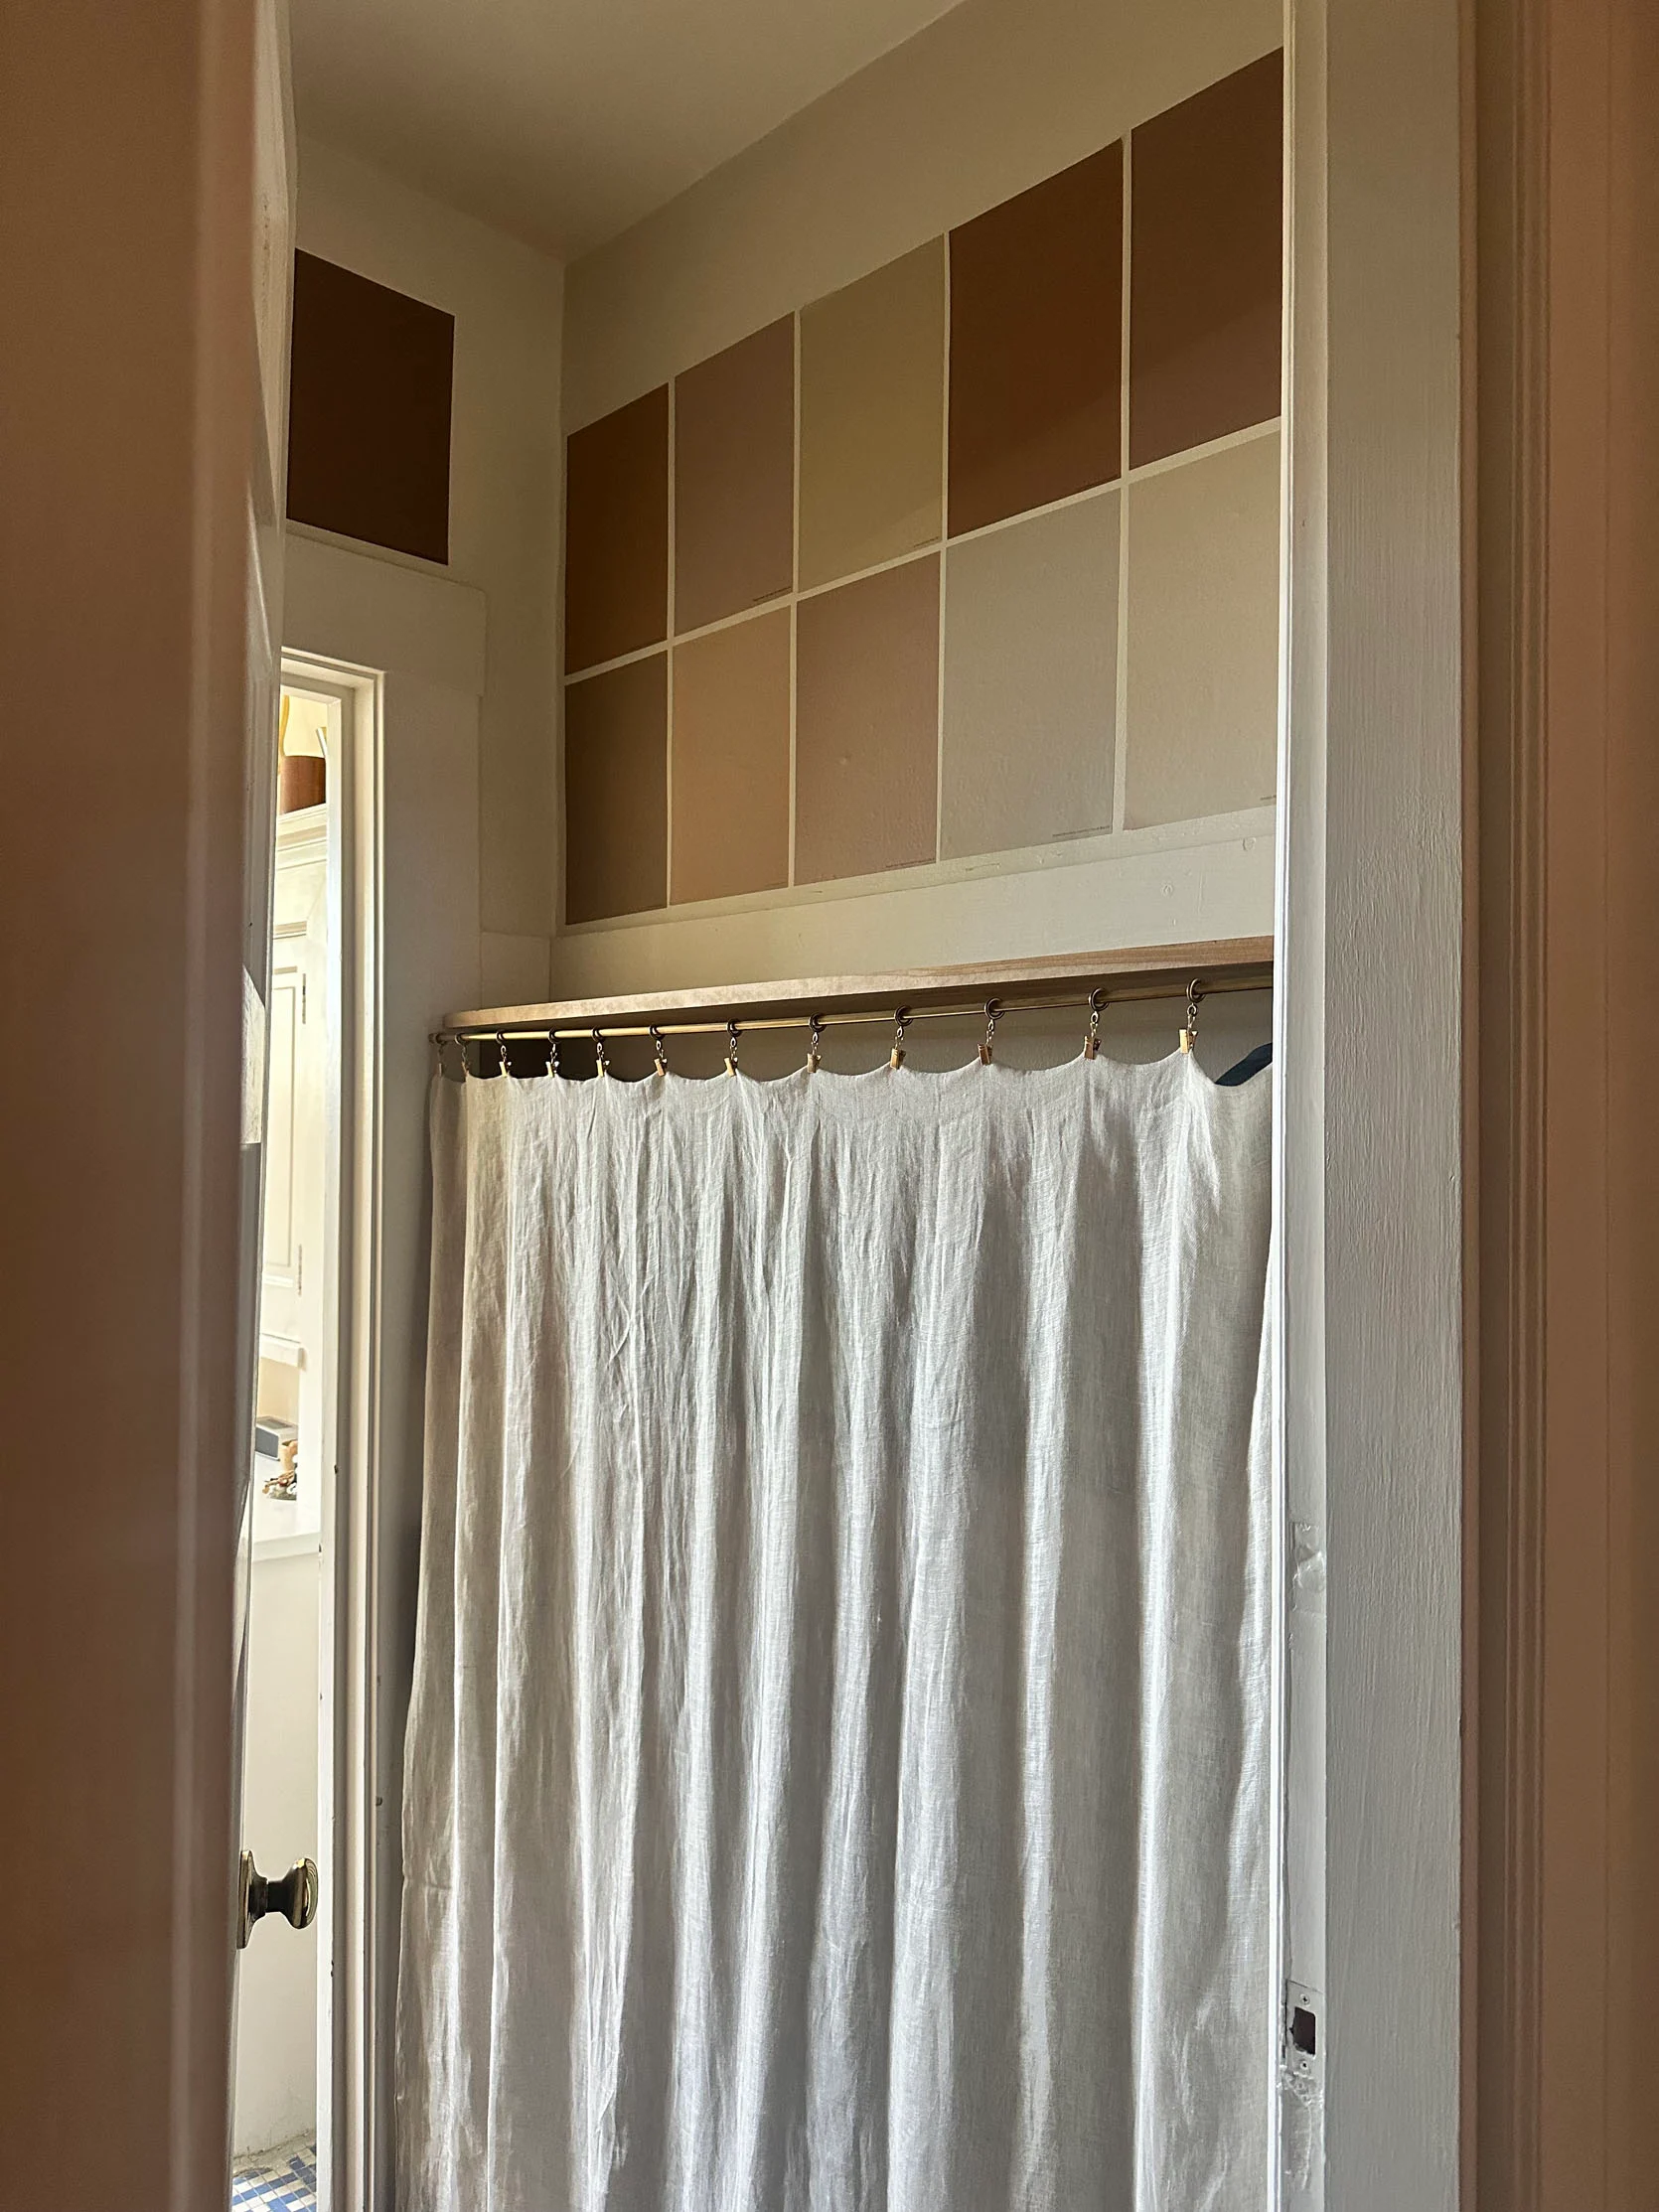
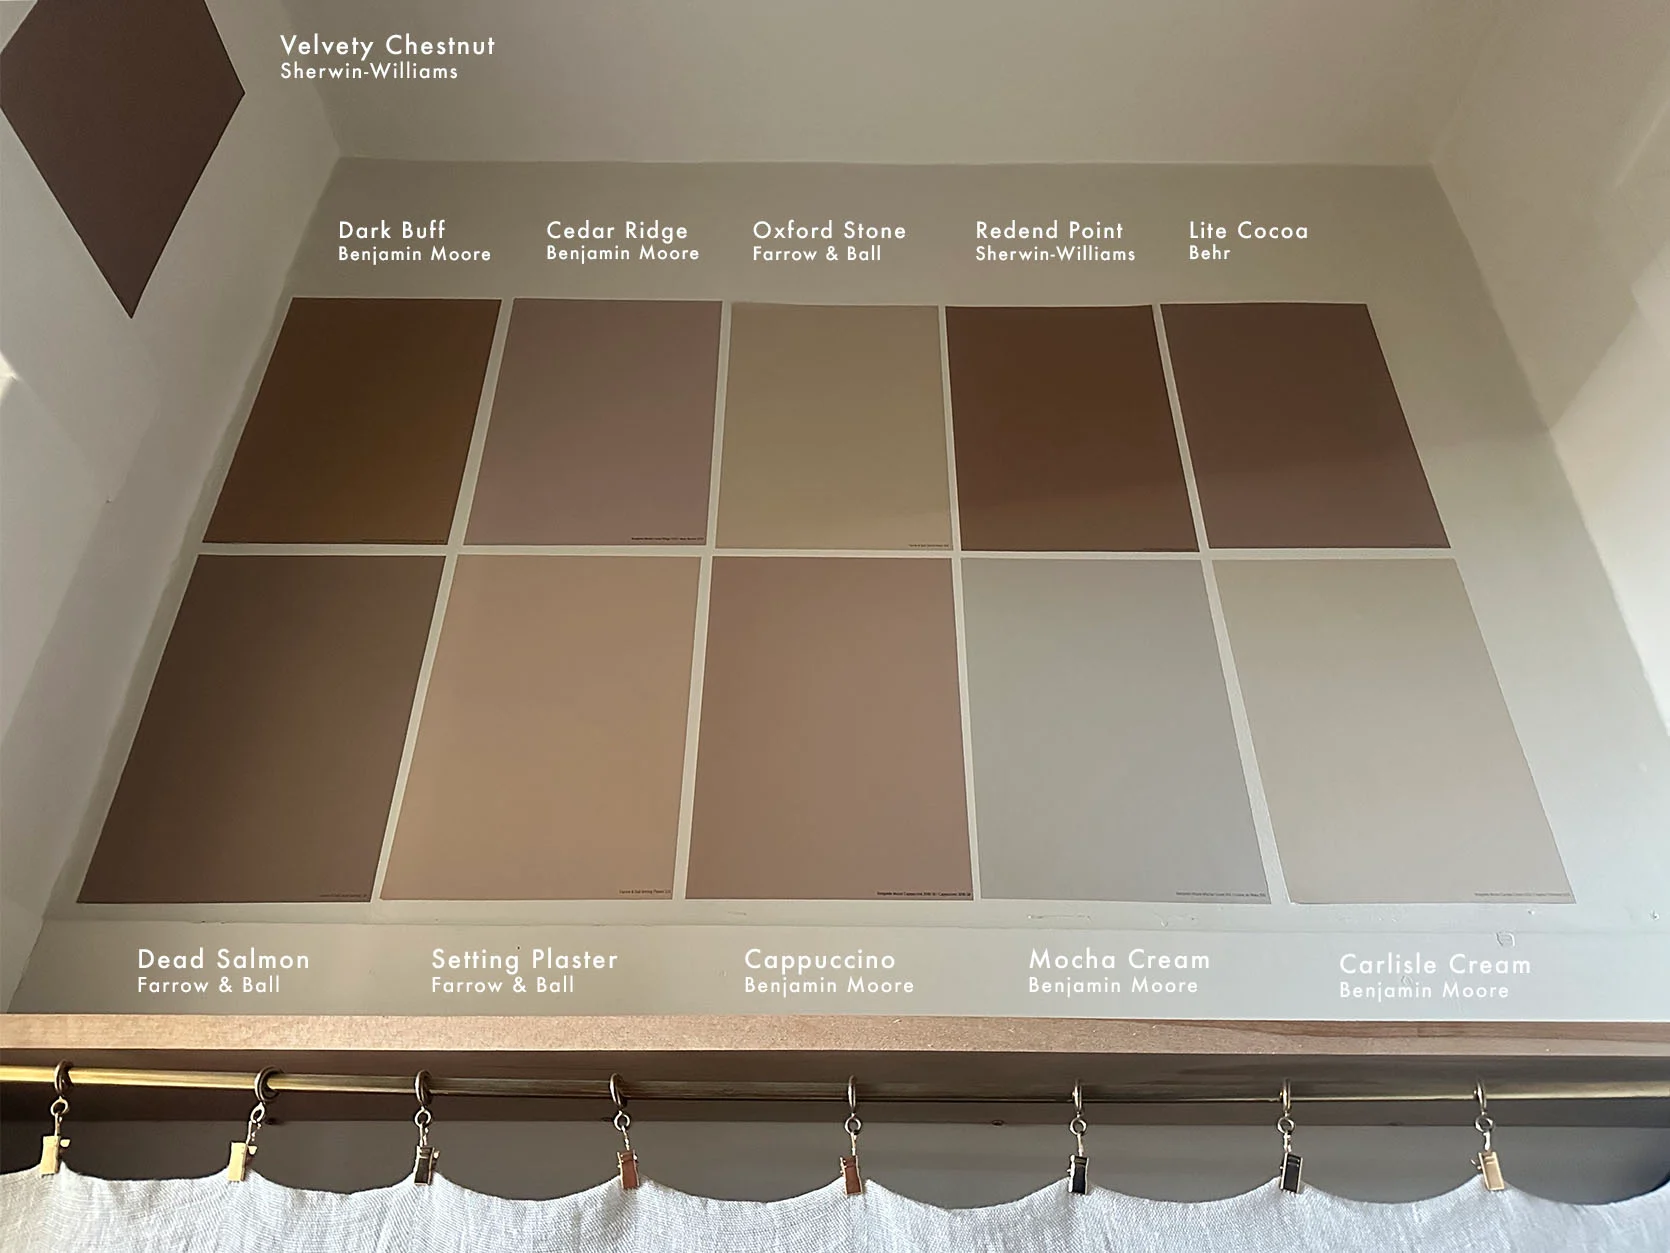
These are the Samplize colors I picked. I don’t ever want to go back to a world where they don’t exist. I wanted a lot of colors because I knew the light was going to be really funky. Our general rule is to paint a light room light and a dark room dark, but this is a weird medium option – kinda light but mostly dark, but not super dark. A real mess if you ask me.